The Best Telescope to Buy & How to use it | Orion SkyQuest XT8 Dobsonian Review | Astronomy

Are you looking to buy a new telescope to view the Moon, planets, nebulas and galaxies? I’ll walk you through everything you need to know when looking to make your next big purchase in amateur astronomy.

Recommended Telescopes for You:
Please consider buying through these links to support this channel. If you do, I may earn a small commission.

Orion SkyQuest XT8i IntelliScope Dobsonian Telescope
(The telescope in this video plus an included Computer Object Locator)
https://www.pntra.com/t/S0BMQ0pFQEVHRERFQ0BLS0NDSw?url=https%3A%2F%2Fwww.telescope.com%2FOrion%2FOrion-SkyQuest-XT8i-IntelliScope-Dobsonian-Telescope%2Frc%2F2160%2Fp%2F102012.uts%3FsortByColumnName%3DSortByPriceAscending

Apertura DT6 6″ Dobsonian Telescope – DT6
https://www.highpointscientific.com/apertura-dt6-6-inch-dobsonian-telescope?rfsn=6336276.a00265b

Apertura AD8 Dobsonian 8″ Telescope with Accessories – AD8
https://www.highpointscientific.com/apertura-ad8-8-inch-dobsonian-telescope-ad8?rfsn=6336276.a00265b

Orion SkyLine 8″ Dobsonian Reflector Telescope
https://www.pjtra.com/t/S0BMQ0pFQEVHRERFQ0BLS0NDSw?url=https%3A%2F%2Fwww.telescope.com%2FOrion%2FOrion-SkyLine-8-Dobsonian-Reflector-Telescope%2Frc%2F2160%2Fp%2F113094.uts%3FsortByColumnName%3DSortByPriceAscending

Great Budget Eyepieces for your New Telescope
https://youtu.be/8utkTFhDK5c

The Best Telescope to buy a Child
https://youtu.be/-J3OfzRtoaE

Follow Late Night Astronomy on:
https://www.instagram.com/latenightastronomy
https://twitter.com/latenightastro

“The heavens declare the glory of God”-Psalm 19:1

#telescope #dobsonian #review #astronomy

Samyang/Rokinon 135mm F2 for Astrophotography: Review & Imaging Tests

Let’s unbox, review and test this lens to find out why it is one of the best bang for your buck deals in astrophotography! I’ll walk you through all this incredible lens has to offer as we go outside to test it with some deep sky imaging. If you own the Samyang or Rokinon version of this lens please let me know about your experience using it and what your imaging in the comment section below.

One important thing to mention off the bat regards the confusion over any differences between Samyang and Rokinon lenses.  From what I’ve read, the 135mm f2 versions of each lens are identical. The difference in their names simply comes down to a marketing decision. If both are available to buy where you live, do what I did and go with the cheaper one, that ended up saving me about 20 dollars for this the Samyang model.

When researching what lens to buy for astrophotography, there were several things that led me to this Samyang Lens. One of which was its low F number. At F/2, this has a very large aperture which lets in a tremendous amount of light, leading to fainter objects showing up under ideal imaging conditions and shorter individual exposure times needed to collect light for stacking and post processing. The true beauty of this lens comes from the fact that even shooting at F2, you can still get incredibly sharp images across the entire field of view and that’s not always the case for lenses.

The second thing that sold me on this lens was the fixed 135mm focal length. Prime lenses that don’t zoom often lead to sharper results for astrophotography due to the design of the lens. 135mm is also a nice sweet spot for my current tracking mount. At a little less than 2 pounds, its light enough for my Skyguider Pro and the amount of sky that it can image will reveal faint details of impressive deep sky objects but also doesn’t push the limits of what my tracking mount is capable of in terms of its tracking accuracy at long exposure times.

Few things test a lens like imaging the nighttime sky with its pinpoint stars and faint deep sky objects, so let’s put this lens to the test and see if it’s impressive claims match up to the real-world rigor of astrophotography by imaging the Constellation Orion. Now the detail of your images will vary from mine due to things like light pollution, exposure times and post processing but the thing I really want to point out is the sharpness of this lens, fully open at F2. From the Flame and Horsehead nebulas near the bright star Altinak, to the Orion Nebula with its nursery of dynamic gas clouds creating stars all the way over the extreme edge of the image where faint stars shine bright, this lens remain as sharp as the center of the image across the entire field of view. The Samyang 135mm F/2 easily lives up to its hype and should be near the top of your list of purchases if you are new or experienced in the field of astrophotography.

If you’re using or are looking to buy the Samyang or Rokinon 135mm F/2, please let me know what you’re imaging with it or any questions you may have in the comment section below. Thank you all so much for your support and clear skies from Late Night Astronomy.

Follow Late Night Astronomy on:
http://www.instagram.com/latenightastronomy
http://www.twitter.com/latenightastro
http://www.youtube.com/latenightastoronomy

Getting Started in Astrophotography

IMG_3608

Astrophotography can seem like an overwhelming addition to amateur astronomy. Over the past several weeks I have attempted to photograph the night sky and will show you what has worked best for me using some entry level equipment and a little bit of research.

Step 1: Buying a Camera and Lens

While I didn’t buy the Canon Rebel SL2 specifically for astrophotography, virtually all new DSLR cameras will provide wonderful results for entry to intermediate level users. The 24 Megapixel CMOS (APS-C) sensor provides more than the necessary minimum for nighttime imaging. It’s standard kit zoom lens featuring an 18-55mm focal length is a nice starter lens and offers fairly sharp fields of view.

Step 2: Adjusting Camera Settings

IMG_3832

Be sure to turn your camera dial to Manual Mode. This will give you complete control throughout the entire process. I’ve also configured a menu tab aptly named “Astronomy” which allows me to easily change some of the most important settings involving shooting the nighttime sky.

  • Image Quality-Raw and Large jpeg
  • Picture Style-Neutral
  • White Balance-Daylight (5200K)
  • Long Exposure Noise Reduction- On
  • High ISO Speed Noise Reduction-Standard
  • Drive Mode-2 Seconds

Step 3: Mounting the Camera to the Tripod
IMG_3872

The cheapest and easiest way to get into astrophotography involves using a tripod and your DSLR. After connecting the SL2 to the tripod, I chose Orion’s Nebula as my target. Before moving on, I had to determine the proper focal length, focus, aperture, shutter speed and ISO.

Step 4: Setting up and taking the Shot

  • Focal Length and Focus:
    How zoomed in do you want your image? This is what the focal length controls. I wanted a zoomed in image of Orion’s Nebula, so I chose to set my lens at it’s maximum 55mm focal length. To focus, make sure that your lens is switched to manual focus and use the digital magnifying feature to show a 10x image of the constellation in the live viewing screen. Slowly turn the focus ring until you get the sharpest stars possible.
  • Aperture:
    How much light is going through your lens and into your sensor? This is what the aperture controls. The best possible aperture for my zoom lens set at 55mm is f/5.6.  This is not a strong point of my kit lens. I hope to upgrade this to a fixed 50mm f/1.8 in the near future.
  • Shutter Speed:
    How long do you want your camera’s shutter open to allow light onto your sensor? This is what the shutter speed controls. I was looking for as long a time as possible to bring out detail in Orion’s Nebula, without creating star trails. There are a lot of ways to determine how long the shutter can stay open without creating star trails. The website LonelySpeck has an excellent calculator for determining this setting. For my camera’s sensor and zoom lens set at 55mm, 4 seconds was the longest length of time I could afford.
  • ISO:
    How sensitive do you want your camera to be when the shutter is open and light is hitting the sensor? This is what the ISO controls. Increasing it will brighten your image, but also increase digital noise. Finding a balance between sensitivity and image quality will vary depending on your camera’s sensor. For my Canon SL2 shooting Orion’s Nebula a setting of ISO 3200 gave me the best results.

Step 5: Post Processing

  • How much detail can you bring out of your image? This is what imaging software controls. Canon’s Digital Photo Professional 4 is free software provided by Canon if you buy their products. It is excellent for editing RAW images, which contain much more image information than jpeg files. There are a variety of paid and free choices from Adobe Photoshop to Raw Therapee. The learning curve on these can be pretty steep, but I have found DPP4 to be fairly user friendly and powerful. The most useful settings for me so far have been contrast, shadow, highlight, color tone and color saturation.

The Final Result:
Orion Nebula: 12/27/17
Canon SL2, 55mm, f/5.6, 4 Seconds, ISO 3200
Enhanced and Cropped with Digital Photo Professional 4

IMG_07791IMG_07792IMG_07793

There have been several sources that have provided me with a lot of the information presented in this article. “The Backyard Astronomer’s Guide” has been my constant companion as I have expanded my interest in amateur astronomy. That book, along with the websites ImprovePhotography, Astropix and LonelySpeck have given me tremendous assistance in my early efforts at understanding astrophotography. Hopefully, this article helped you as well. Please leave a comment with any questions or suggestions you may have.

The Buying Guide: Getting the Right Filters

Oh, the eyepiece filter! So much, hope. So much, promise. So much, confusion.

When I was in high school, I bought my first set of filters. They were a planetary set and I hoped they would add much-needed color to my views of Saturn and Jupiter through the good ole Meade DS 114 Reflector. The filters arrived and to my dismay, they didn’t fit.  Little did I know that my telescope used older 0.965 in. eyepieces while the planetary filters were for the now standard 1.25 in. eyepieces that come with virtually all telescopes today. What’s the point of this story, you may ask? Don’t just buy any filters! Be informed, understand their uses and above all…make sure they will fit!

What to Buy:

Lunar Filter
Variable Polarizing FilterWhile the Moon may be an unavoidable pain on some nights, it can also provide great views when it is observed at the right times and with the right equipment. One filter that I’ve gotten great use out of  is the Variable Polarizing Filter. This filter allows you to adjust the amount of light that enters the eyepiece from 3% to 40% of normal brightness. While the best time to view the Moon is when it is less than half full, this will help to improve contrast and detail on nights when because of the glow of the moon you have little else to view!

Planetary Filtersoptions-MEAD011_4534_Set382138A56
The main reason I had wanted those filters that didn’t fit was to give planets the  color that I saw in many Hubble Space Telescope images. If this is your reasoning for buying filters, than you will be a bit disappointed. Planetary filters are not made to bring out the “natural” coloring of planets but are made to enhance various features that emit certain wave bands of light. They can also help to eliminate some of Earth’s atmospheric turbulence. Of the color filters I have  the #21 orange has given me excellent views of Saturn and Mars. The Cassini Divide on Saturn looked razor-sharp and its cloud belt popped out more than usual while using this filter. On Mars, I was able to make out the polar ice cap and land features more distinctly as well.

UHC Filter
Zhumell UHC FilterIf viewing planetary nebula is a favorite pass time of yours, than the UHC filter is exactly what you have been looking for! This filter will block out certain light waves that cause light pollution, while allowing light from emission and planetary nebulae, leaving a darkened background sky and light from certain objects that you want to see. Without it, I could not see the Owl Nebula from my moderately light polluted location. With it, this planetary nebula popped into view right where it was supposed to be.


Buying Suggestions:
I have continuously found Orion from Telescope.com and Zhumell and Meade from Telescopes.com to be trusted name brands with great quality and good pricing. For those looking to make the jump into filters, I would suggest these offers:

Orion Variable Polarizing Filter
Meade Series 4000 Color Filter: #8, # 21, #38a, # 56
Zhumell UHC Filter

The Buying Guide: Telescopes For Kids

Where To Start?
So, your kid wants a telescope? While your first thought might be to run and buy “Star Trek” on Blu-Ray and leave it at that; know that there are many affordable options that most importantly are easy and fun to use. One website, I continuously come back to is telescopes.com. They have a wide selection of choices for beginner to expert level amateur astronomers. Telescopes, eyepieces and accessories found here are generally of good quality for a reasonable price with low to free shipping and handling.

Beginners Telescope for a Kid
Buying for a child interested in astronomy is a very daunting task. It seems that as many objects there are in the sky there are choices of telescopes to buy. For a kid who is showing some interest in astronomy, the best telescope to get is a refractor. They require very little to no maintenance and are what a child imagines when they think of the design of a telescope. Meade’s NG70-SM refracting telescope is a great example of an affordable and useful beginners scope for a child. It’s 70mm aperture, 700mm focal length and included 9mm and 25mm eyepieces will bring in enough light for some nice low and medium power views of the craters of the Moon, cloud belts of Jupiter and even the beautiful rings of Saturn.

Getting Started
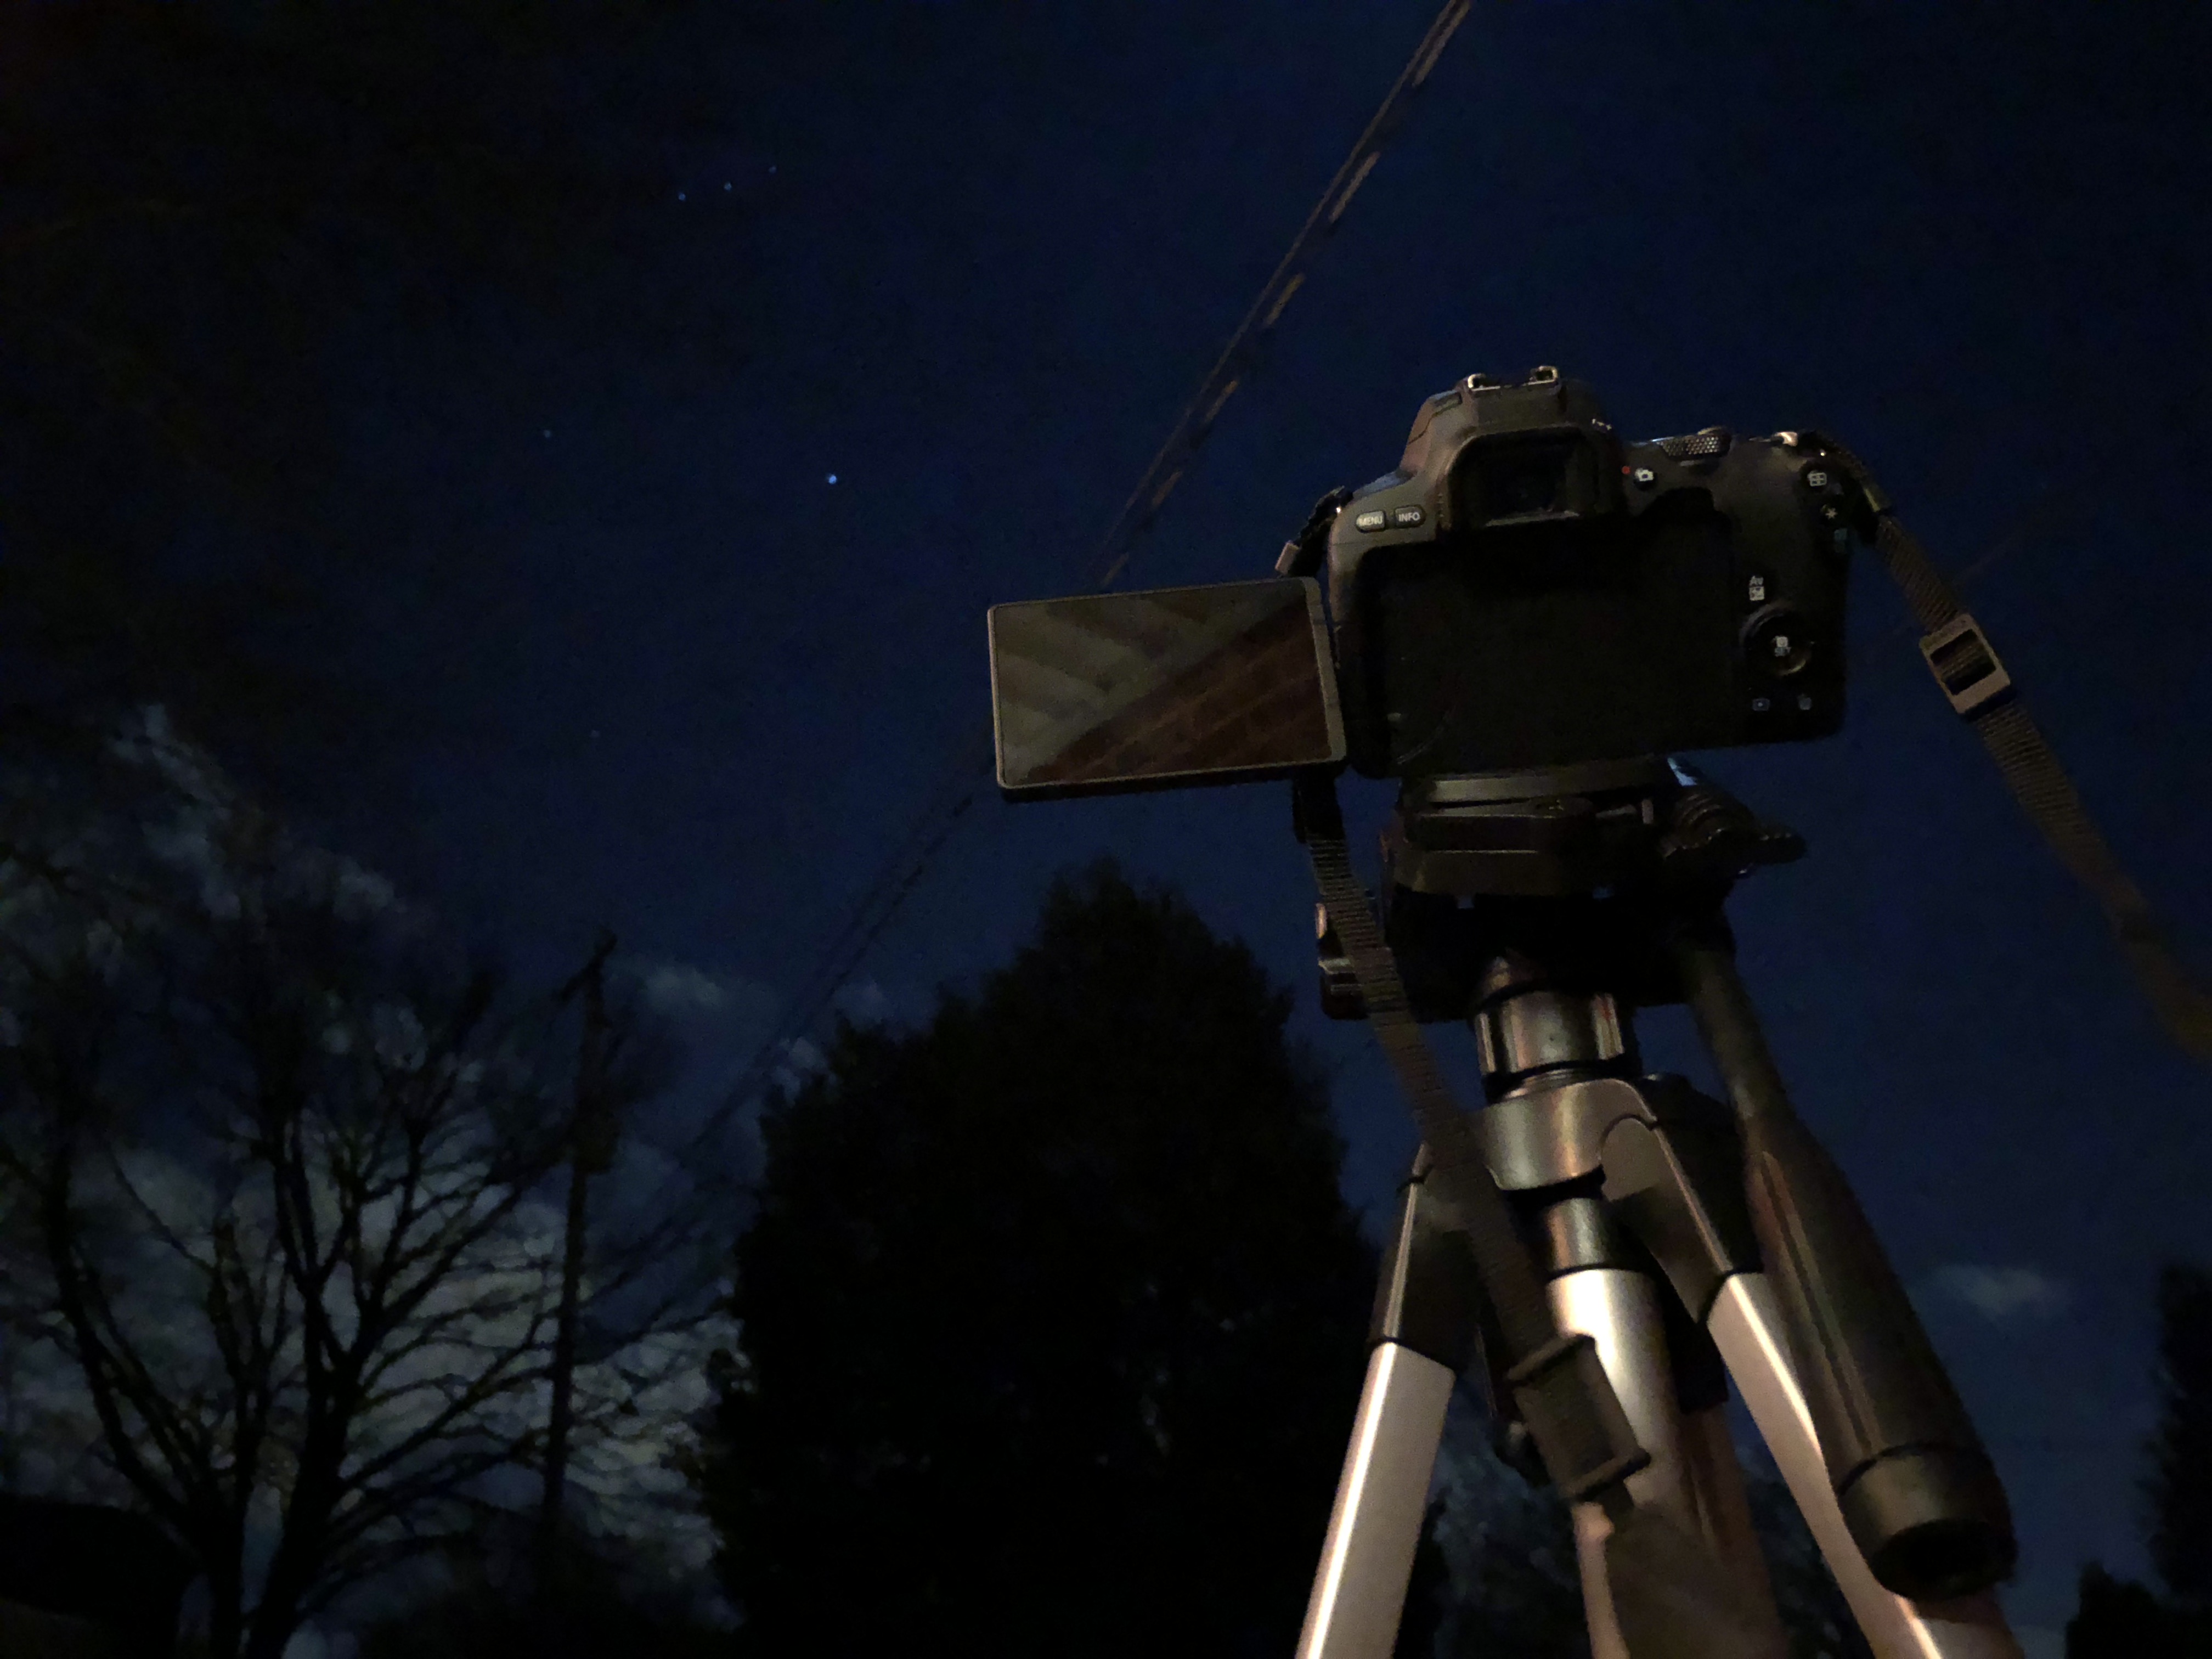
The telescope arrived, your child unwrapped it with excitement and now what? Where does he or she begin? How do they know what to look at? Why is this 70 dollar telescope collecting dust in the corner of my living room a month after Christmas? First things first, sit down with your child and walk through the directions on how to build and use the telescope. While directions are boring, reading them carefully for assembly and giving your kid a tutorial on how the telescopes works will help lessen future frustrations. On the first clear, somewhat warm night, take out the telescope just after sunset and find the Moon. Have them start out with the 25mm low magnification eyepiece and use the red dot finder to center the object in the field of view. After some time with the 25mm, switch to the 9mm for some closer views of the shadows and craters.

What’s Next?
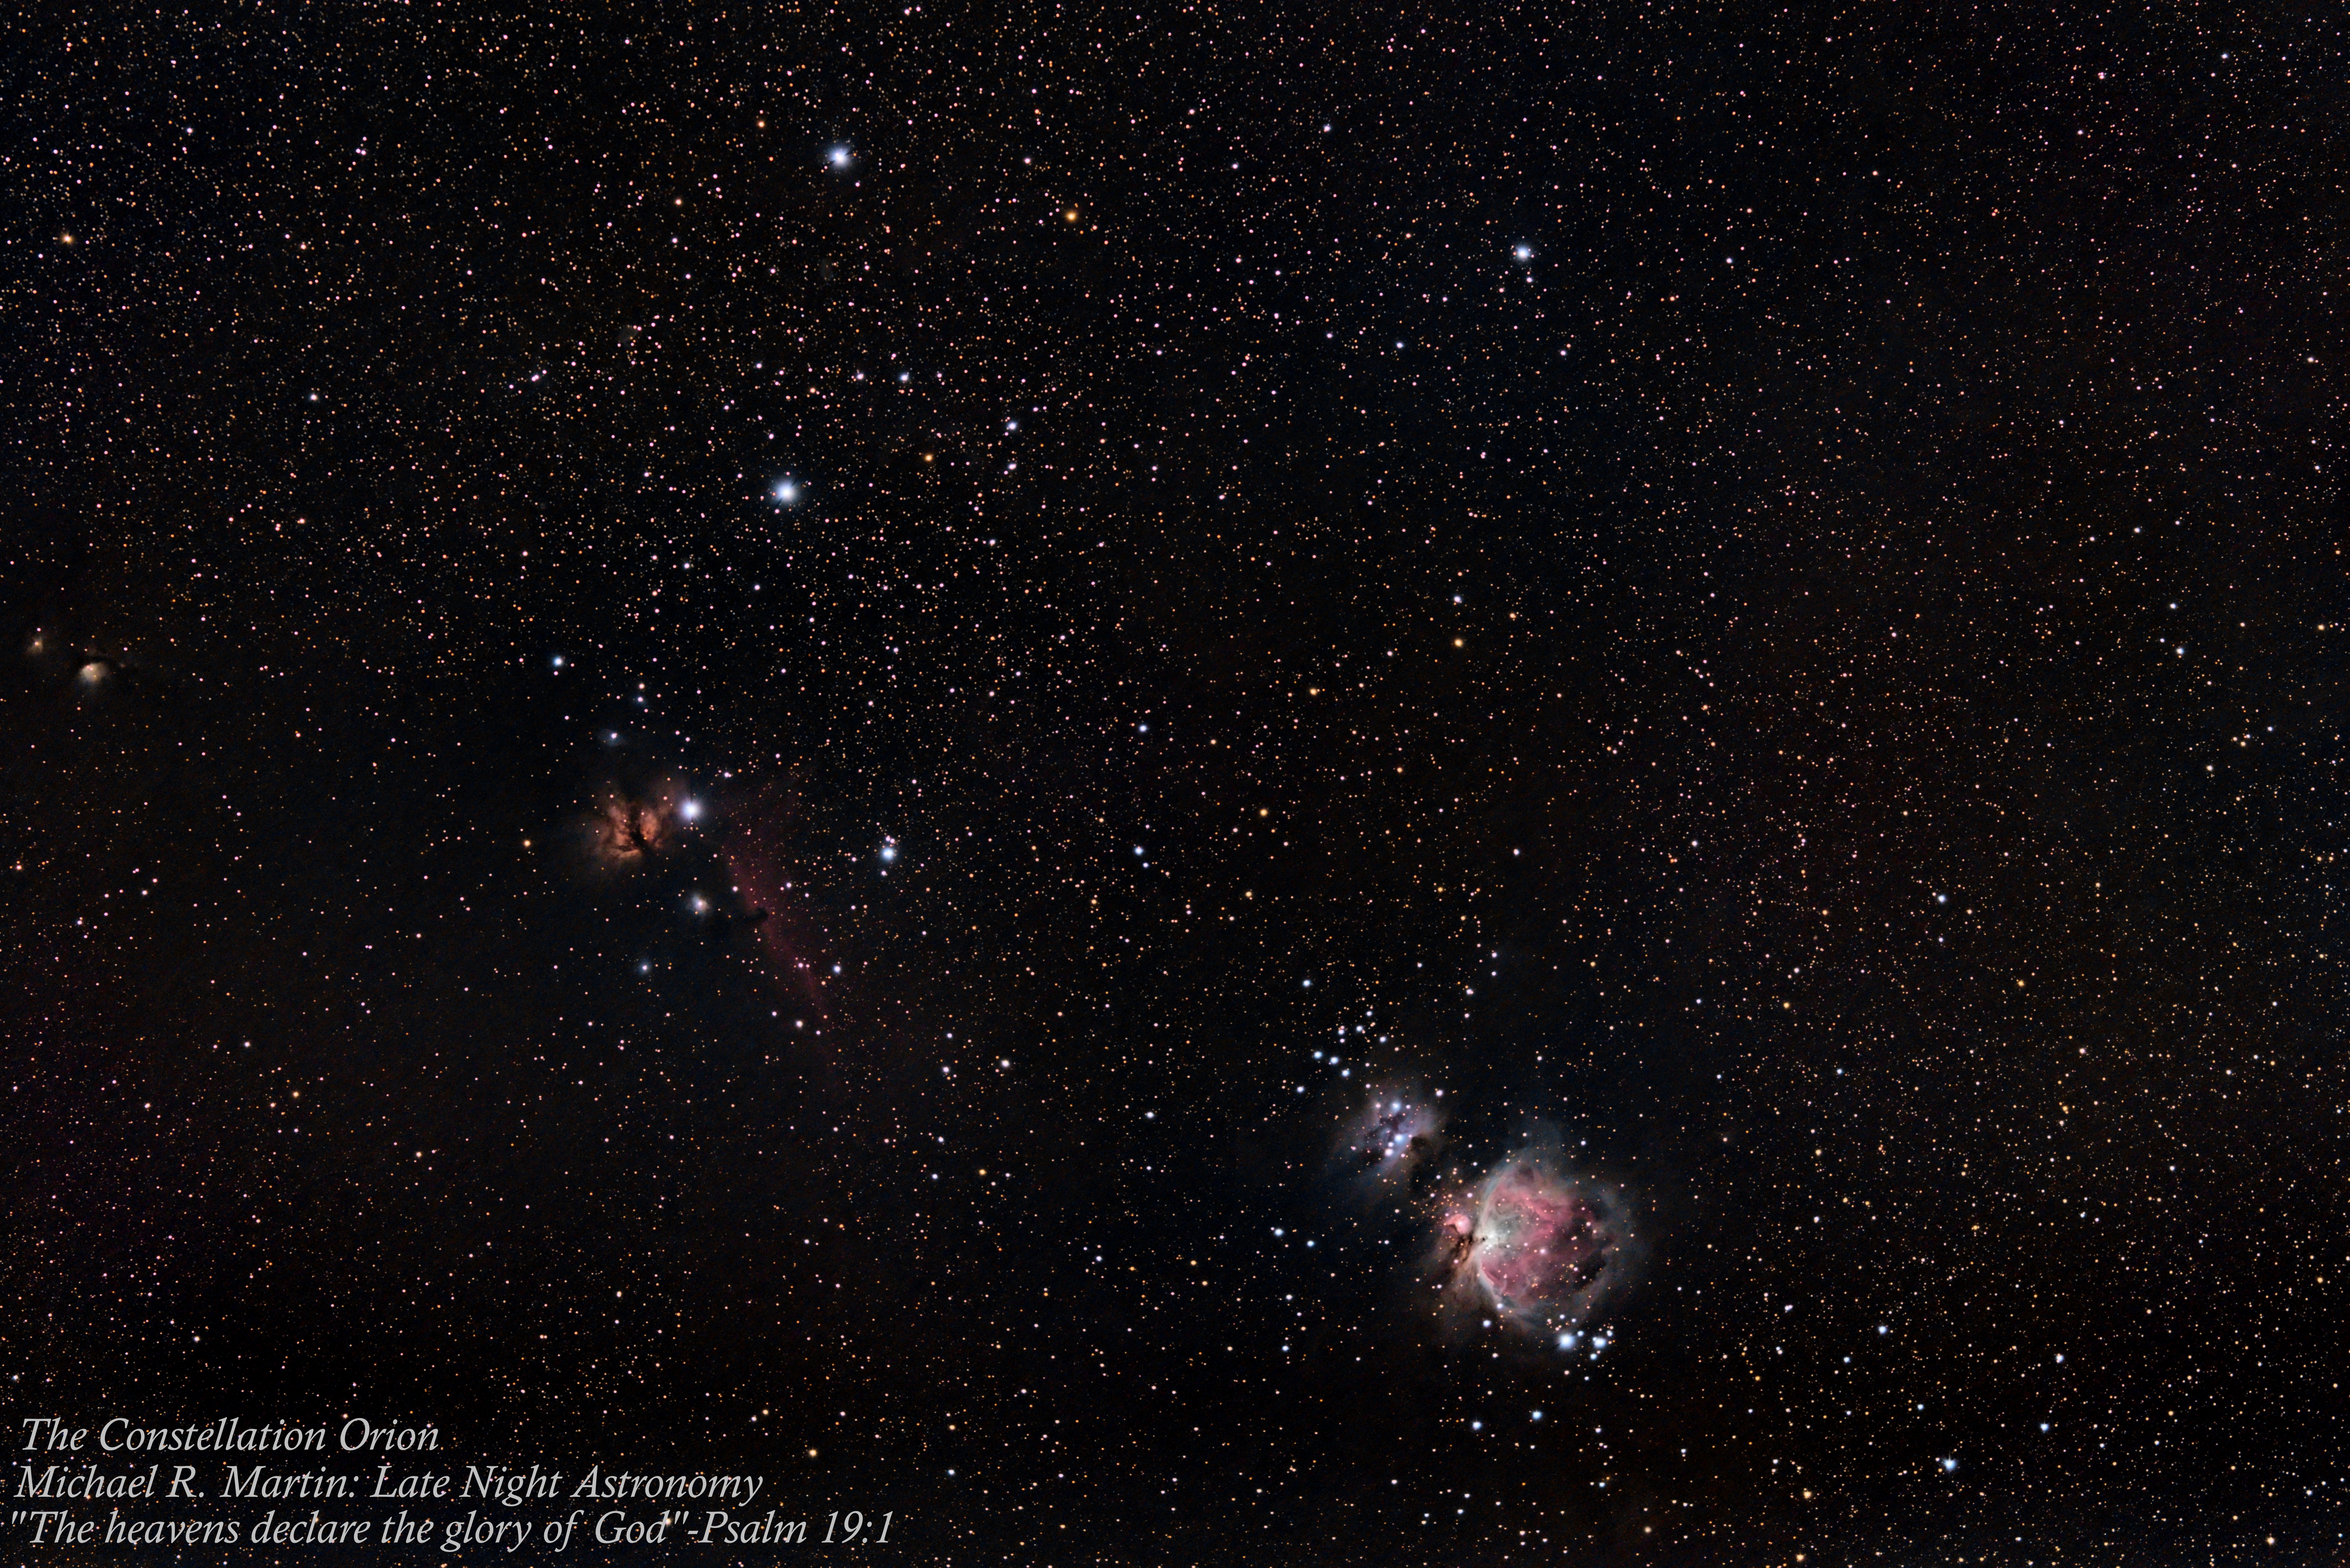
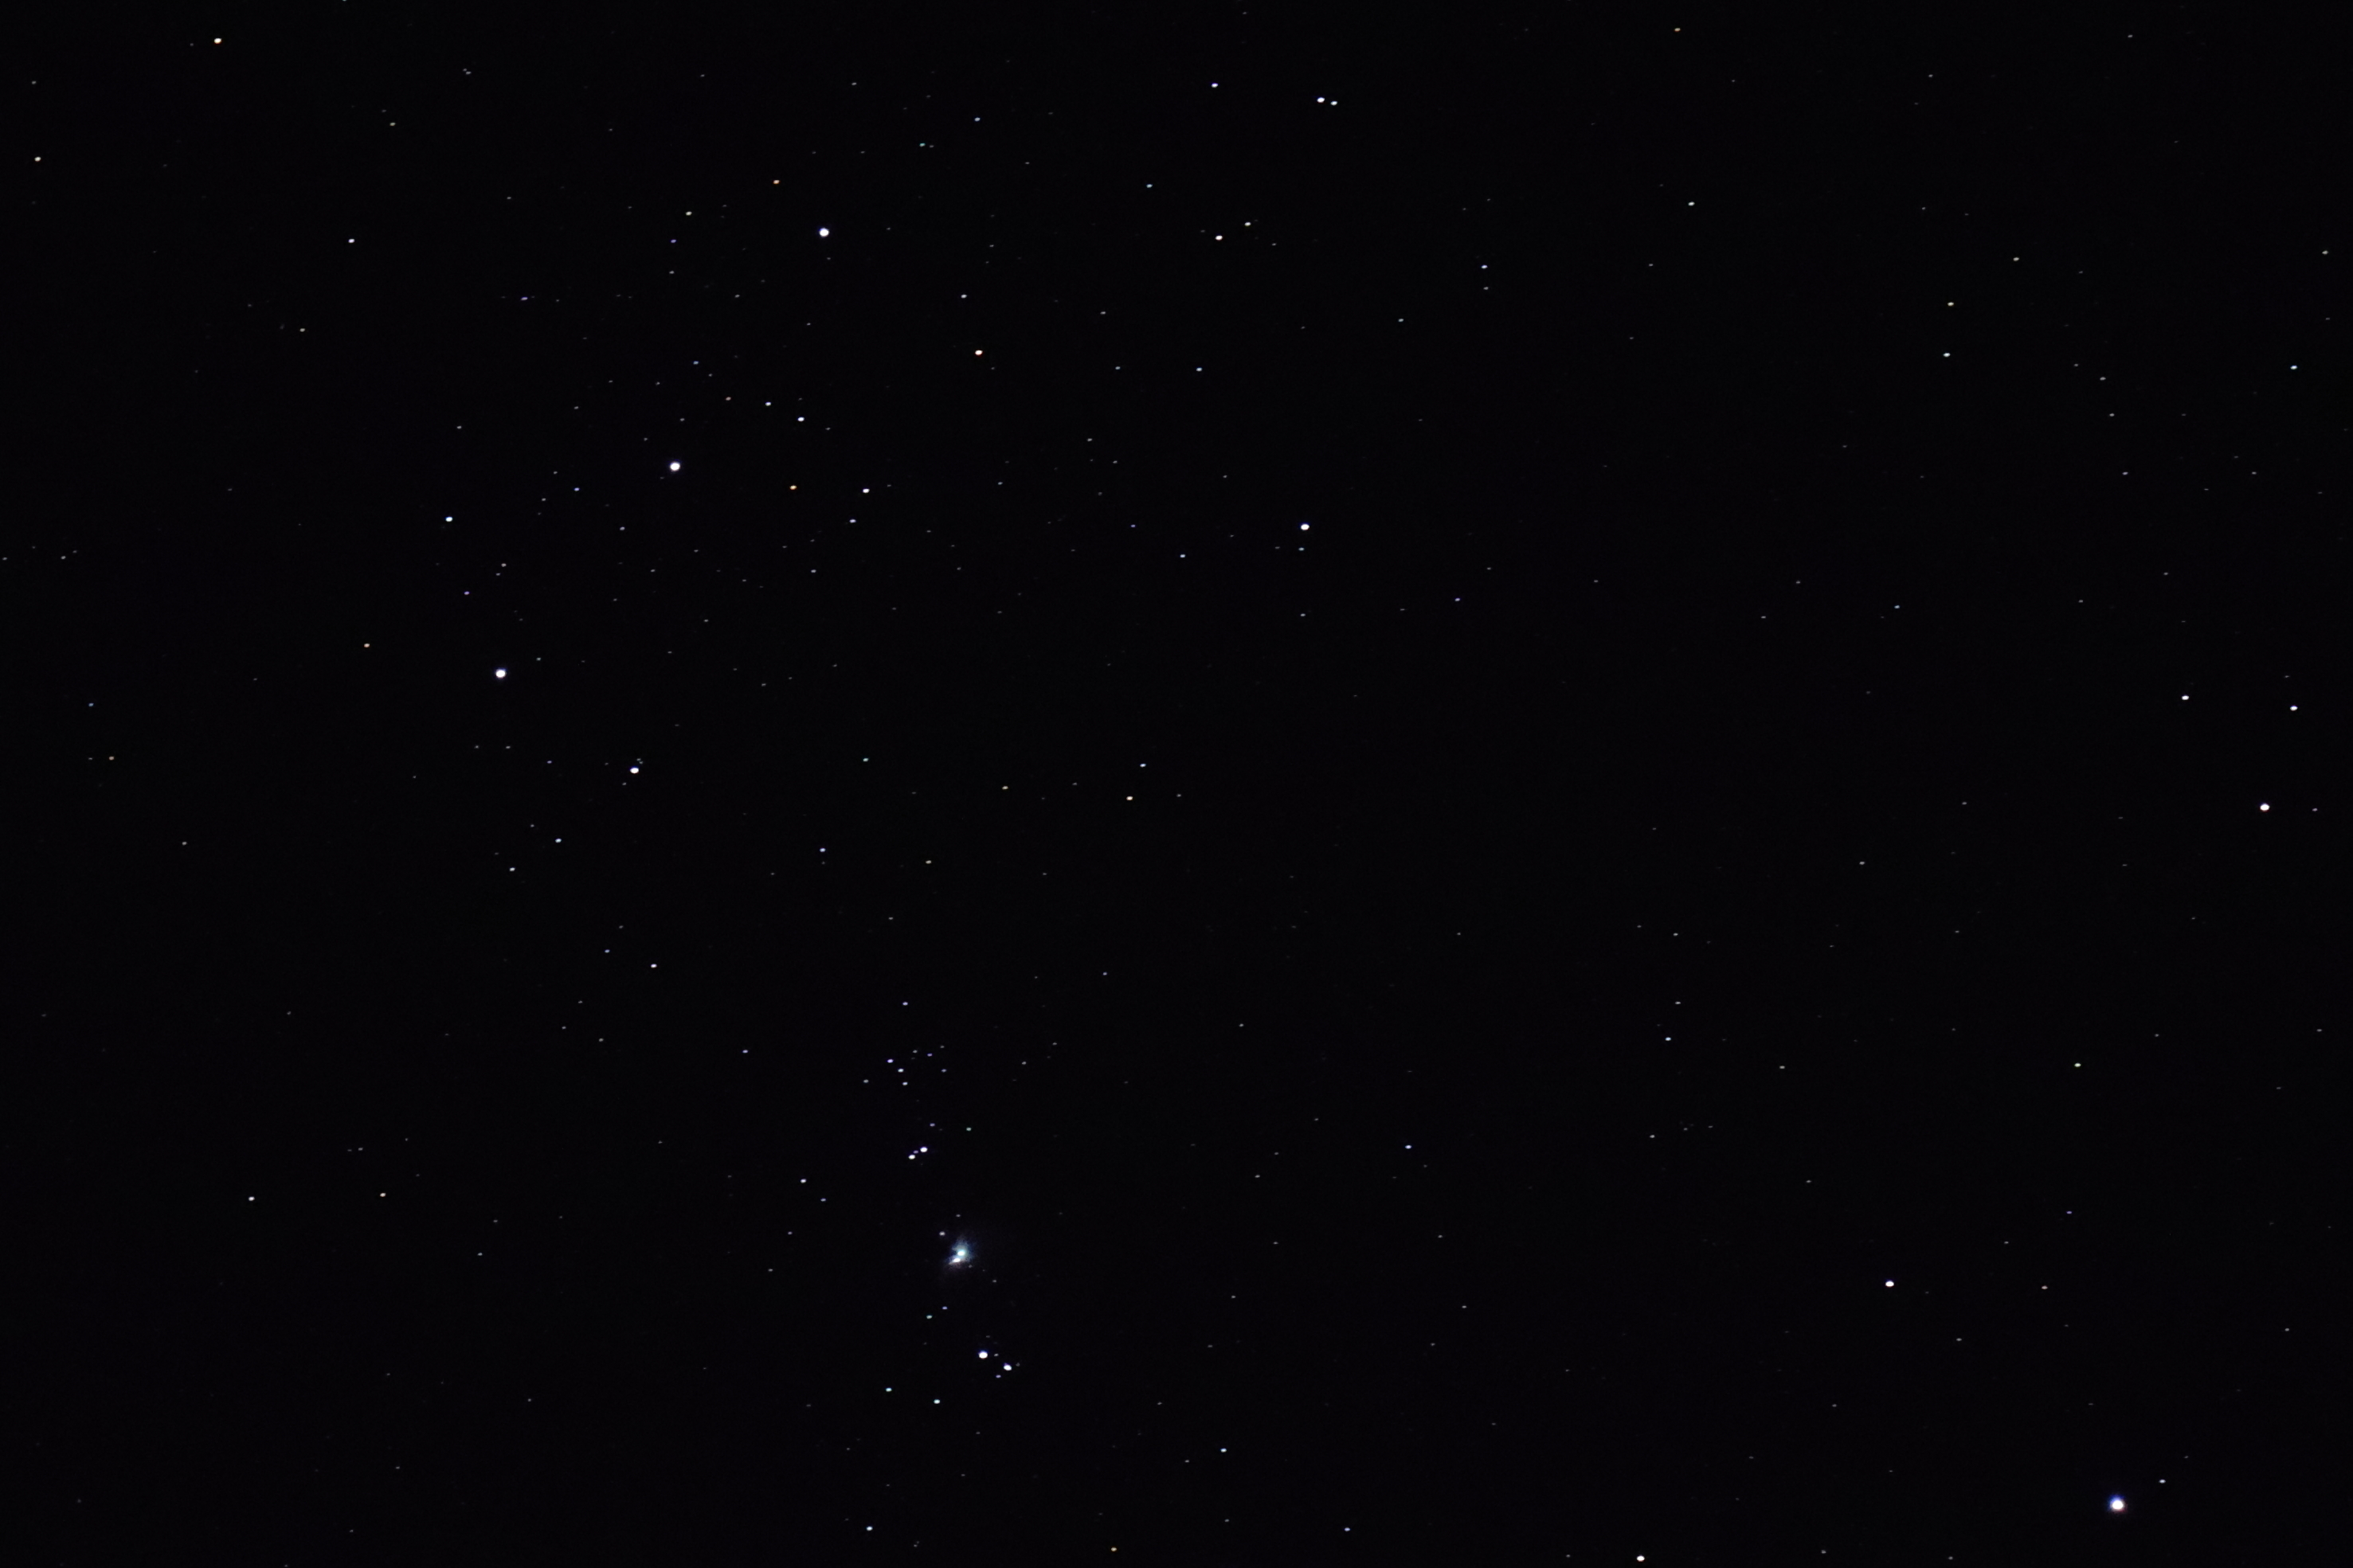
Depending on the age of your child and continued interest shown, there are a couple avenues to consider. After spending sometime on the Moon, finding Jupiter and Saturn will probably be their next challenge. Online resources and iPod Touch/iPhone Apps can be used to find out what part of the year they can be viewed and when in the night time they are out. Moving on from these, I would suggest putting in the low power 25mm eyepiece and having them slowly scan the sky. They can explore interesting constellations and star patterns and might even come across a surprise deep sky object (Galaxy and Nebula) or two.

Additional Resources
If your kid is showing interest a few months to a year in you might want to consider purchasing some additional resources for a Christmas or  birthday present . The first thing you might want to add are some books and movies on space. In terms of books, nothing quite beats the Backyard Astronomers Guide. While this might be too advanced for kids, I would highly recommend it for teenagers who are looking for everything from basic facts to in-depth knowledge of amateur astronomy. The History and Discovery Channel’s have some incredible series that could entertain and educate anyone on the concepts of space. The Universe and When We Left the Earth are two of my favorites, giving a rich scientific and historical perspective of our place in the universe and our accomplishments in manned space flight.

Telescope Accessories
In terms of accessories for the telescope, a more powerful eyepiece for some closer views of the Moon, Jupiter and Saturn might be needed. A good affordable choice would be the 6mm Zhumell Z Series Planetary Eyepiece. It will provide 117x magnification views through the Meade NG70, which is probably near the limit of what this telescope can handle. Most importantly, this is a nice eyepiece that could be used with any potential telescope upgrade down the road.

Enjoy it!
Astronomy can be a great way for you and your child to bond over something that can help shape their perspective of our planet and their place in the universe.  Astronomy can also easily become an aggravating nightmare. Hopefully, following this basic buying and observing guide will alleviate some of those challenges and uncertainties and replace them with memories of excitement and exploration for you and your child.