Top 10 Best Deep Sky Objects: Winter Night Sky

Winter is my favorite time to observe and image the nighttime sky. Yes it’s bitterly cold for many of us, but the nights start early and last long throughout these months. Here is my list of the best Deep Sky Objects for you to hunt down and observe or image during this time of year. For more about what’s going on in the night sky please subscribe to my YouTube Channel where I cover major events in astronomy throughout the year in my monthly series “The Night Sky”.

While the best views of these objects beyond our Solar System will be with a telescope, most can also be spotted with a pair of binoculars and a few with even just the naked eye. Remember, darker skies, no Moonlight and larger telescopes will bring about better results for observing these distant objects. Begin the night by setting up your equipment right after sunset and give the sky a good hour to darken before you start your observing or imaging. This will allow your equipment to acclimate to the outdoor temperature while the sky gets nice and dark for your night out under the stars. The app I used to create these star charts is “SkySafari”. For more information on it, please visit skysafariastronomy.com
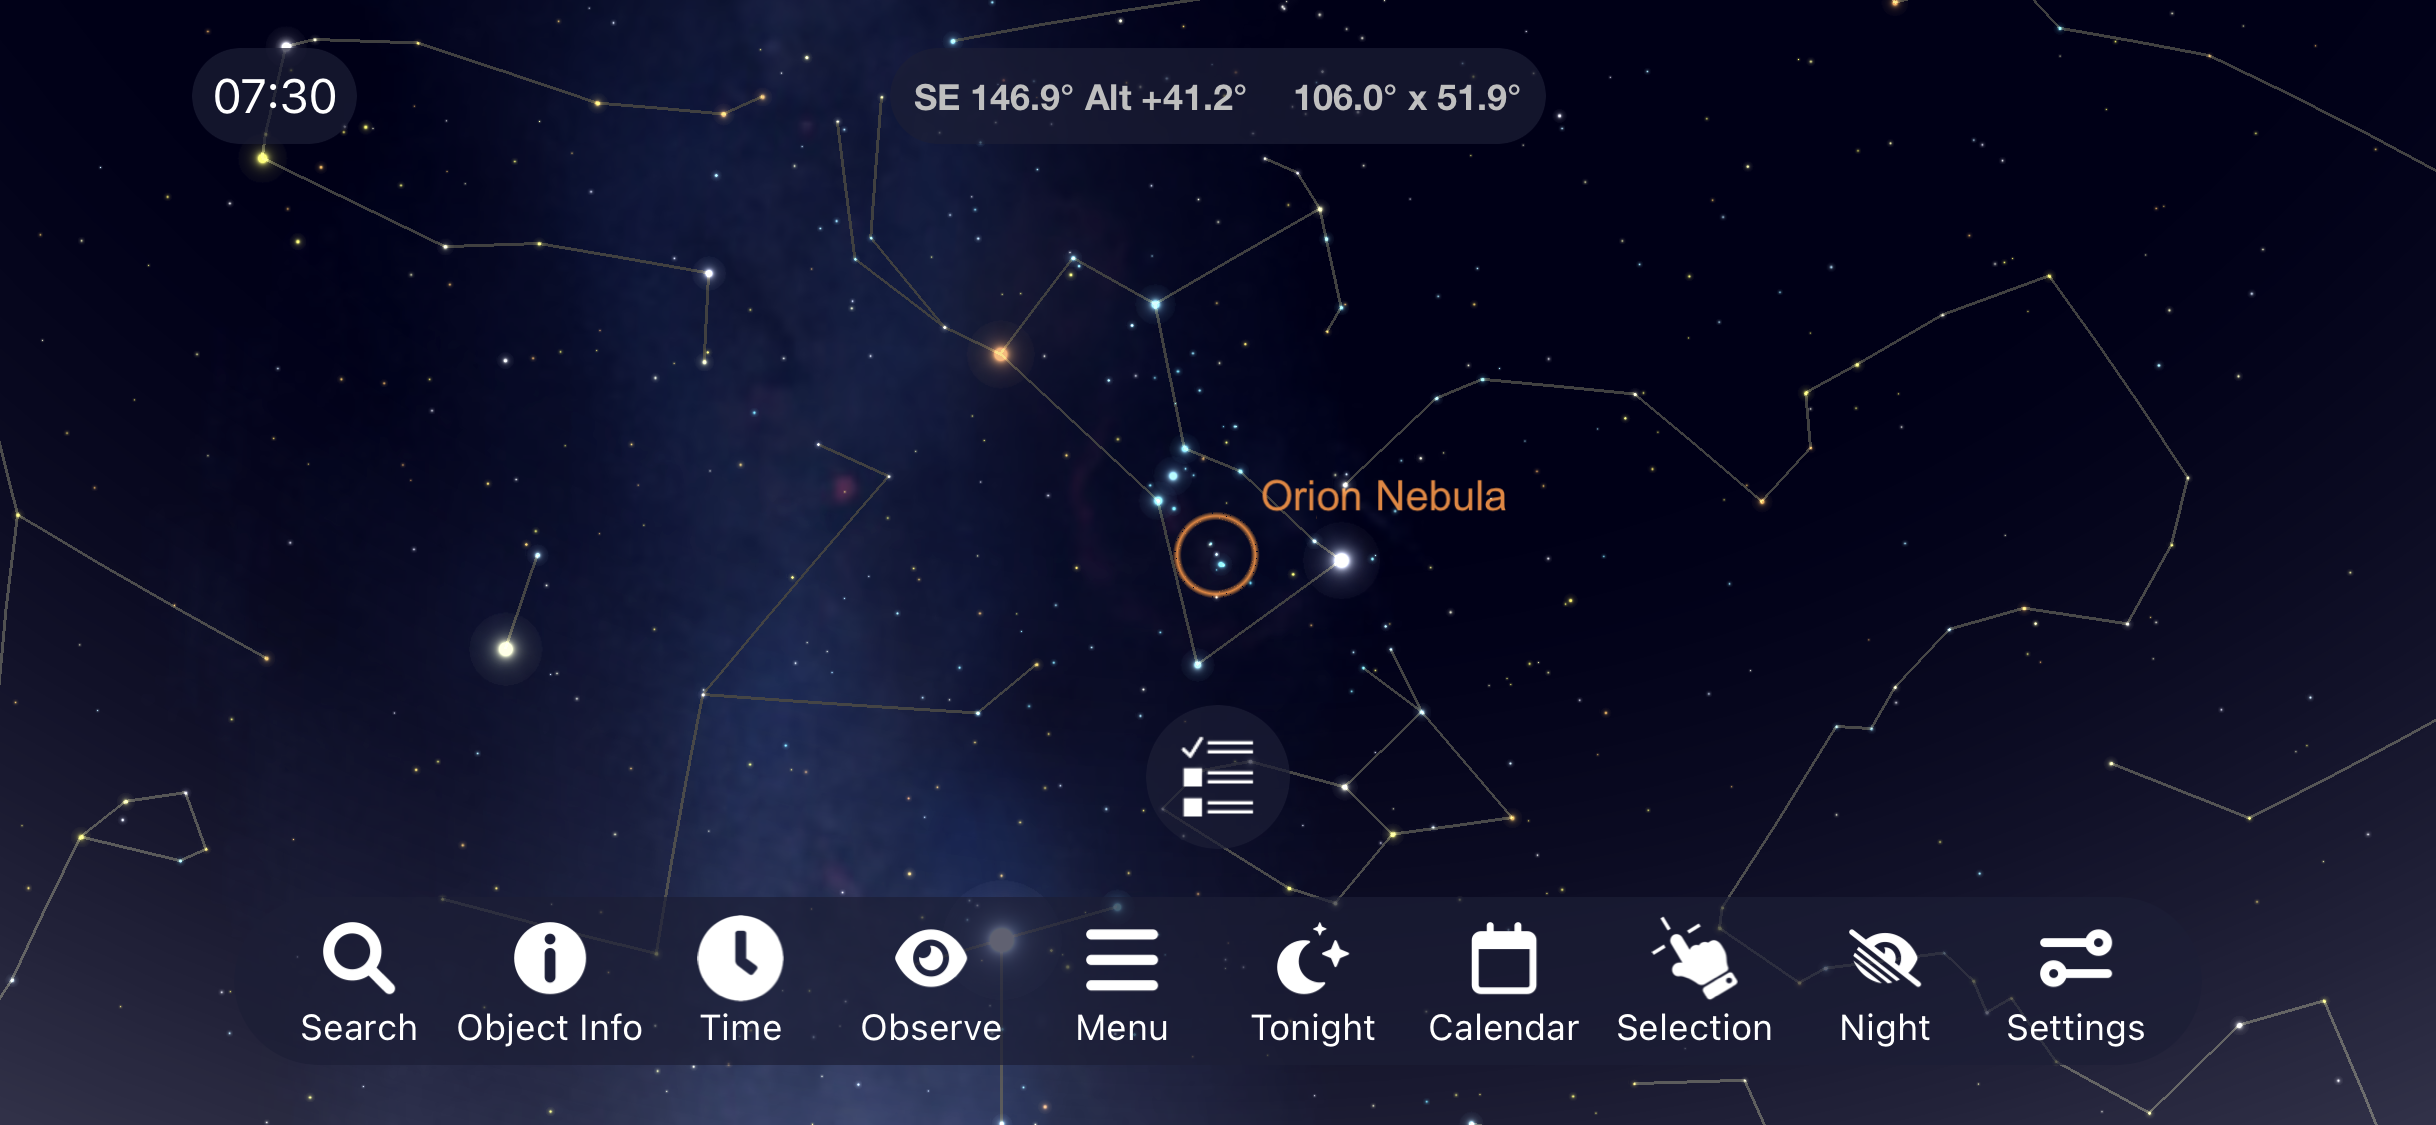
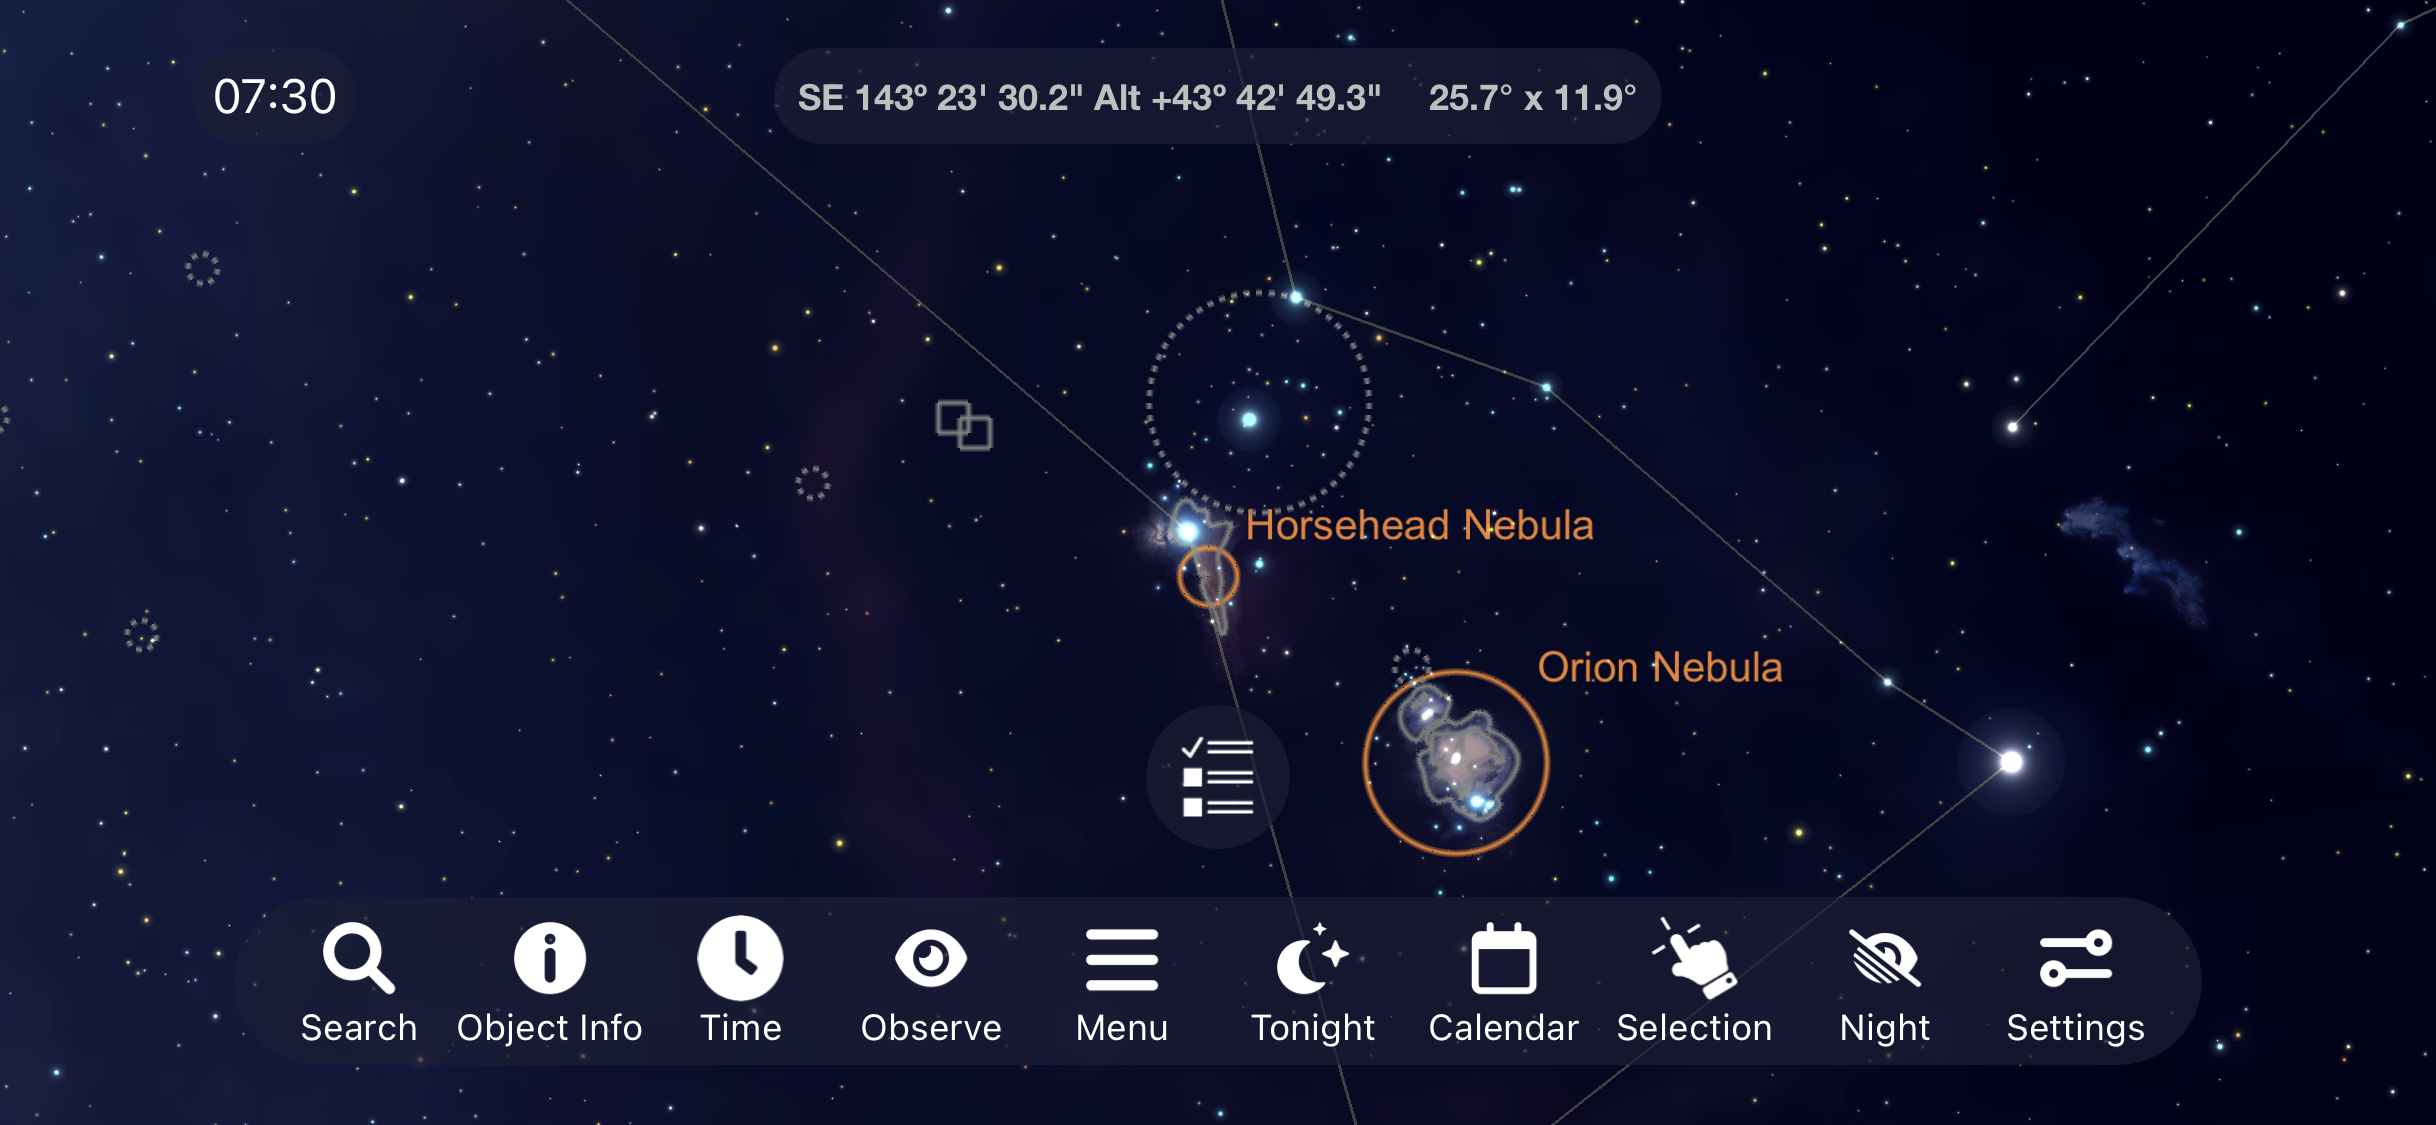
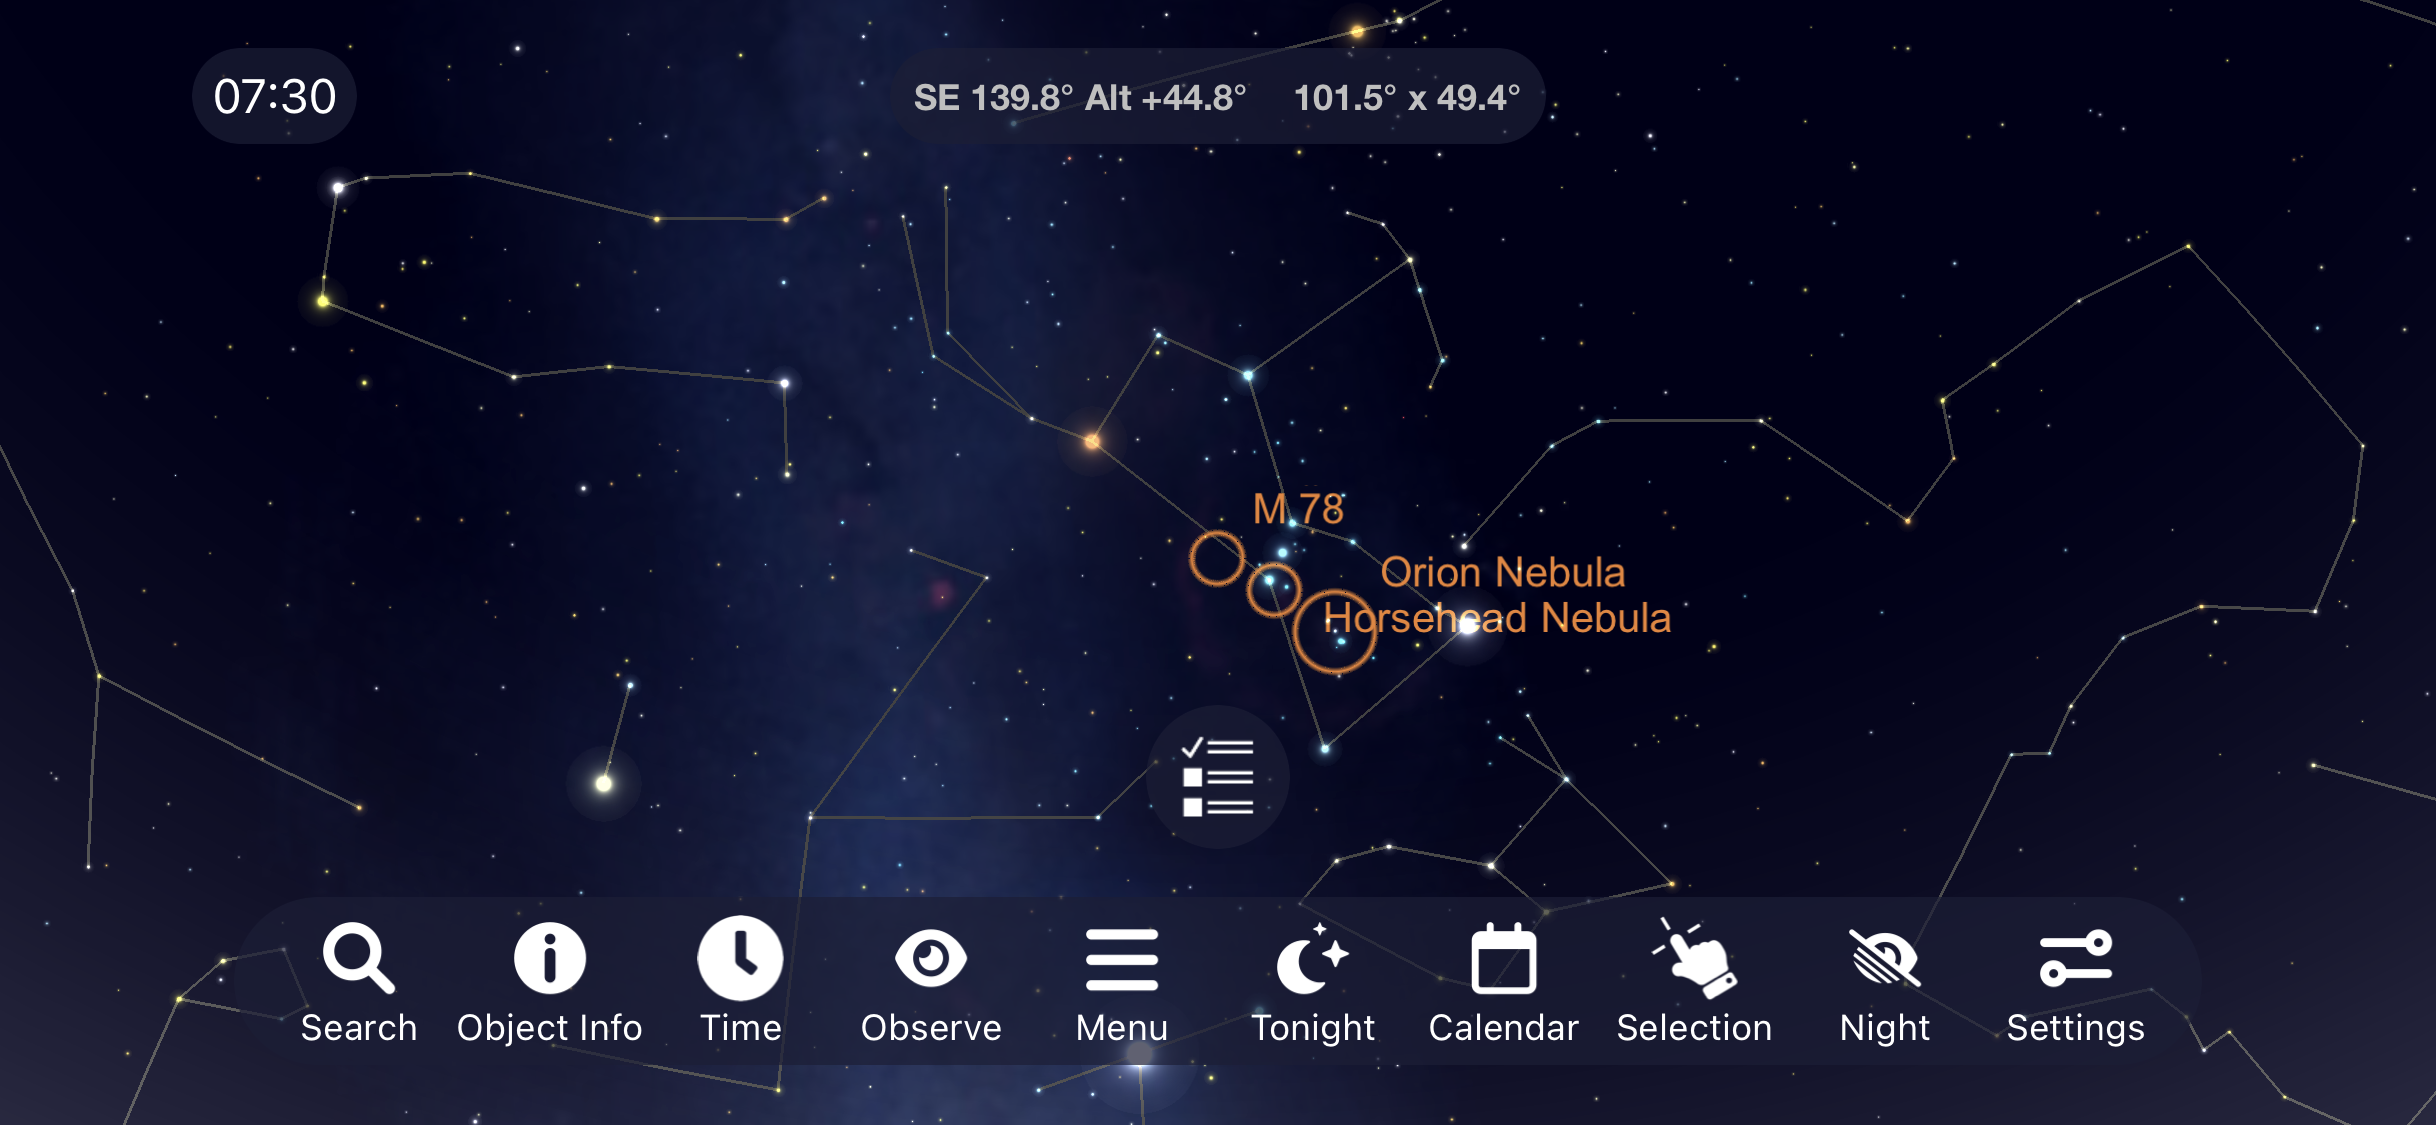
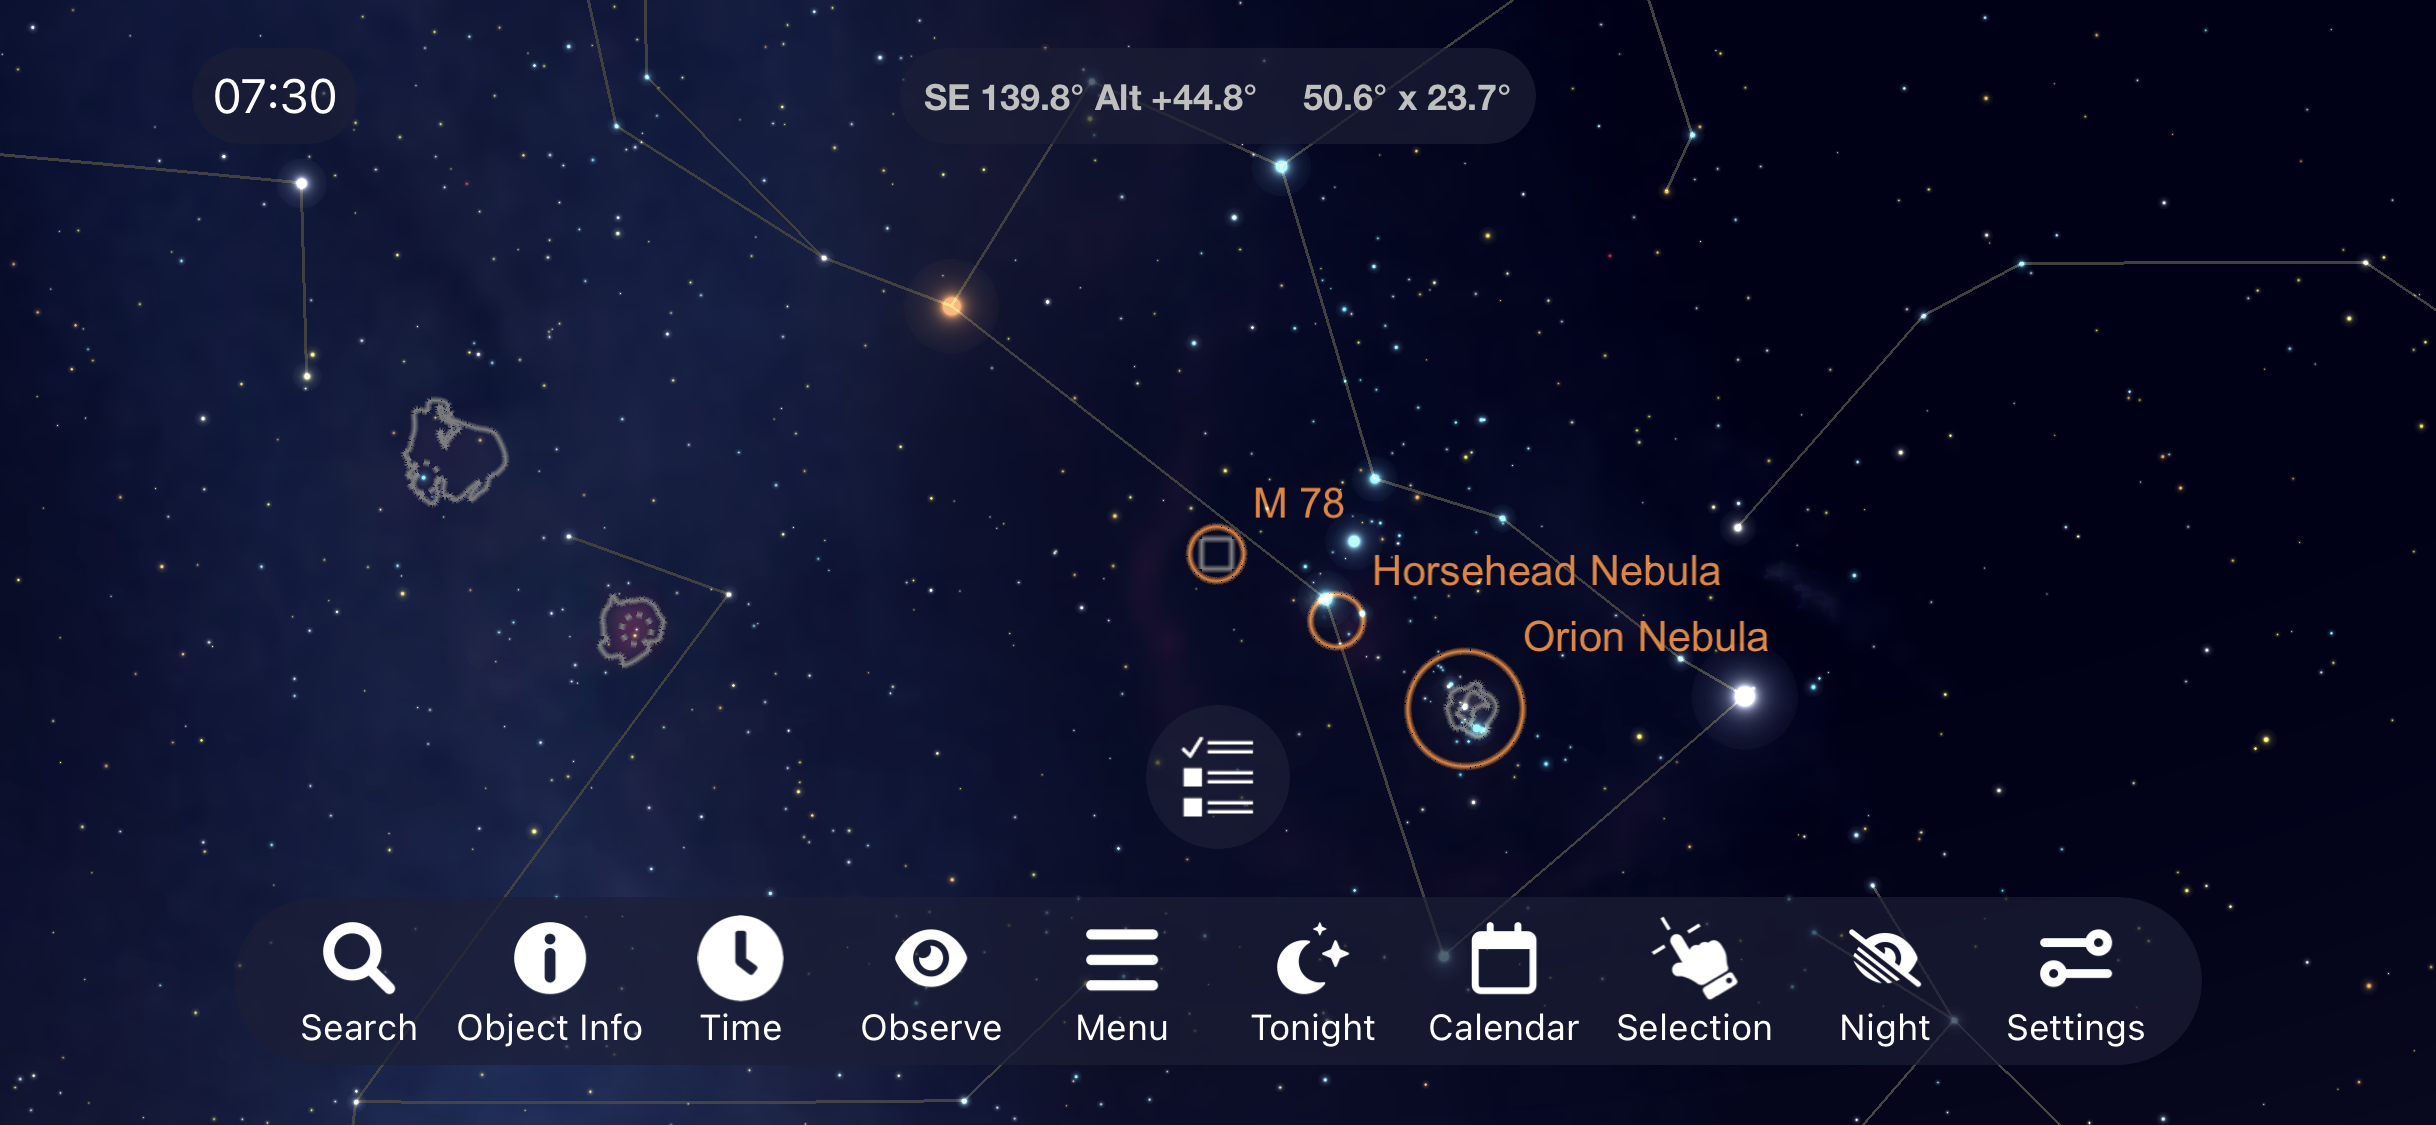
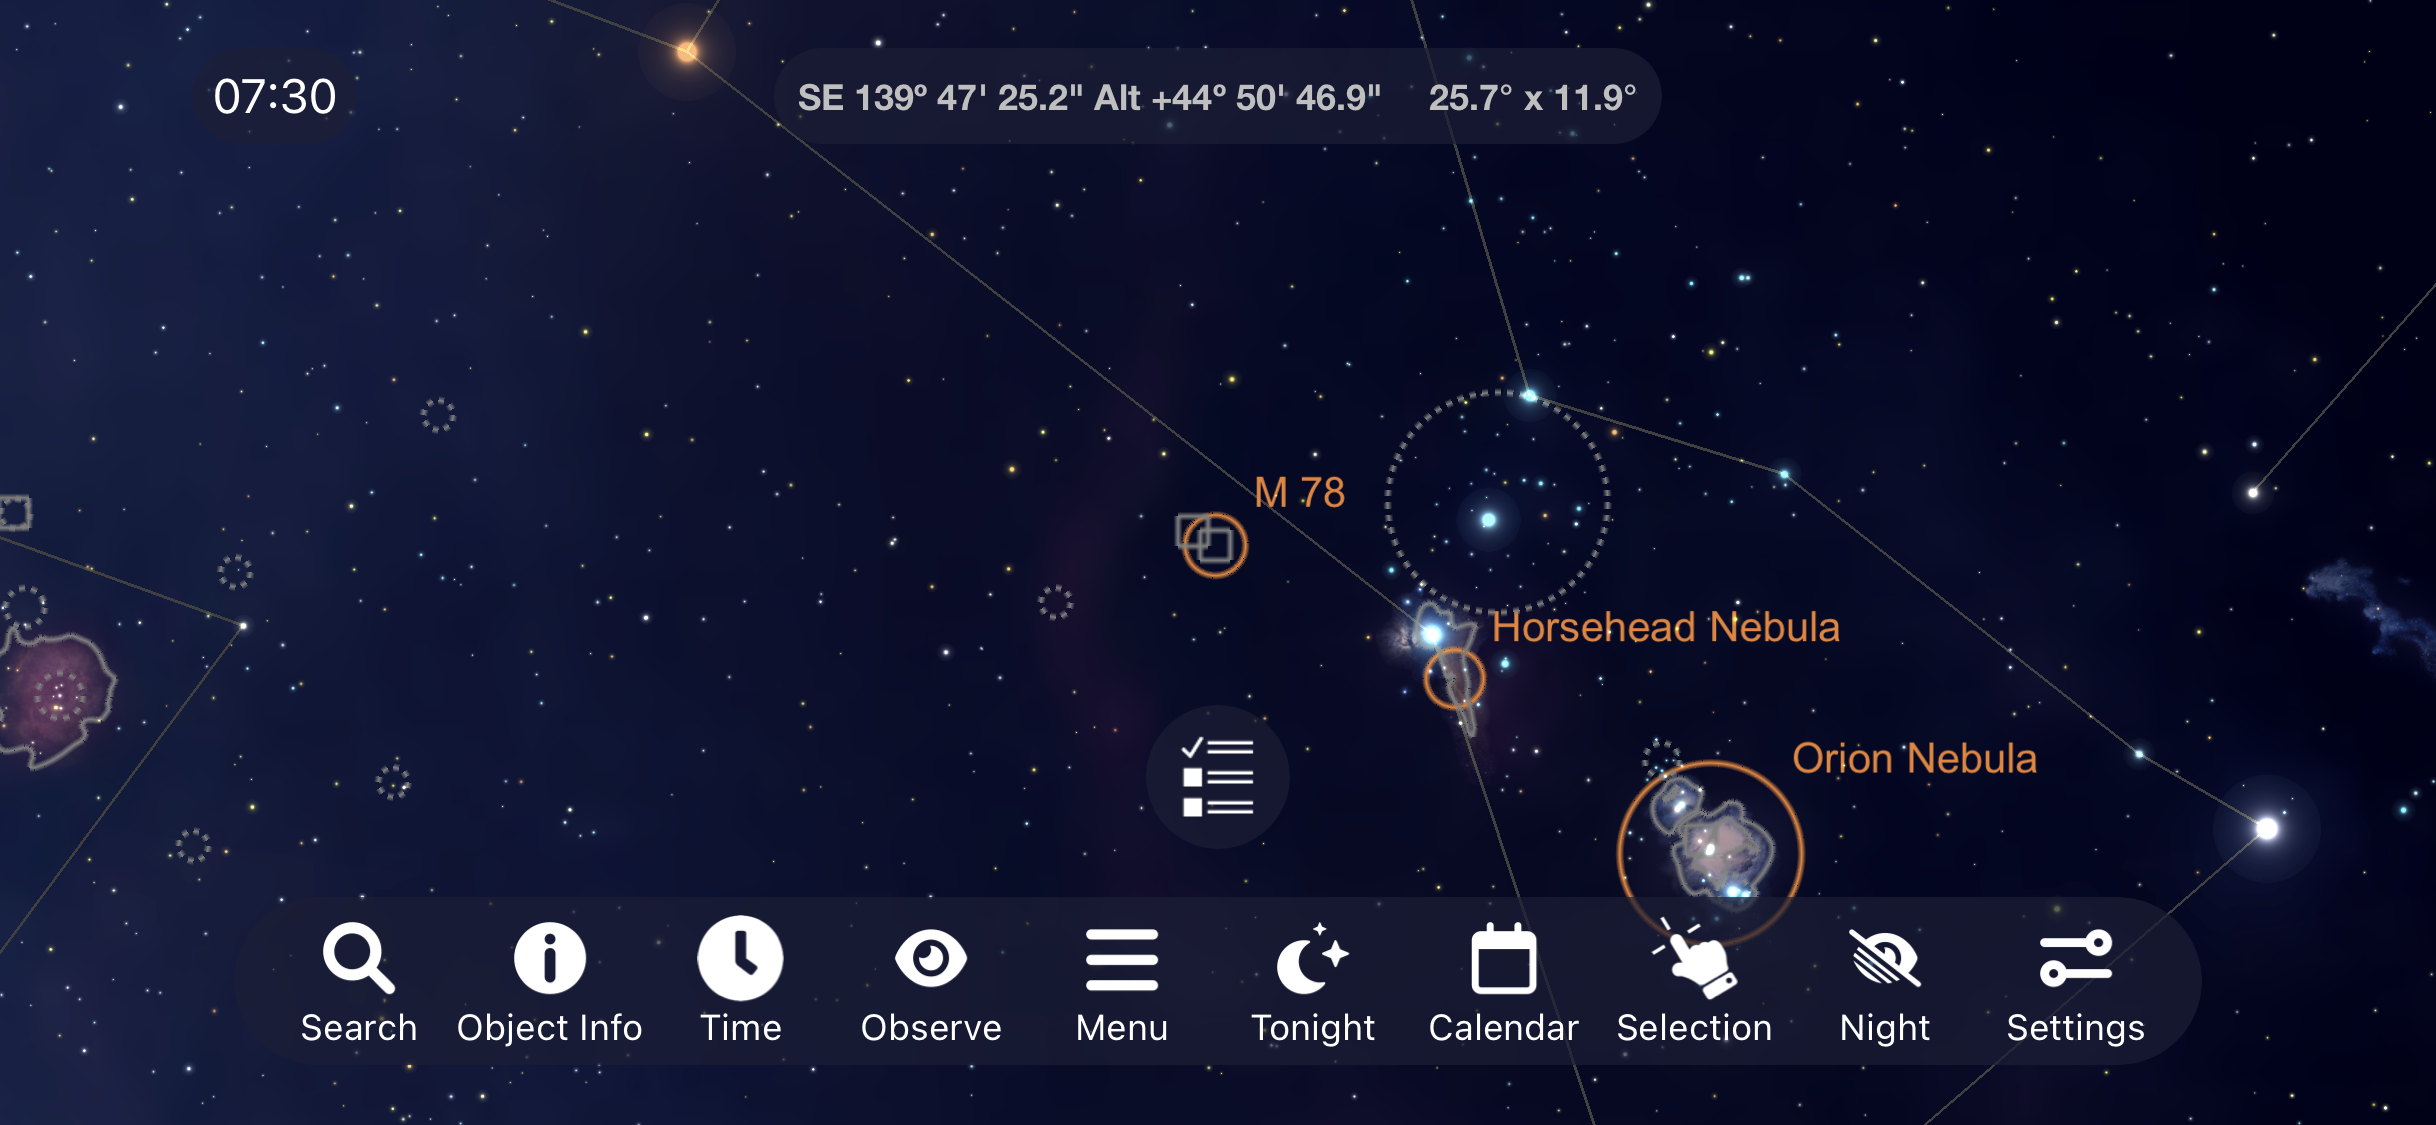
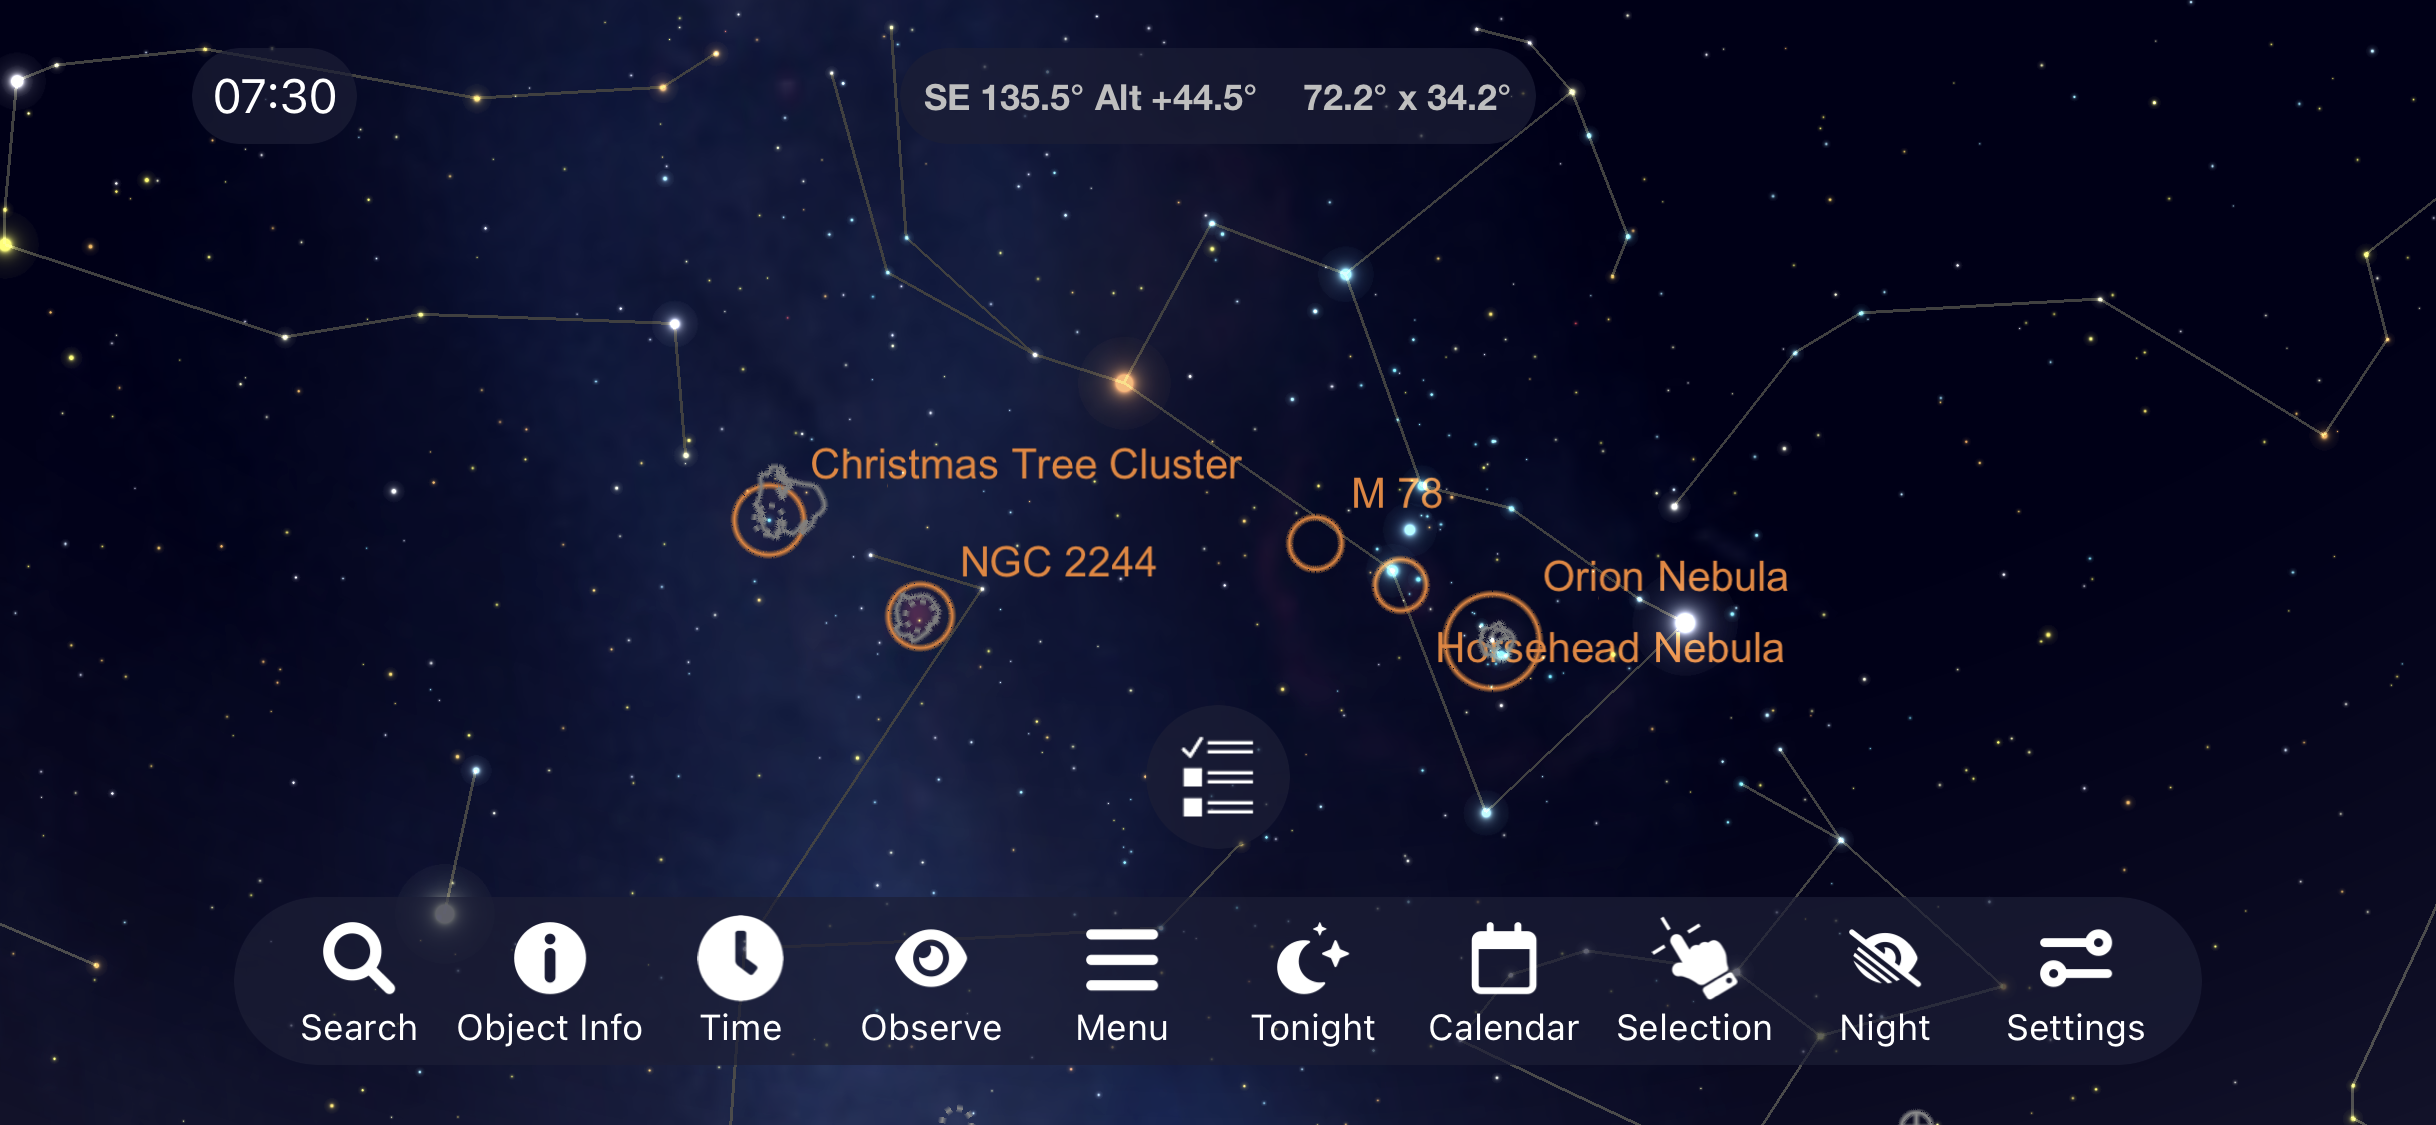
The Orion Nebula

Let’s begin our journey by facing towards the South East and looking up until you see the Constellation Orion. Start out with your finder scope and a low magnification eyepiece whenever you are looking for objects in the night sky. Star hop from bright star to bright star until you get to the Deep Sky Object you are looking for. Once you find it, then use a medium powered eyepiece to study the faint and fine details of the object. After finding the three stars that make up Orion’s belt, move down until you come across what looks like a patch of gray clouds floating in the sky. You have just found the gorgeous Orion Nebula and it’s stellar nursery of stars being born. Even with moderate light pollution, my 8 inch Dobsonian telescope can pick up a grayish teal color coming from this deep sky object.

Every year, I image the Orion Nebula in January or February. Here is one of my favorite shots taken with my Canon SL2, 135mm Samyang Lens and SkyGuider Pro Tracking Mount showing off arguably the best Deep Sky Object the night sky has to offer.

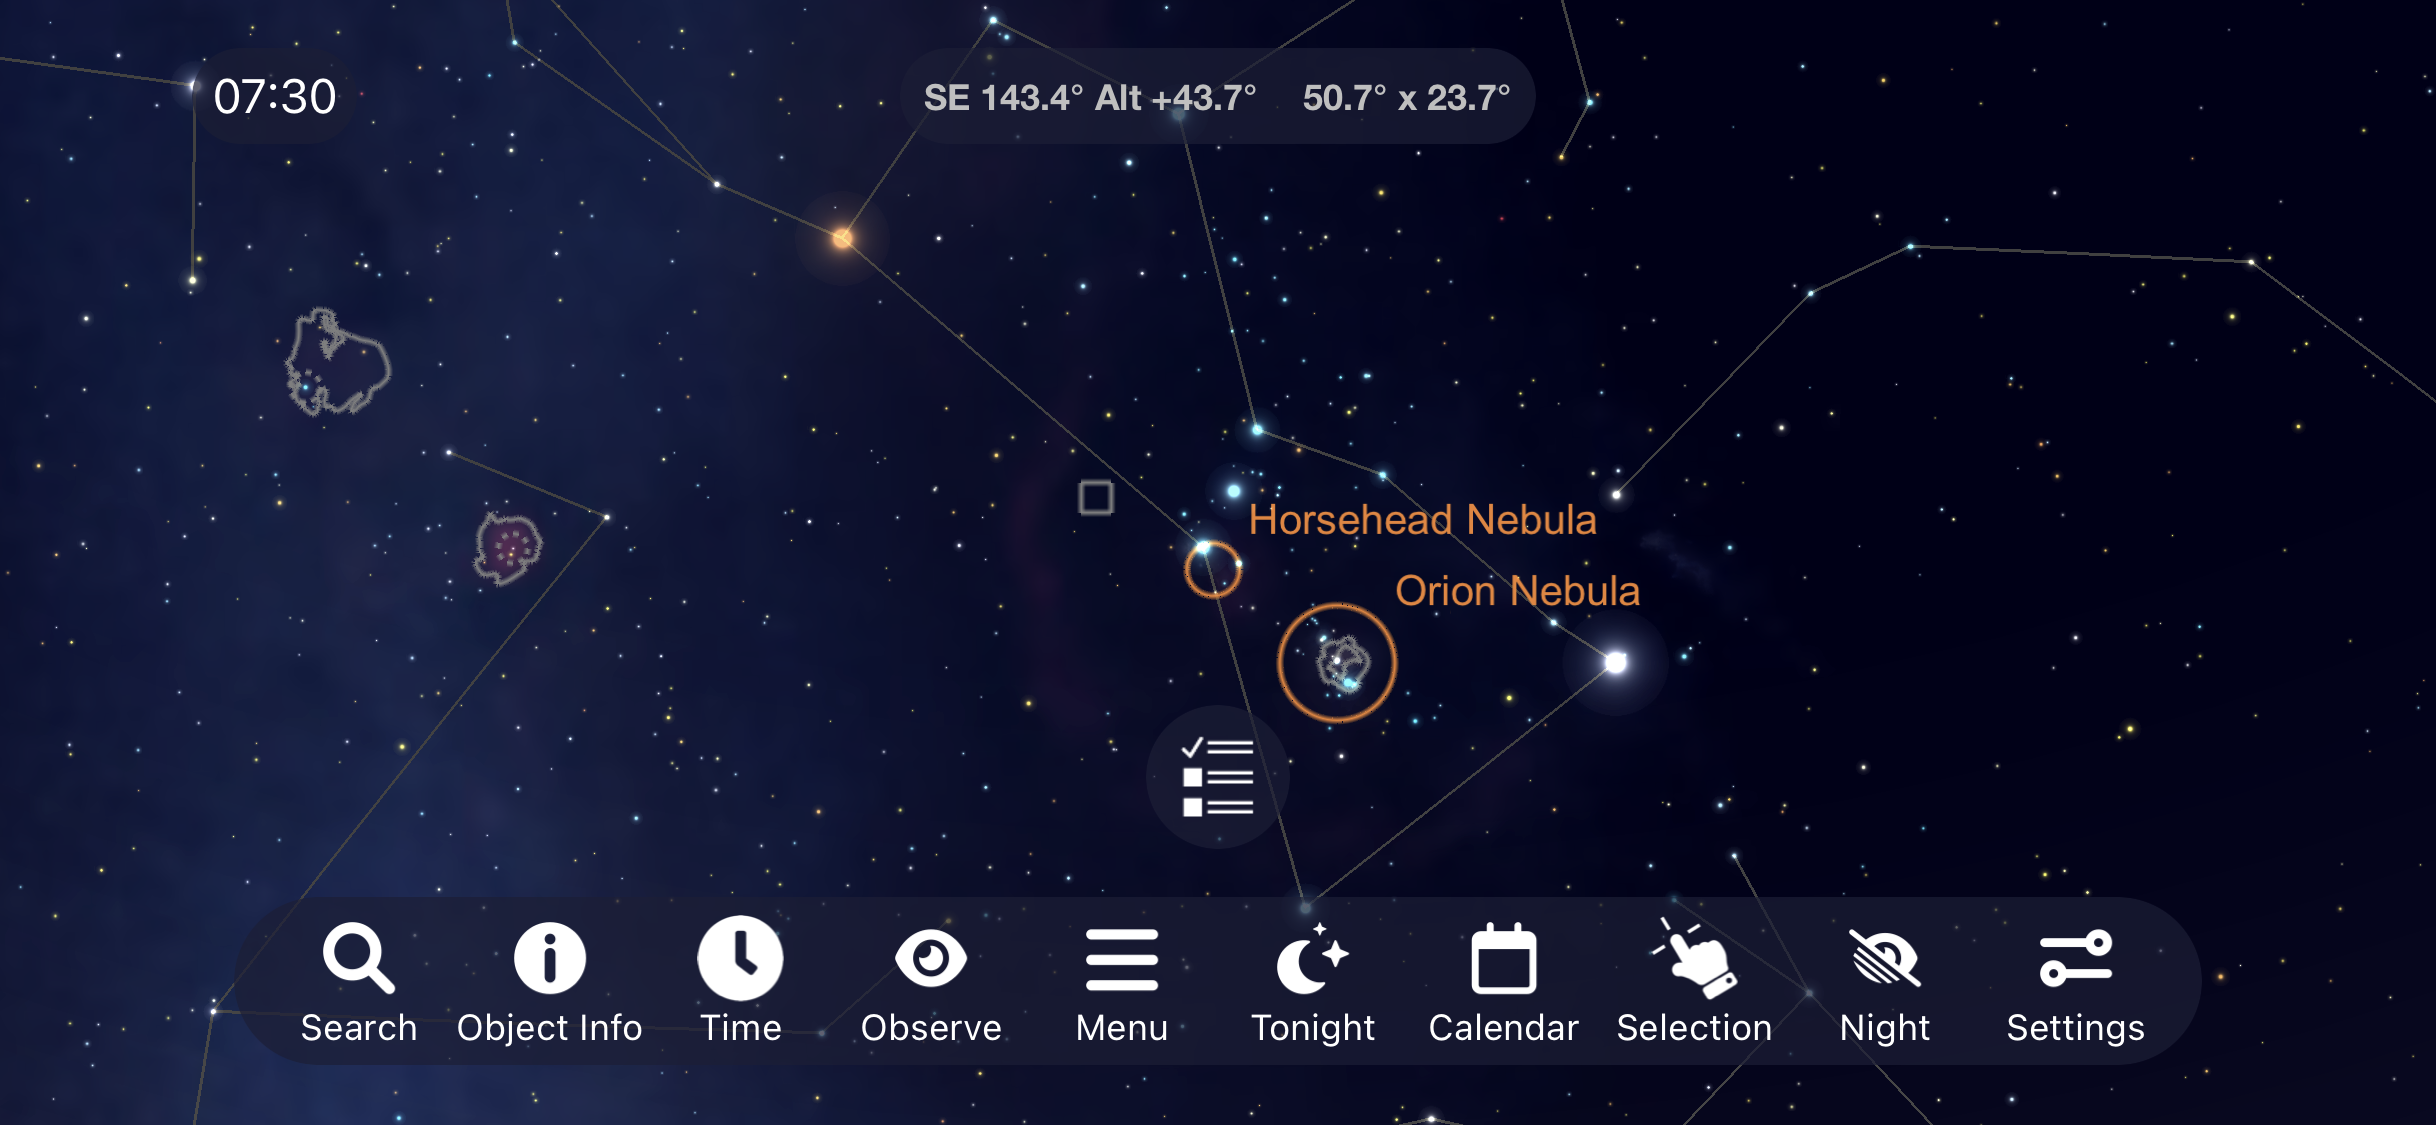
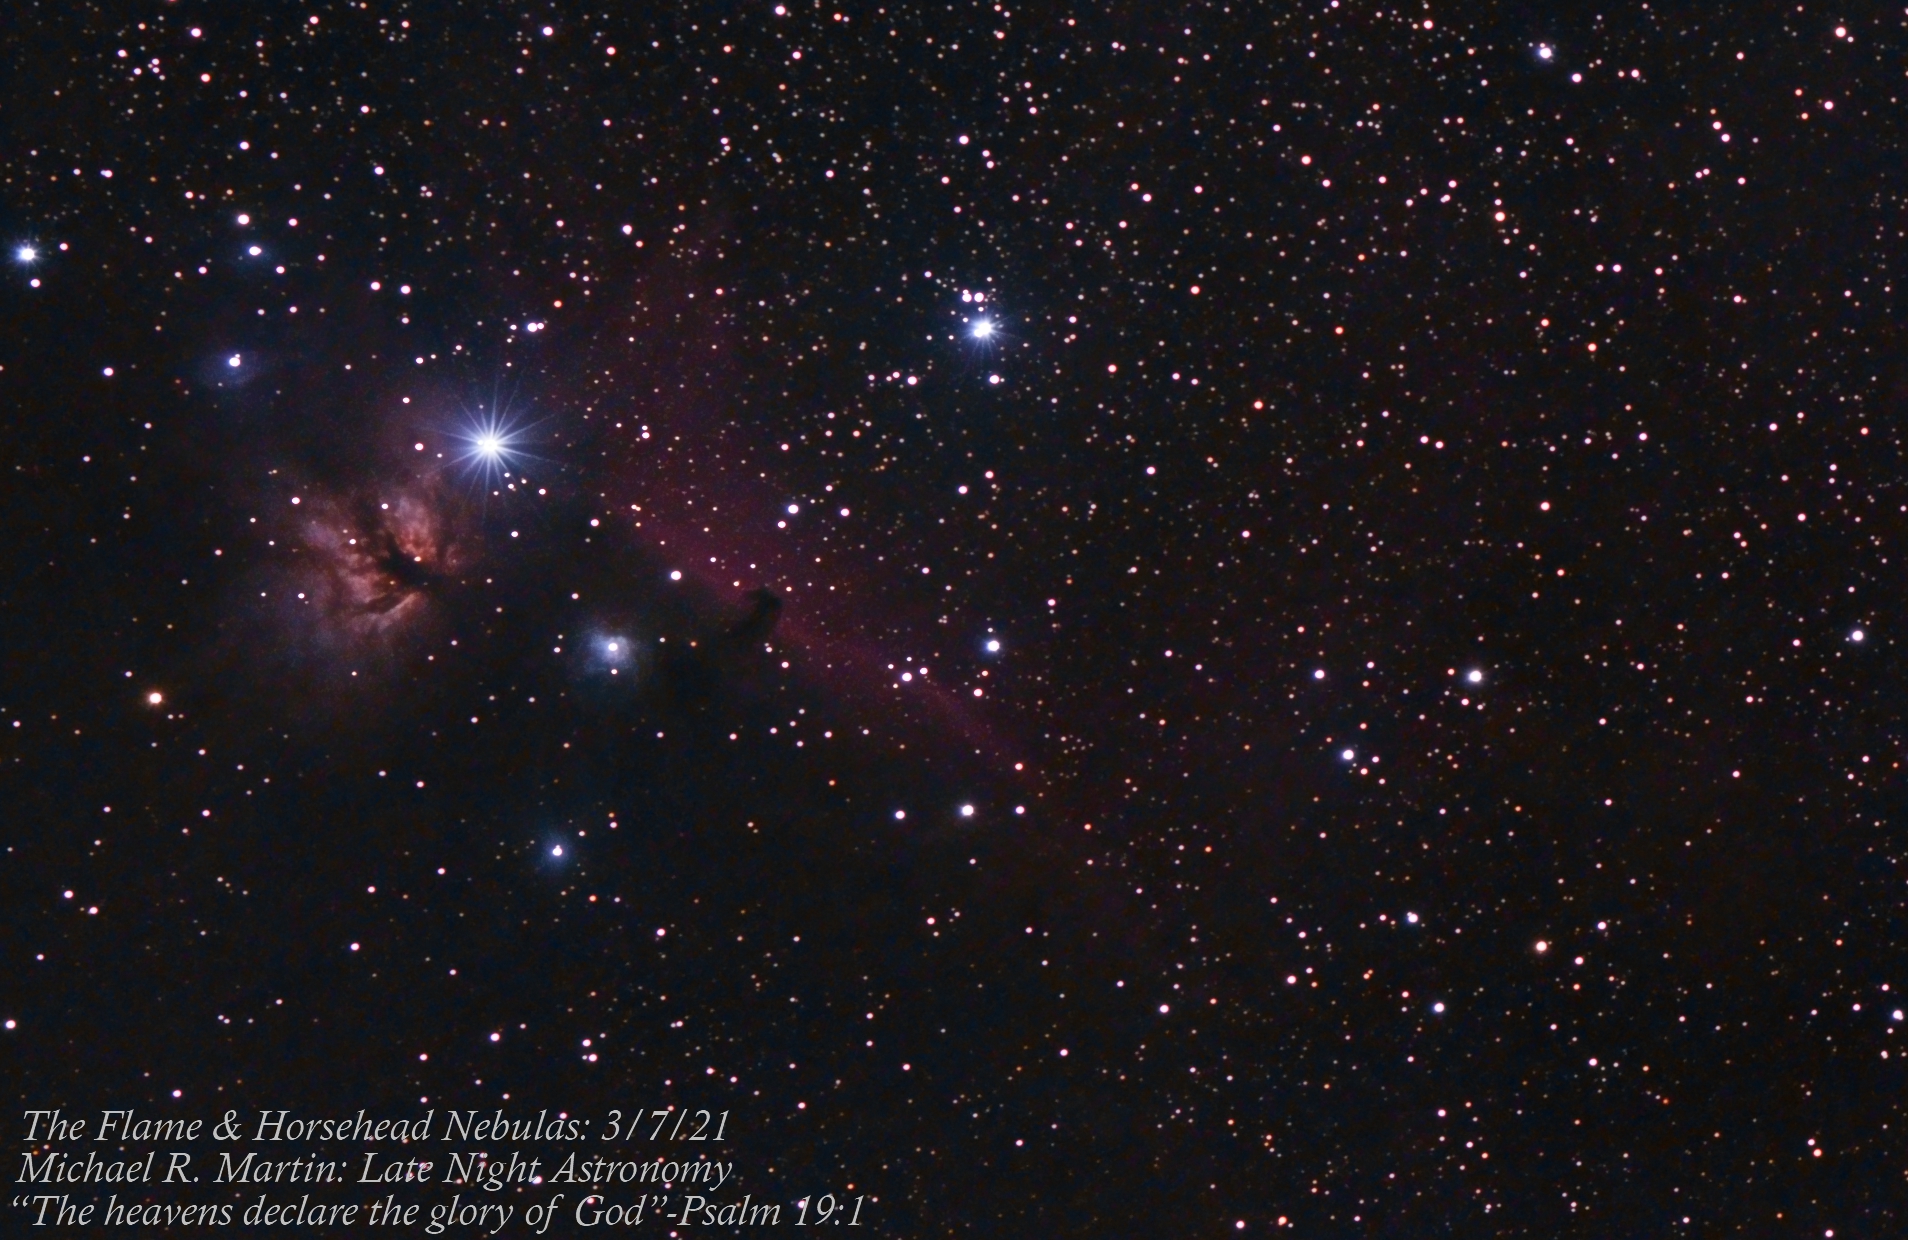
The Horsehead Nebula

The Constellation Orion is home to our next two targets as well. Move back up to Orion’s belt and you will come across the famous horsehead nebula which is a difficult target to see visually but one I love to image every year. To see it visually you will need very dark skies, a large telescope and probably the help of an H-Beta filter to enhance the contrast.

Even though I’ve never seen it with the naked eye, this long exposure image I took of the Horsehead nebula shows the incredible beauty of this dark nebula with the flame nebula parked right near it as an added bonus.

M78

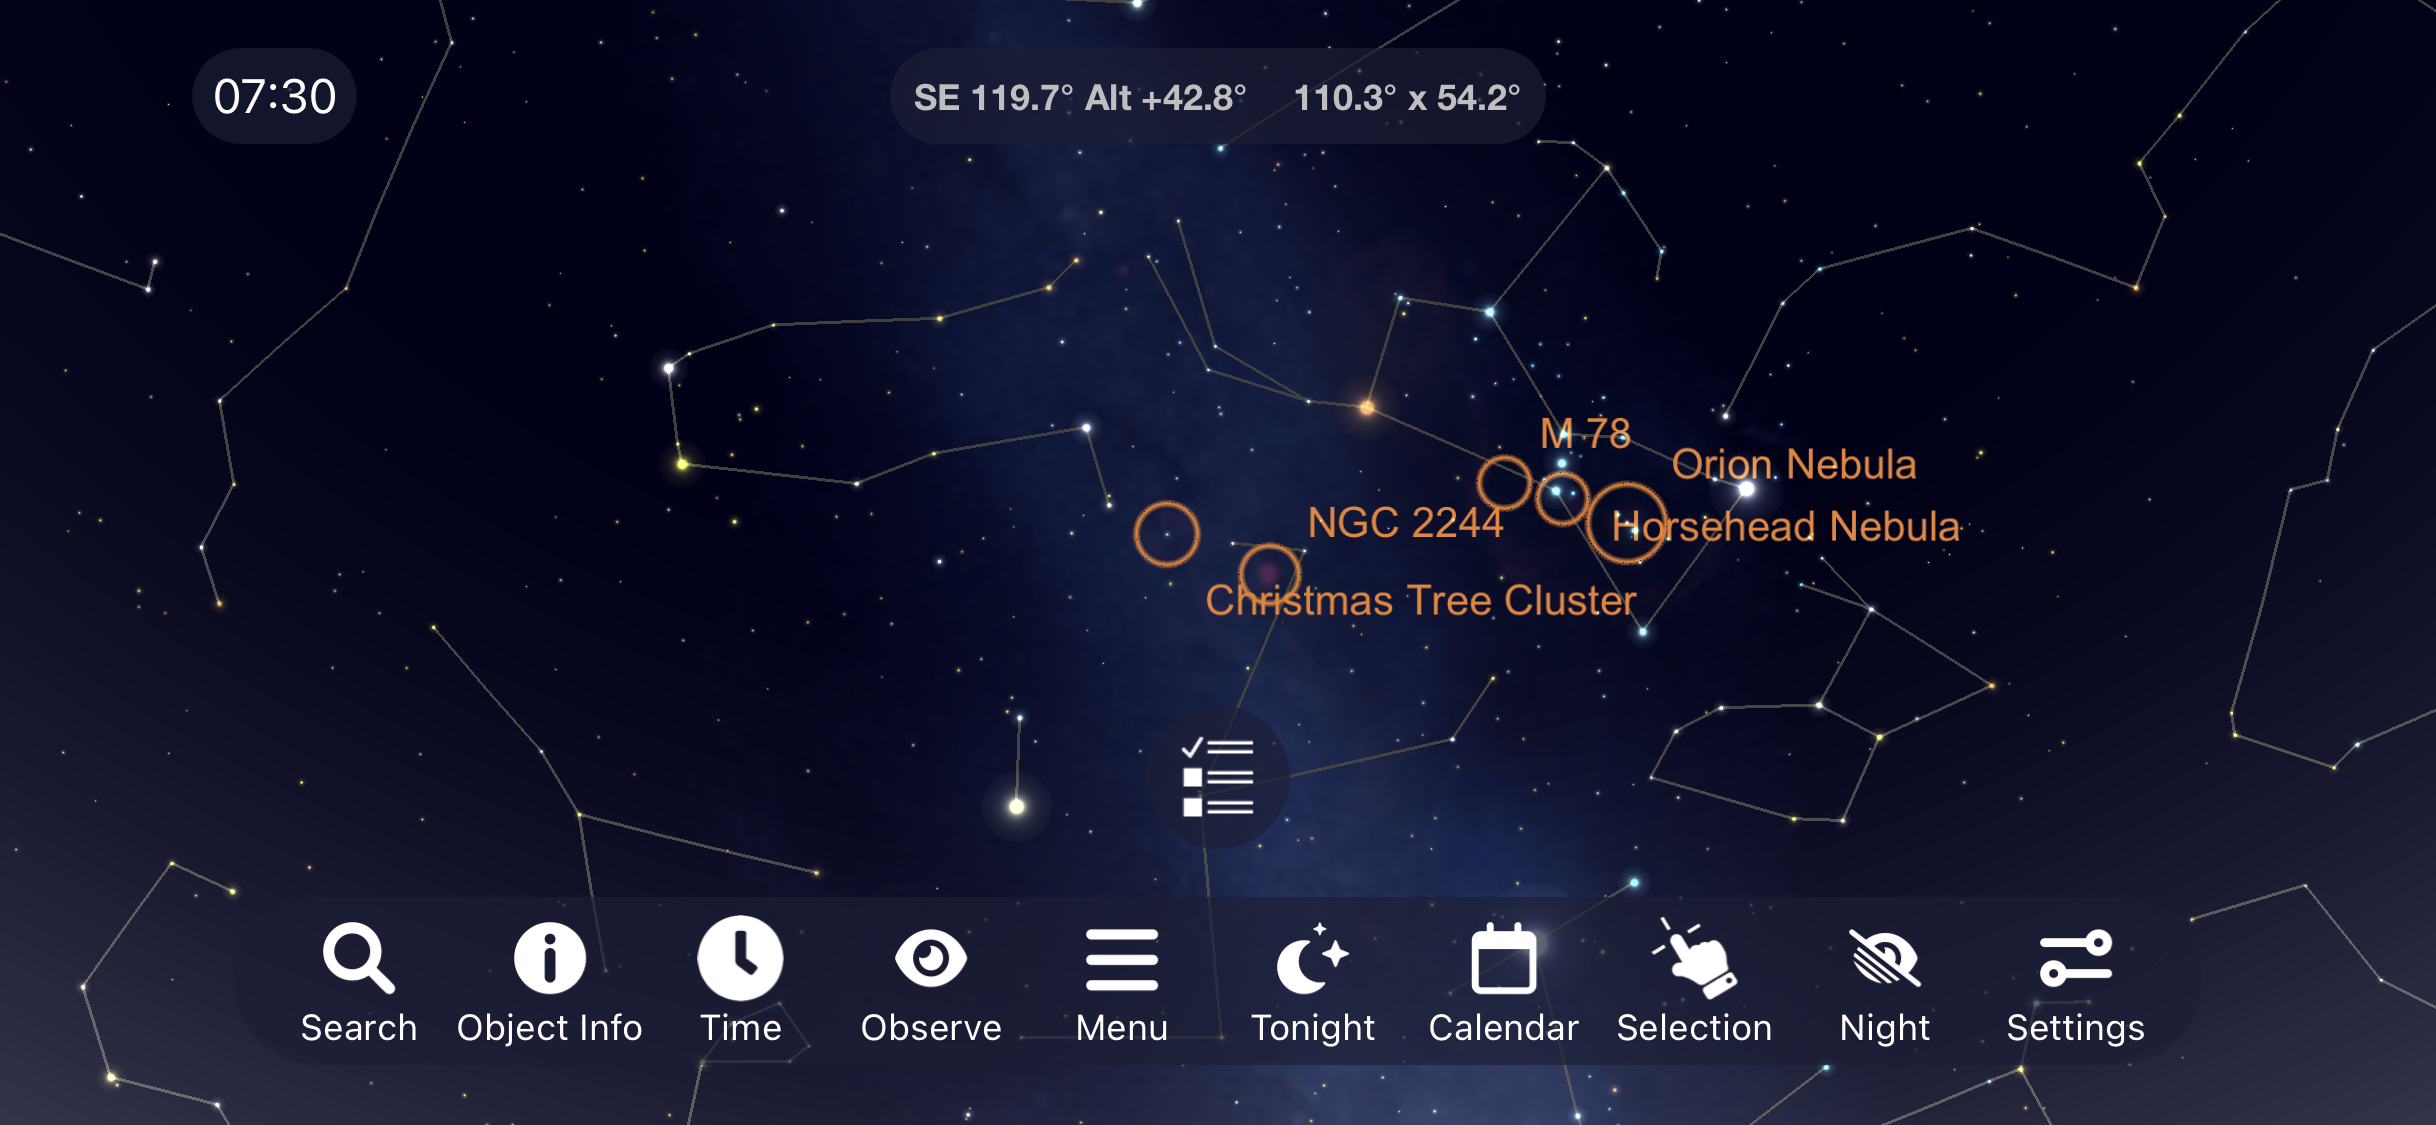
Over from Orion’s Belt you will find one of the brightest reflection nebulas in the night sky, M78. I’ve only captured a few images of this target but it goes well with the impressive family of objects located within the Constellation Orion .
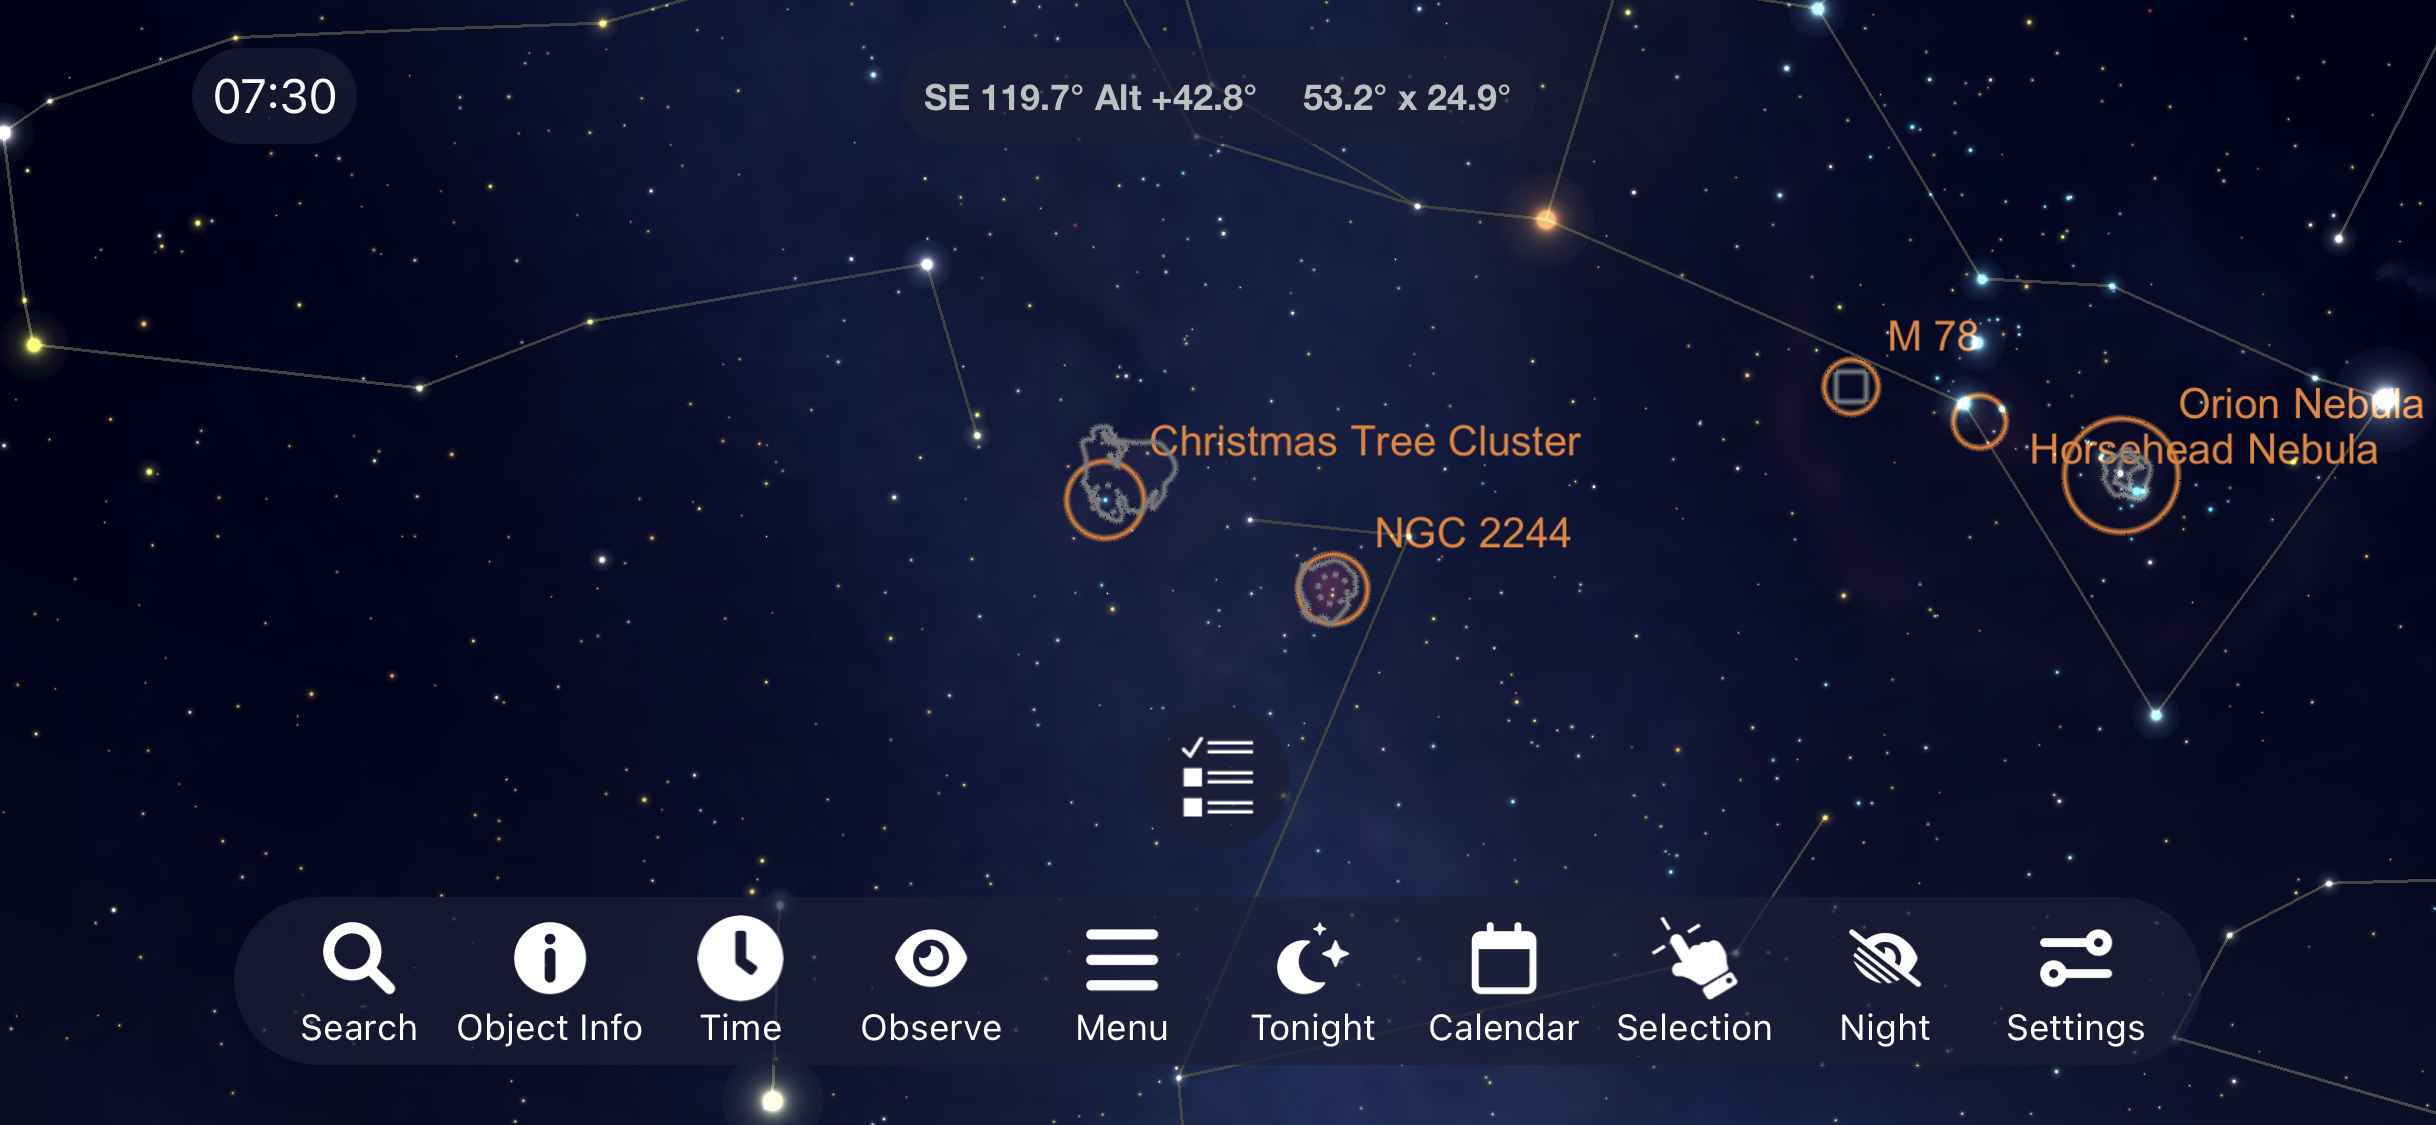
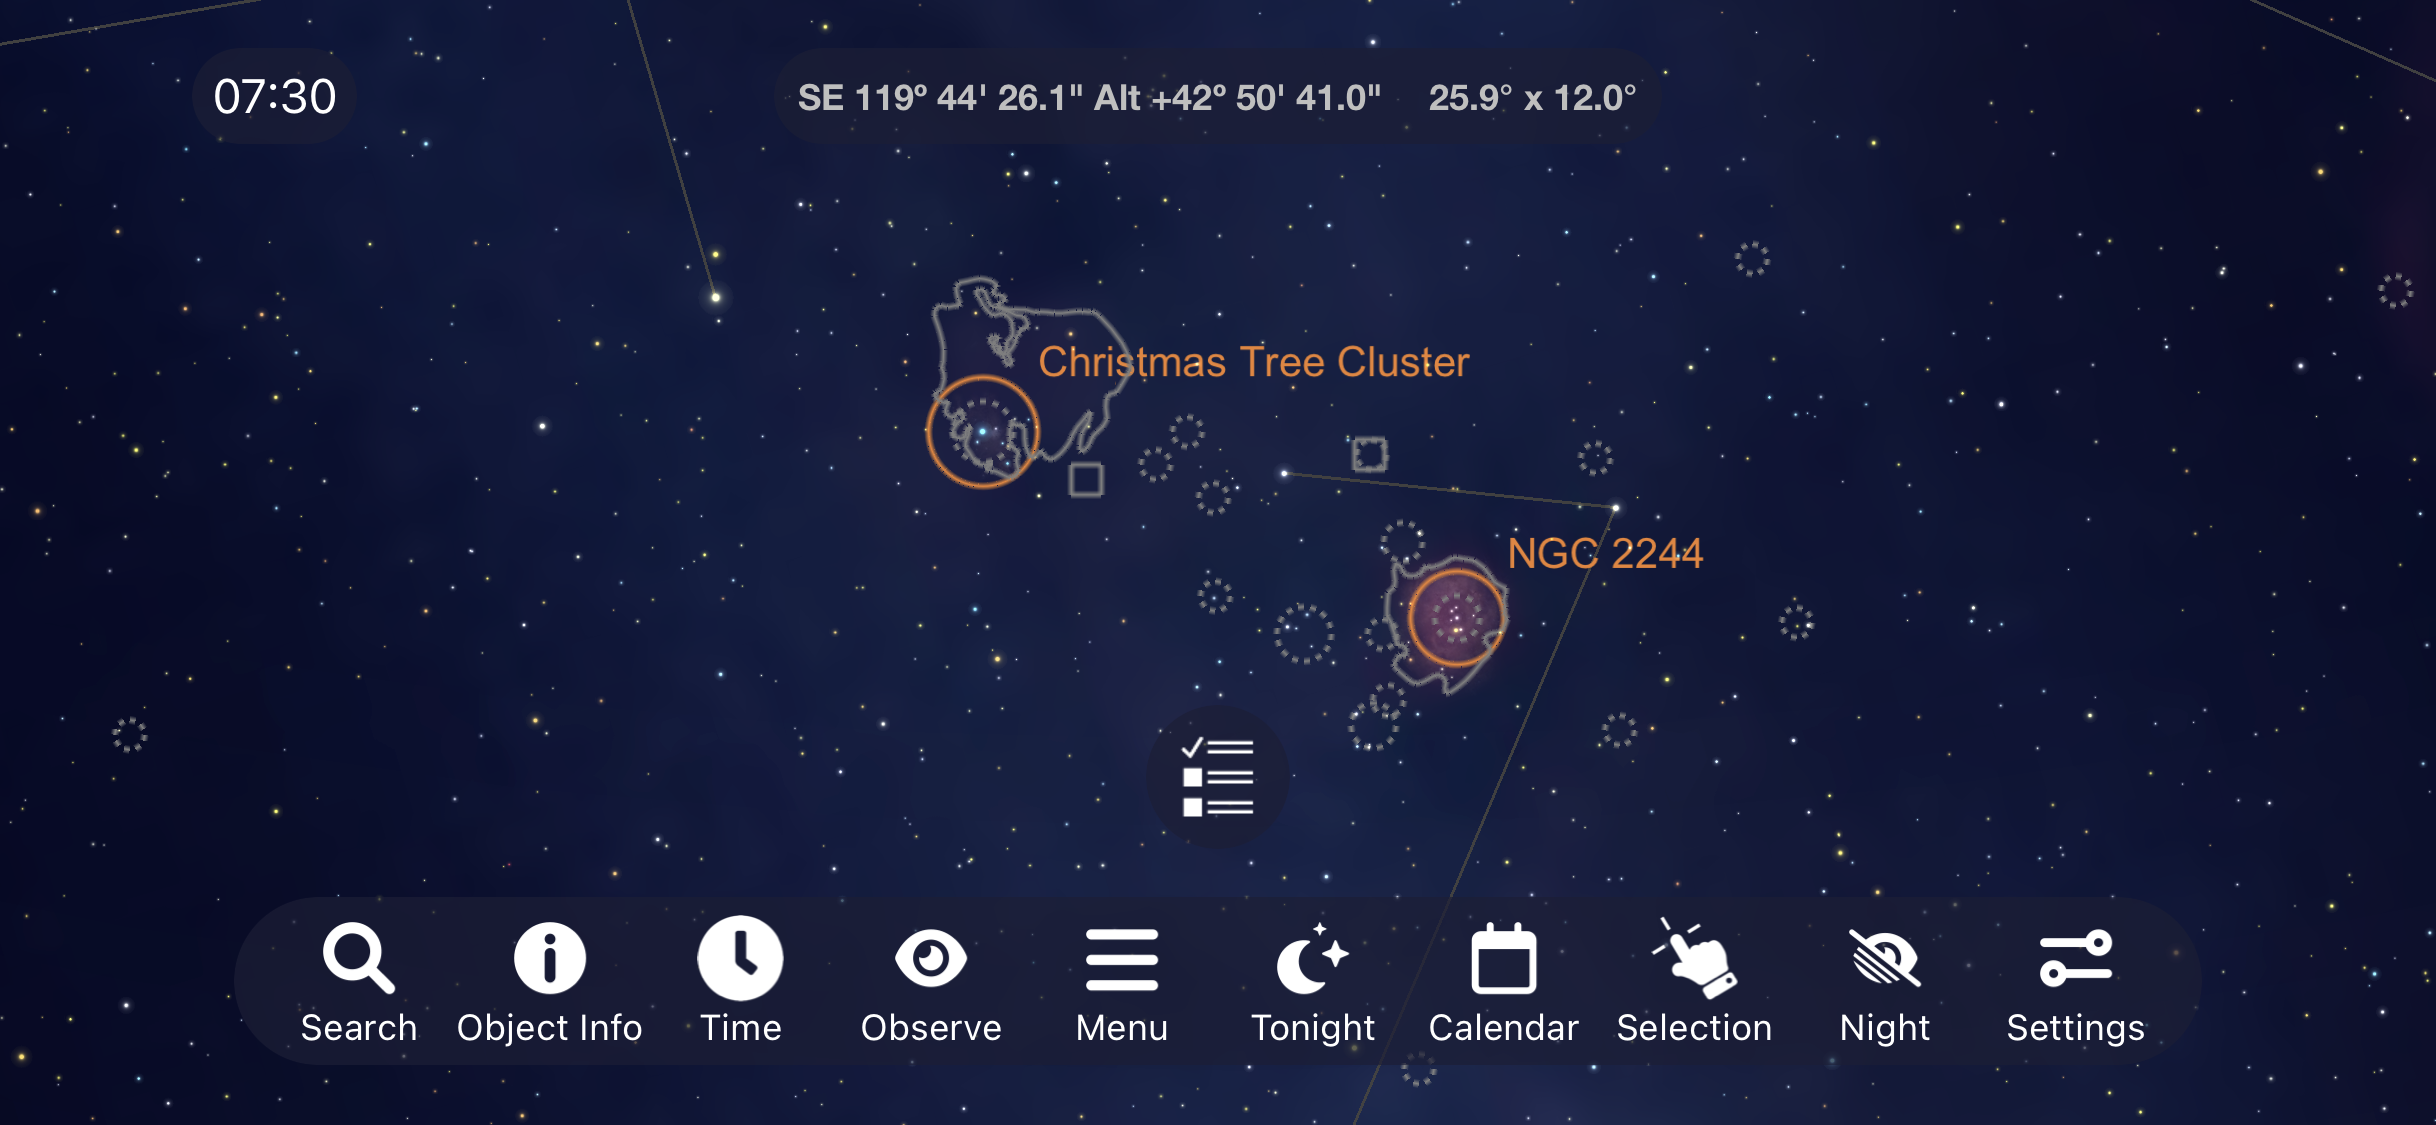
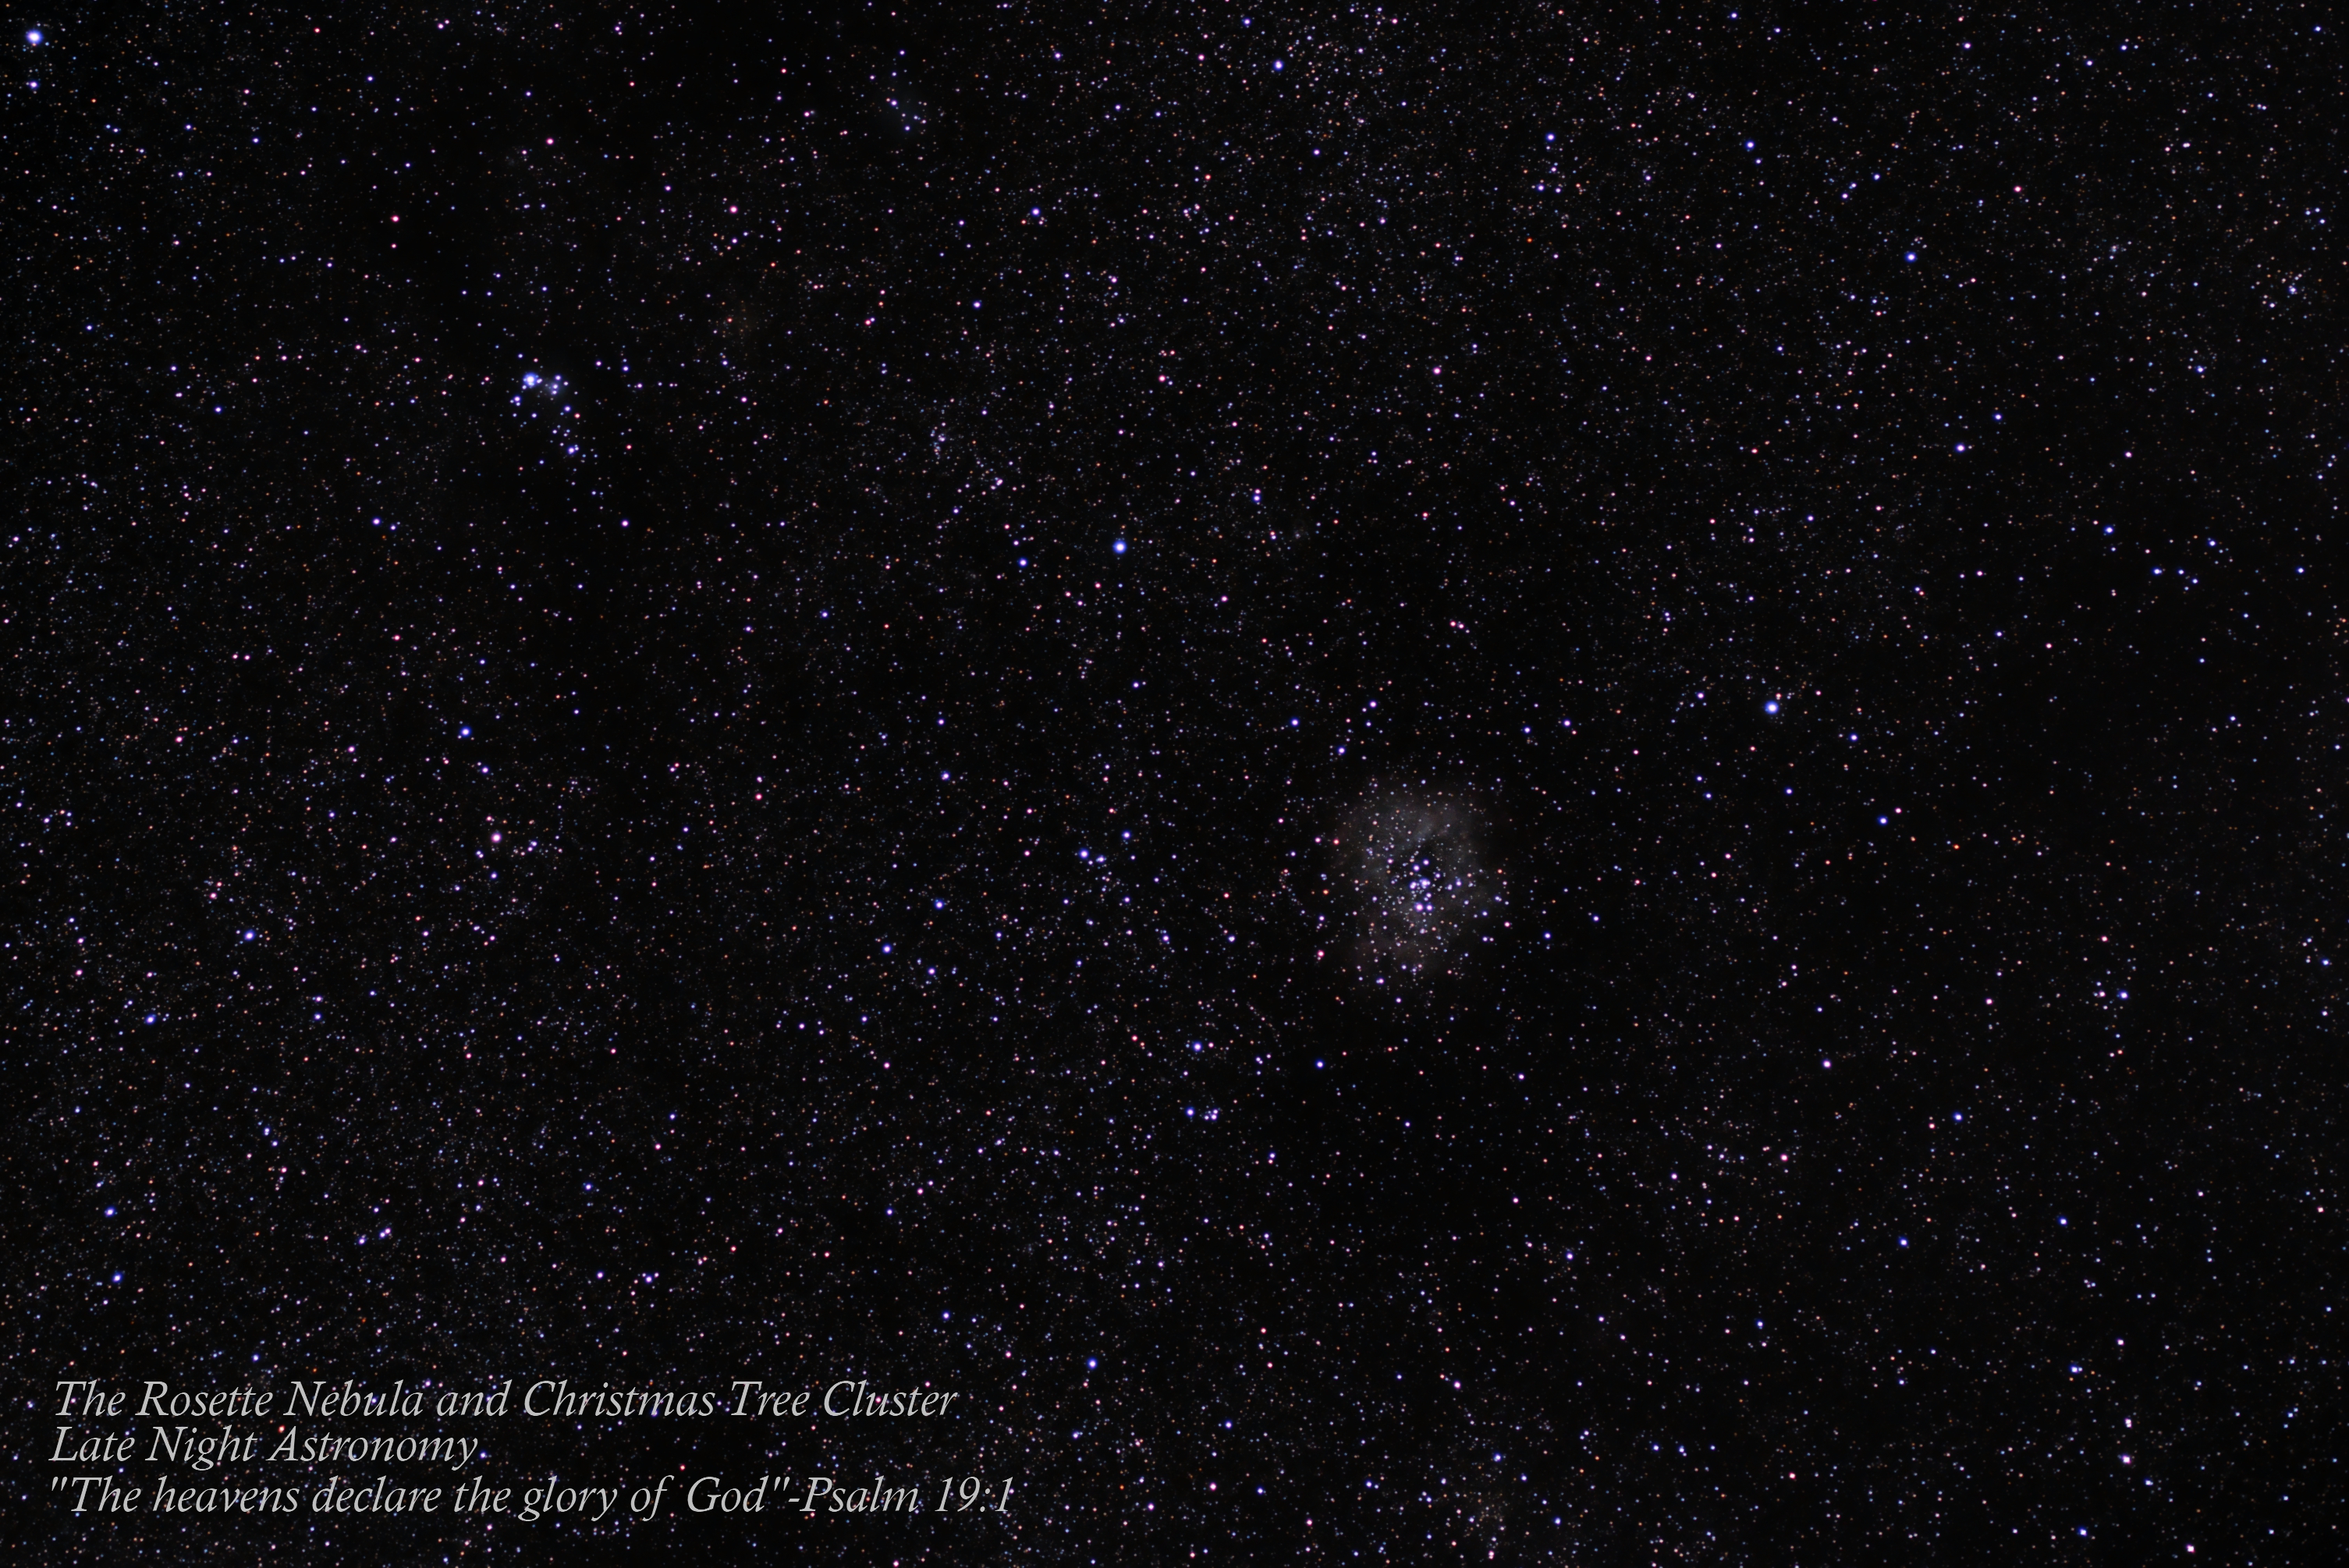
NGC 2244 & NGC 2264
The Christmas Tree Cluster

Let’s move out of the Constellation Orion and over to the Constellation Monoceros where you will find the open clusters NGC 2244 inside the Rosette Nebula and NGC 2264, the Christmas Tree Cluster, inside of the Cone Nebula. While these nebulas will be difficult to see through your telescope the two clusters within them are an enjoyable part of space to explore with a pair of binoculars or a telescope.

With faint hints of the Rosette Nebula showing up, this image shows off these two clusters but I didn’t quite have enough exposure time to pick up the famous red from this nebula.
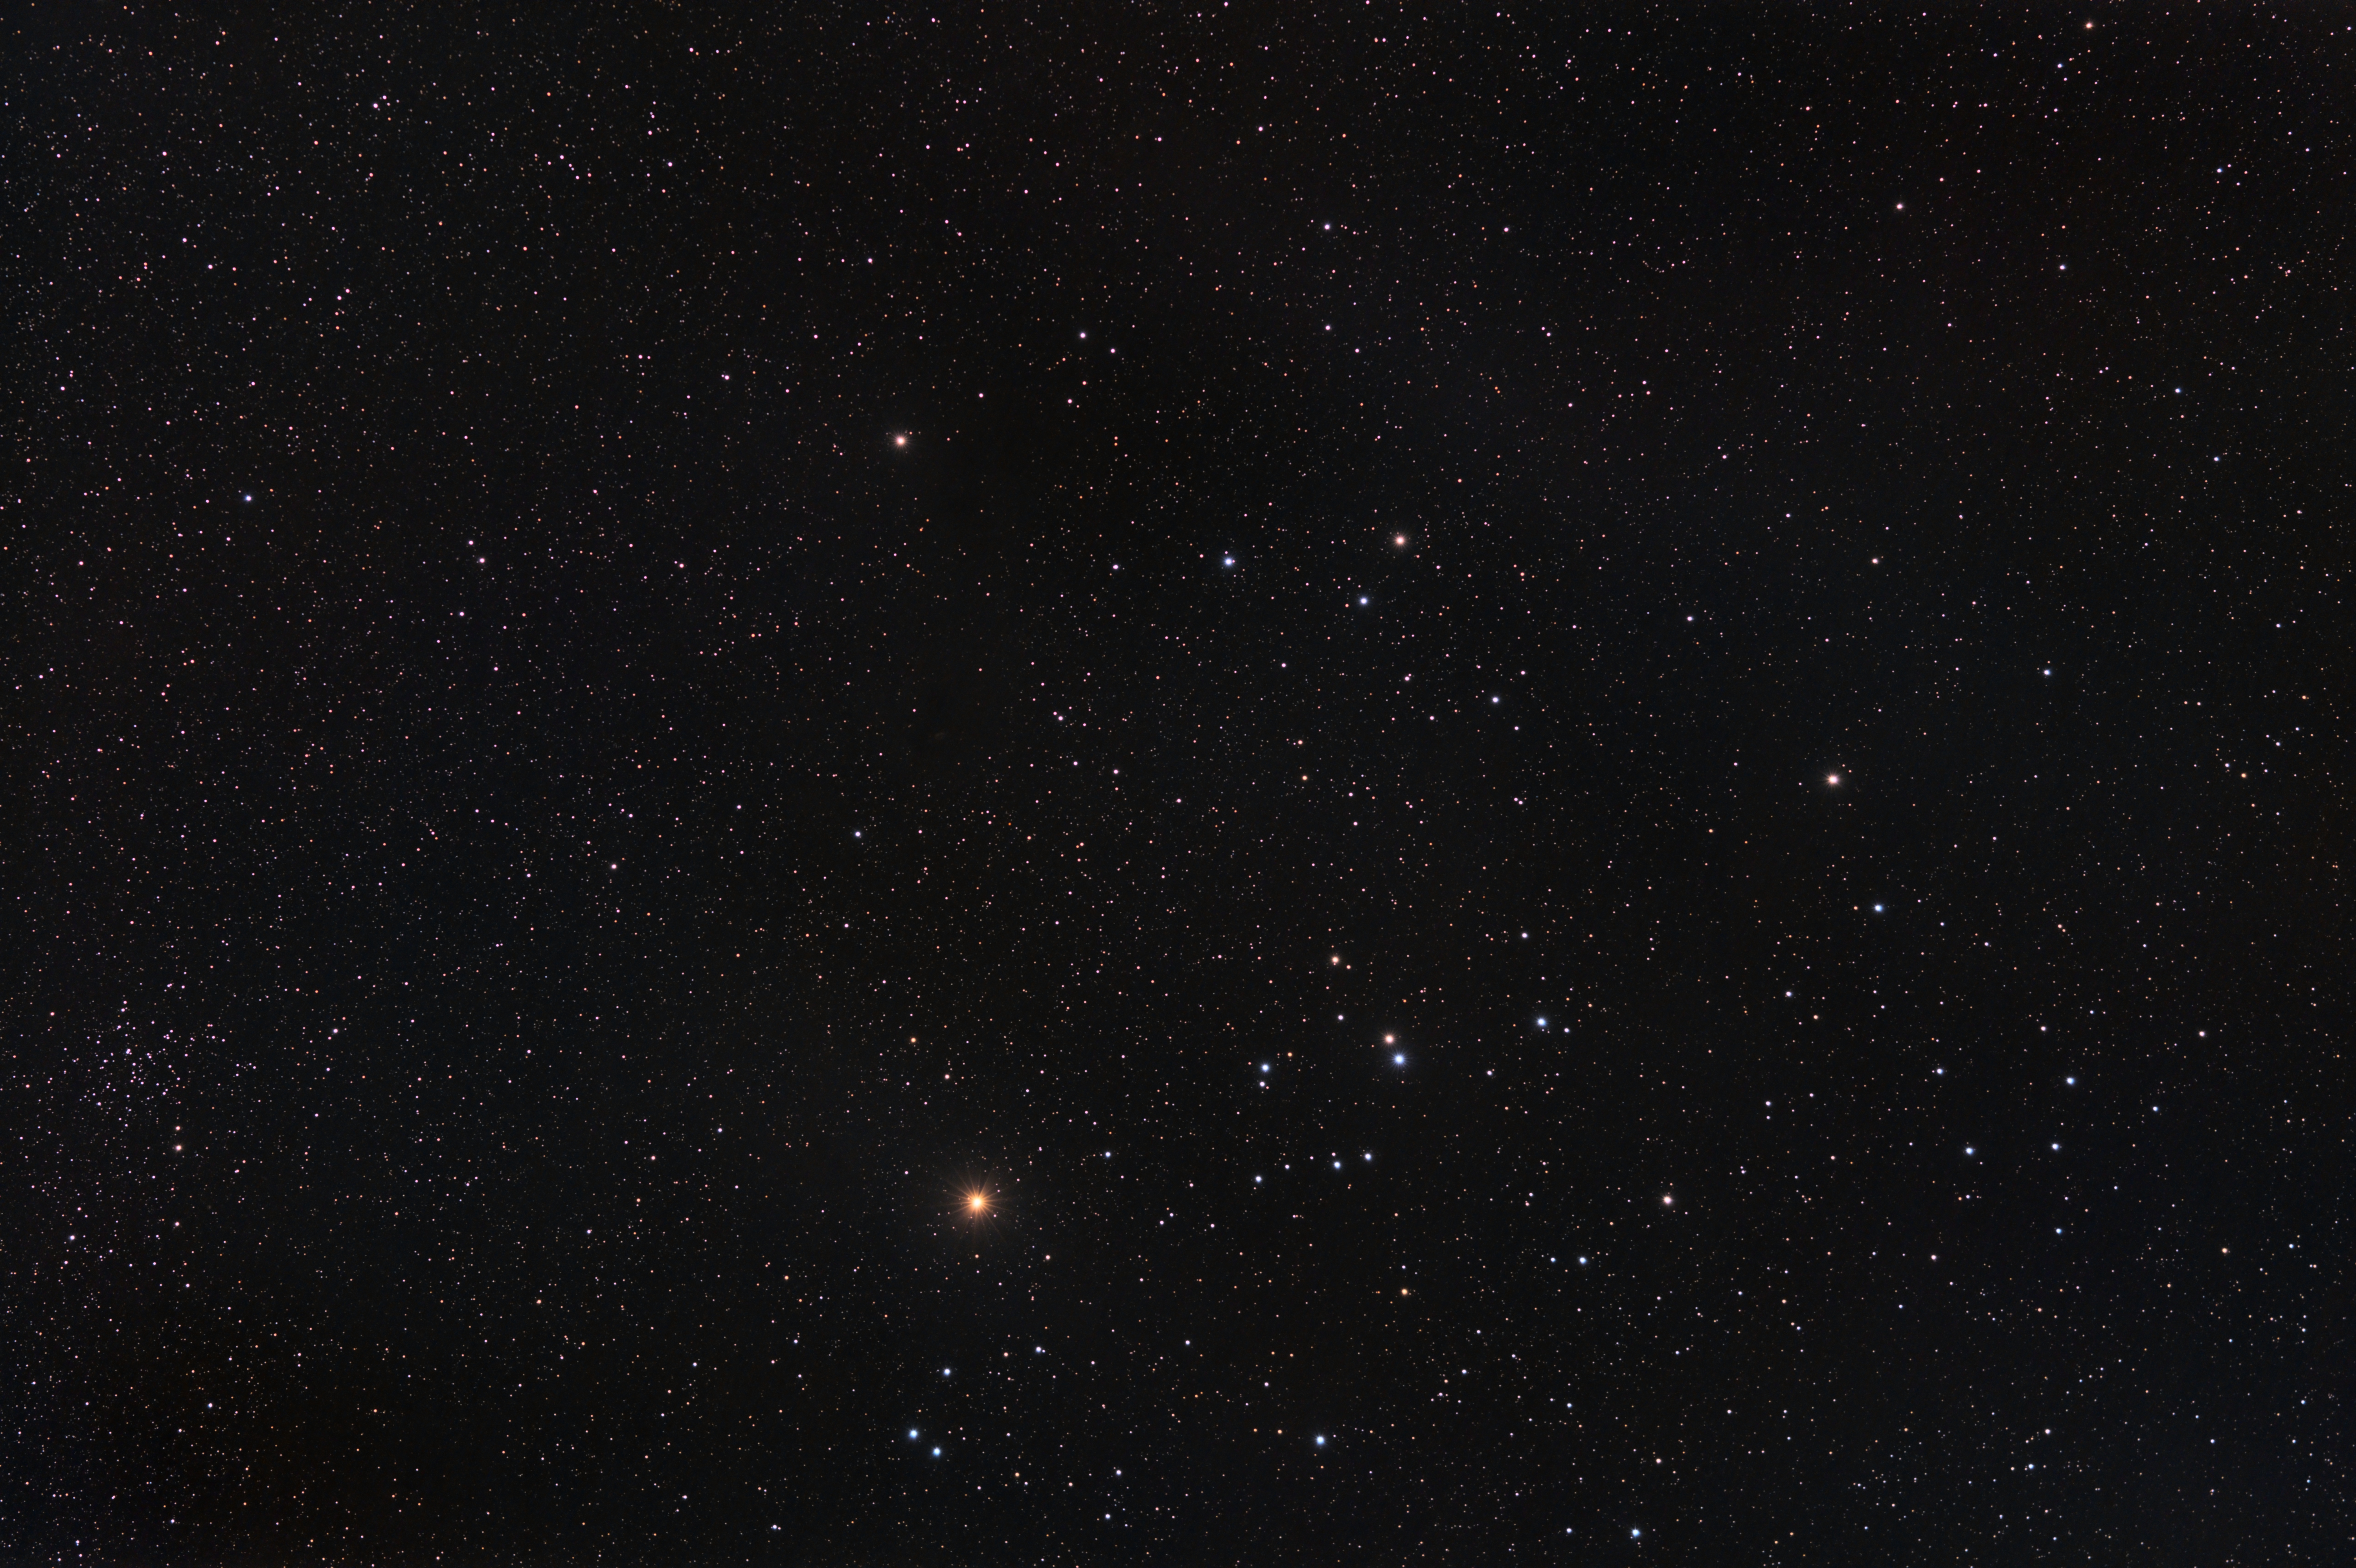
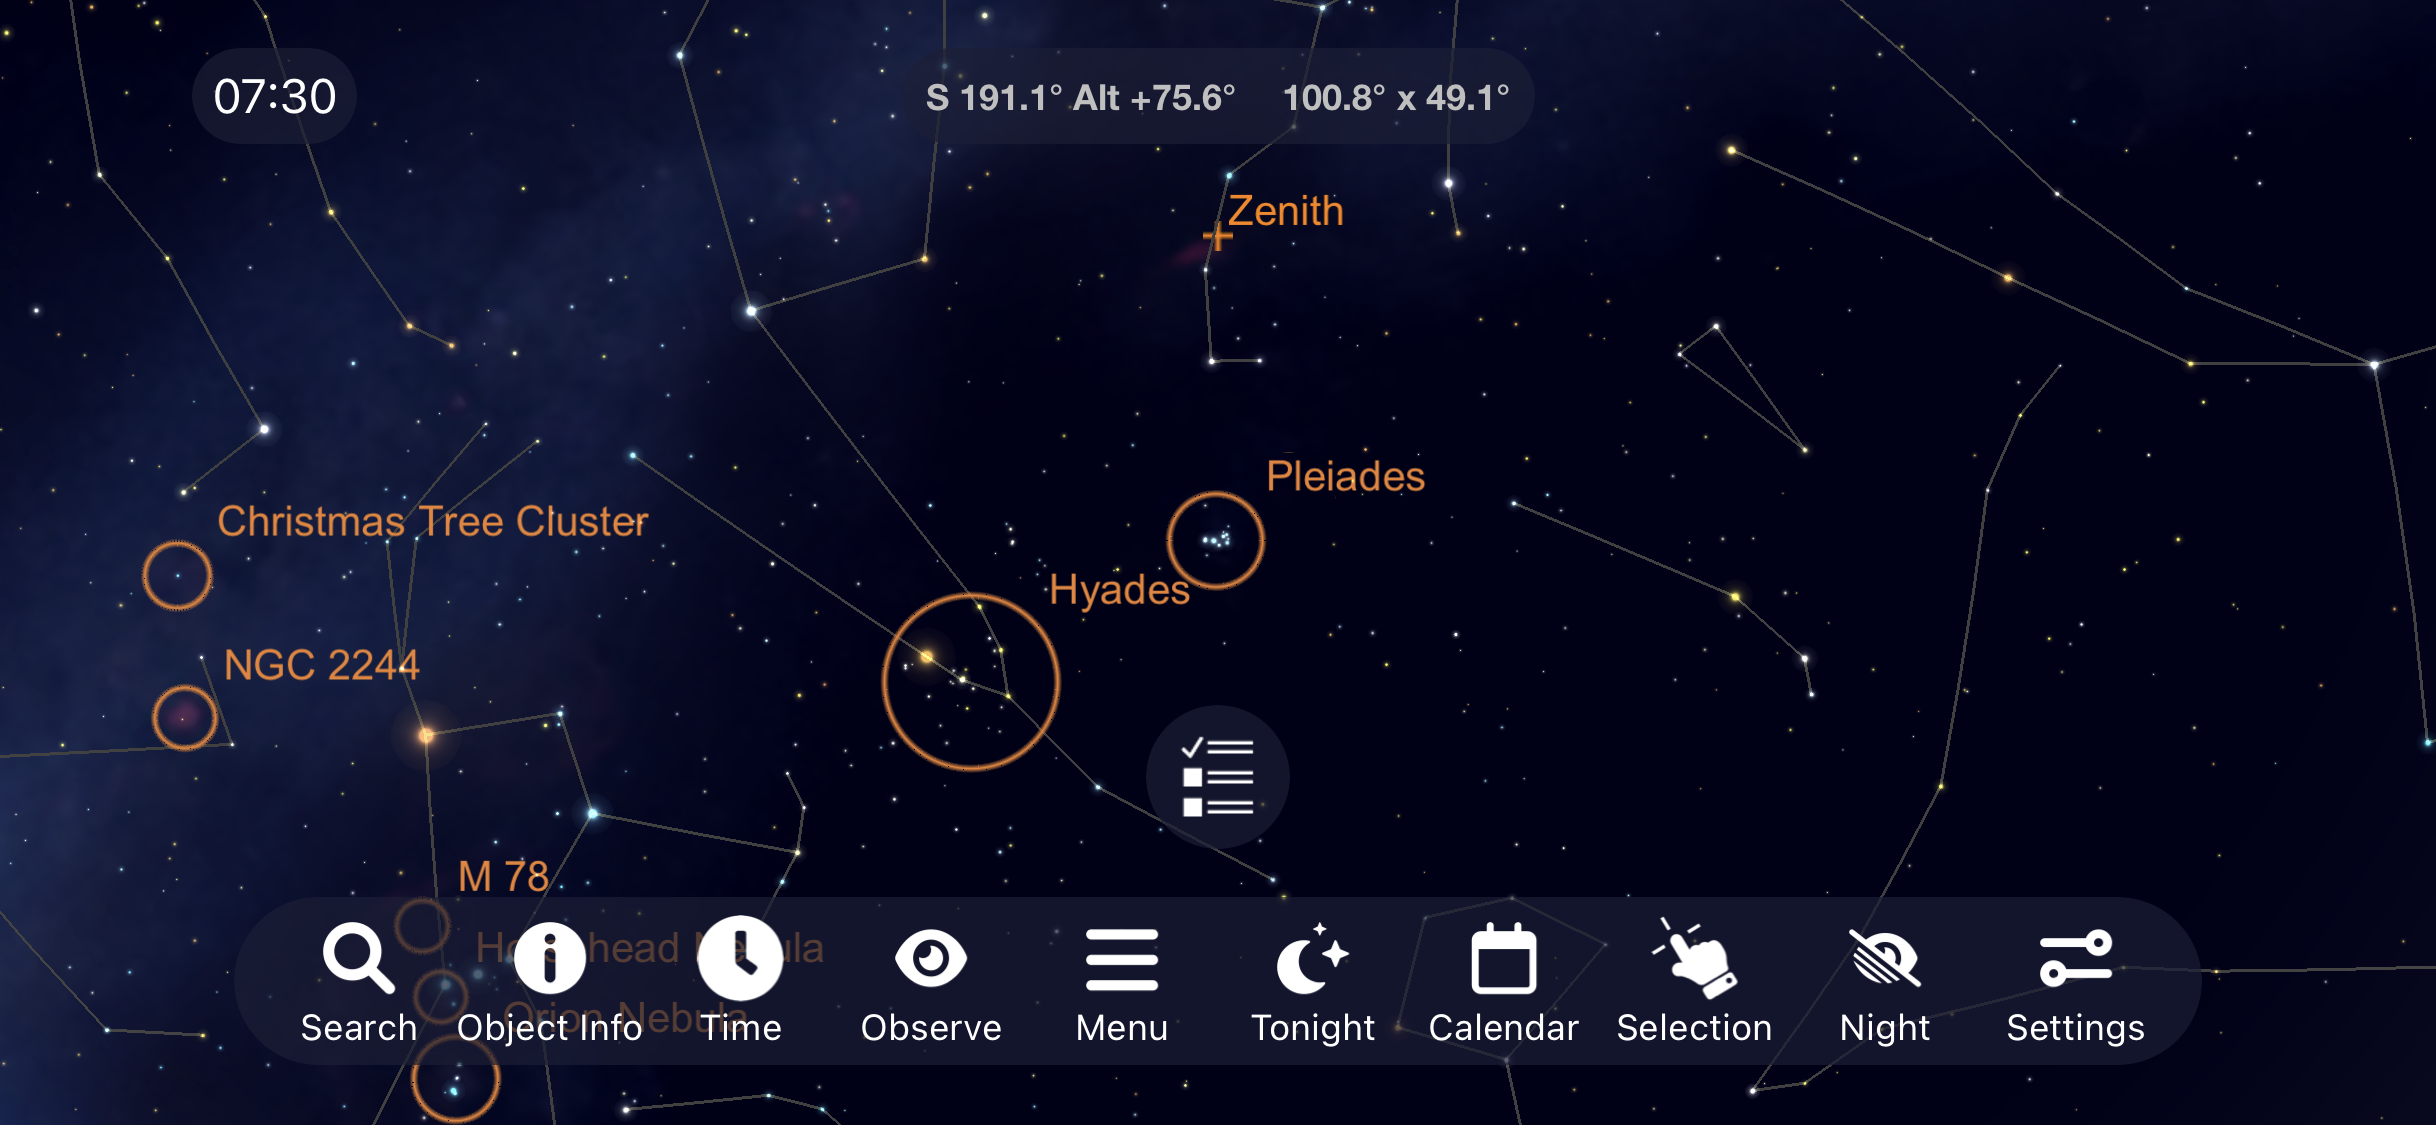
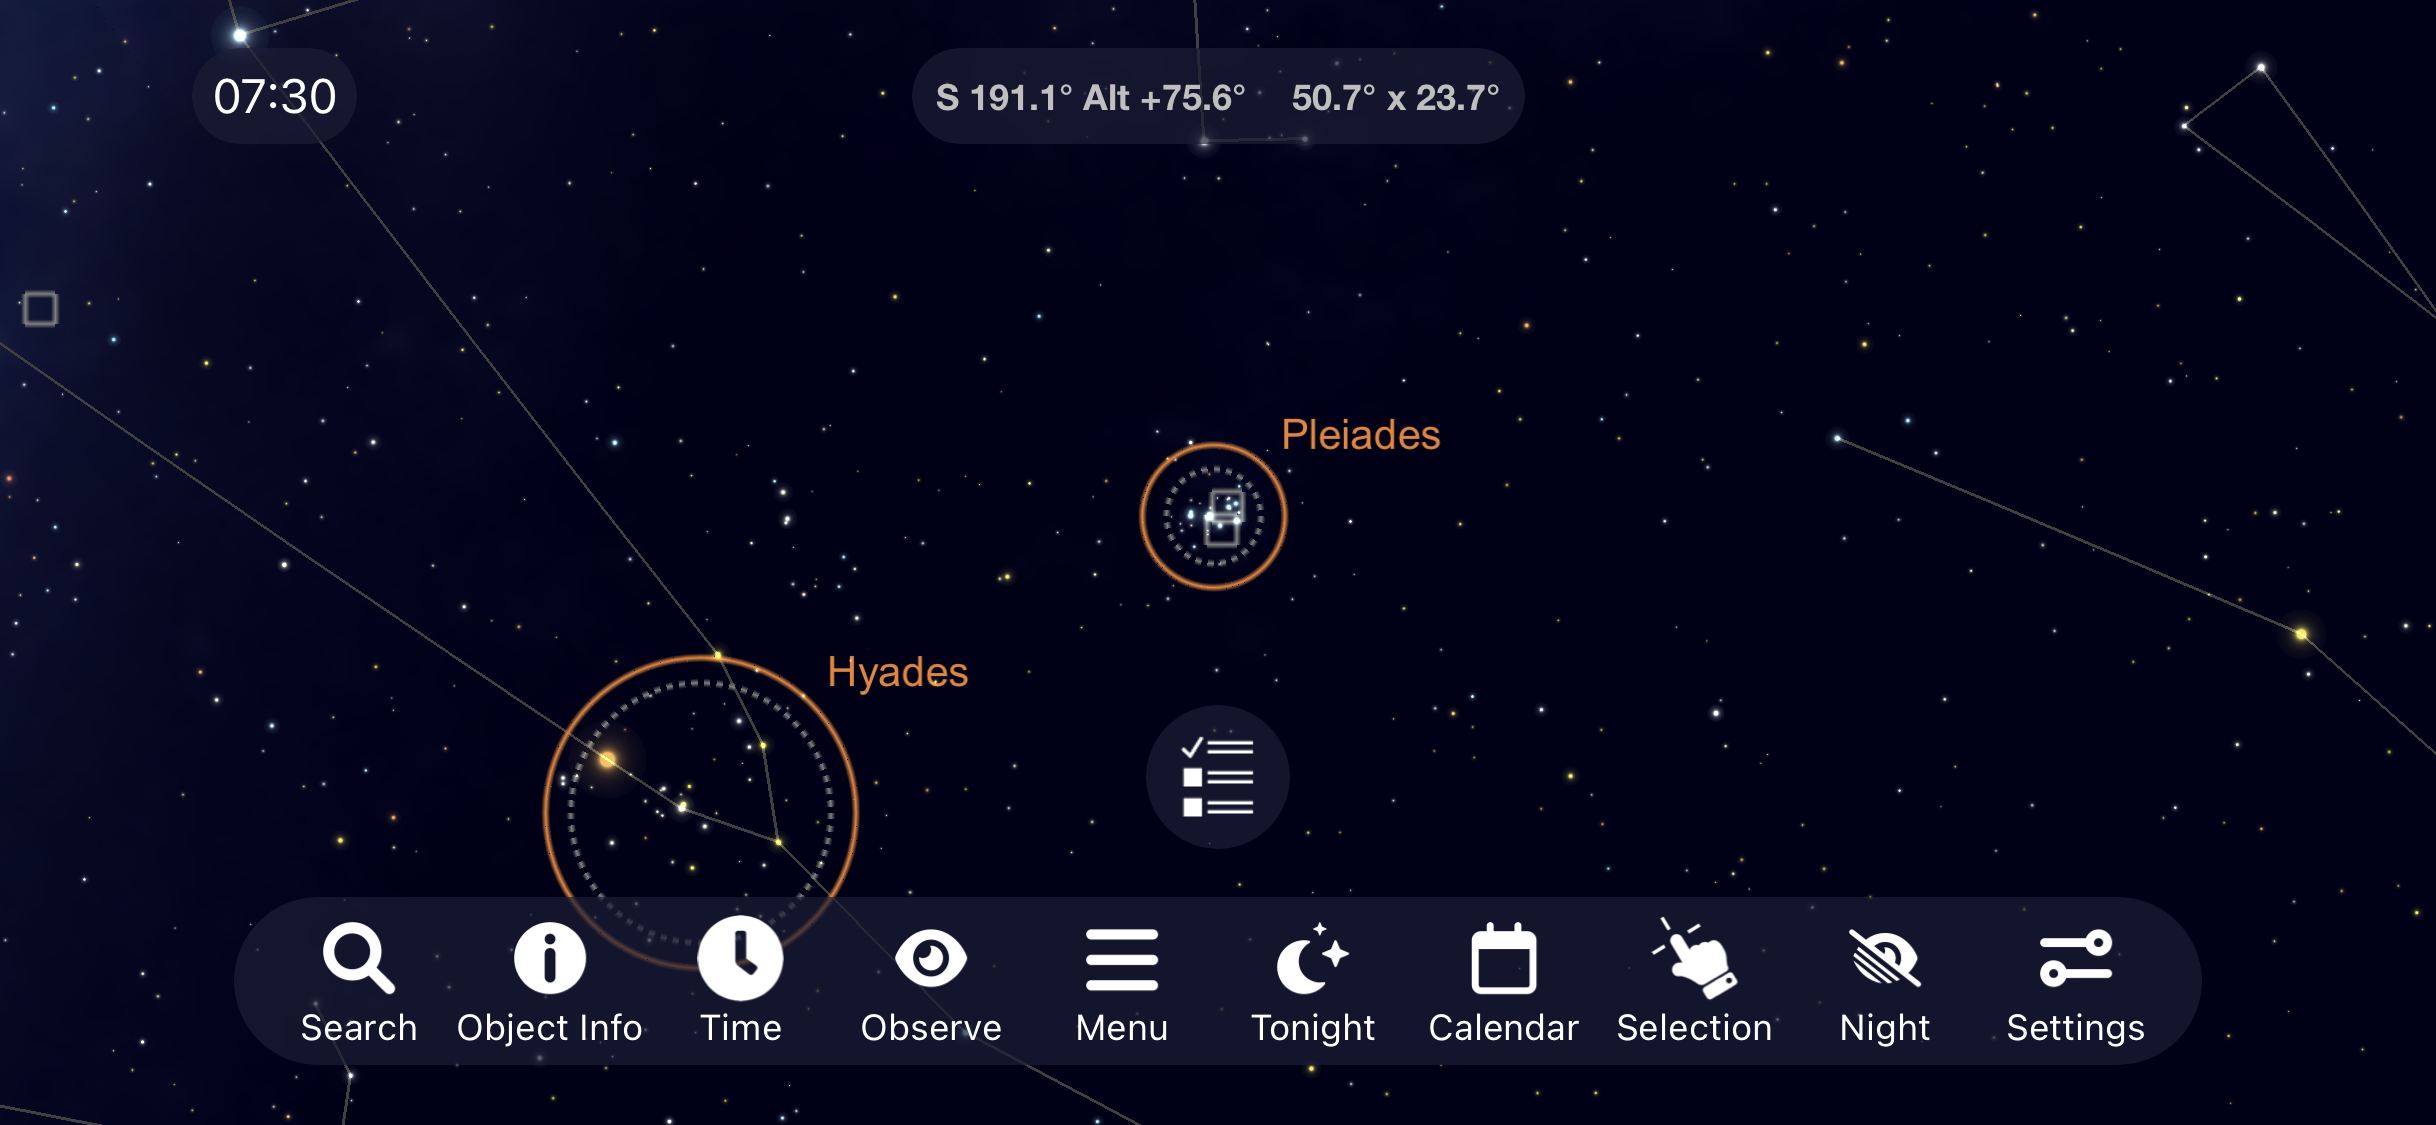
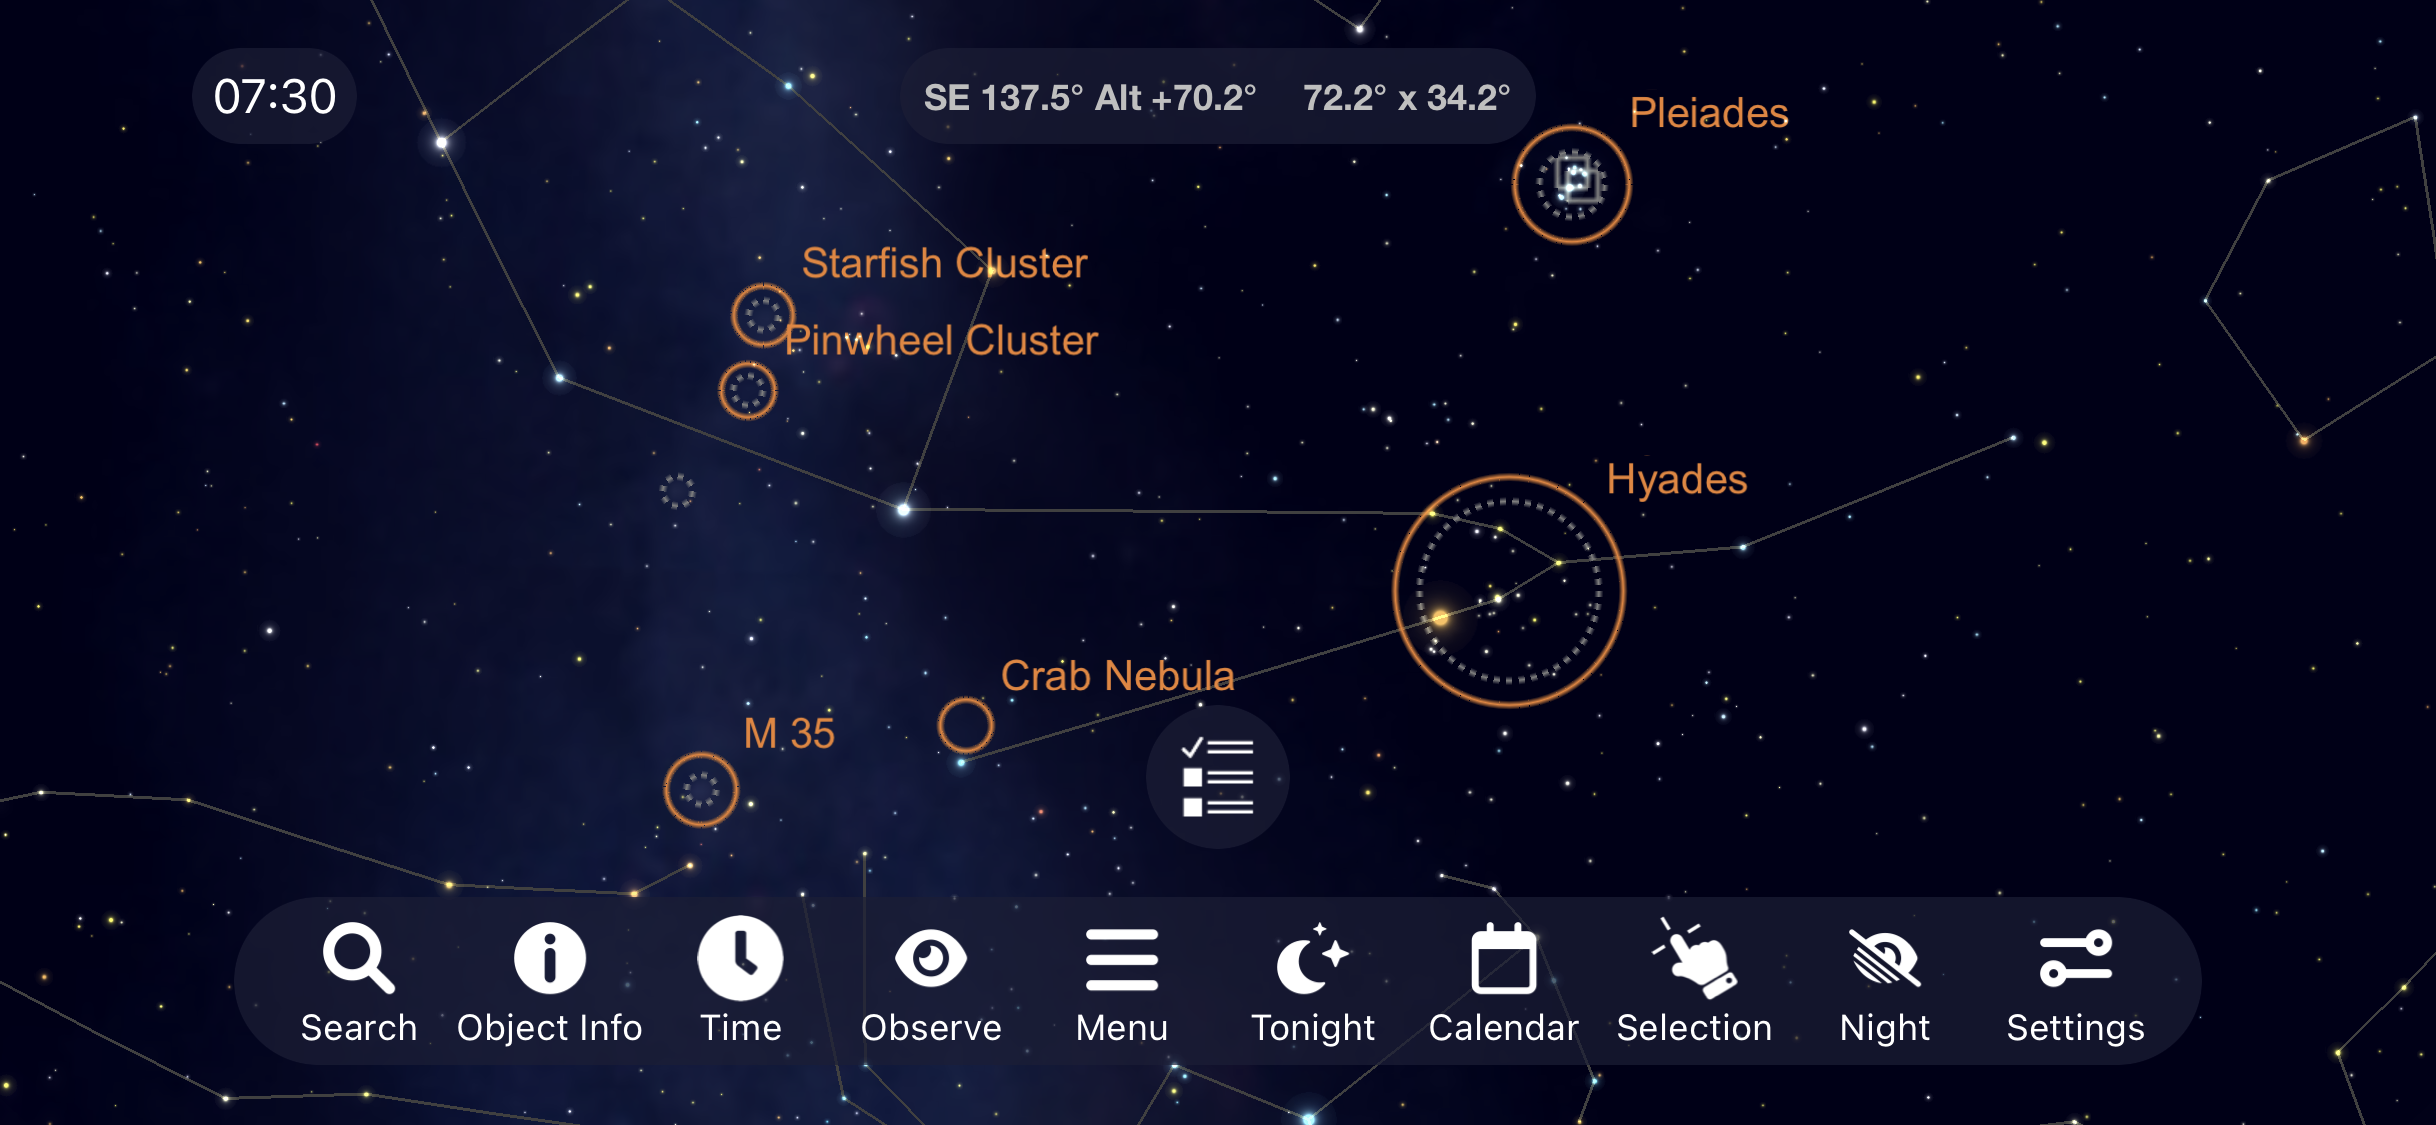
The Hyades

Just above Hyades, you will find the Pleiades. The seven sisters are another great naked eye and binocular target that will reveal more and more stars as you move your way Let’s move back to the Constellation Orion and then move up until we come to the Constellation Taurus. It’s here where you will find the open star cluster Hyades. Wider fields of view and low powered eyepiece will provide the best observing experience of this large object in the night sky.

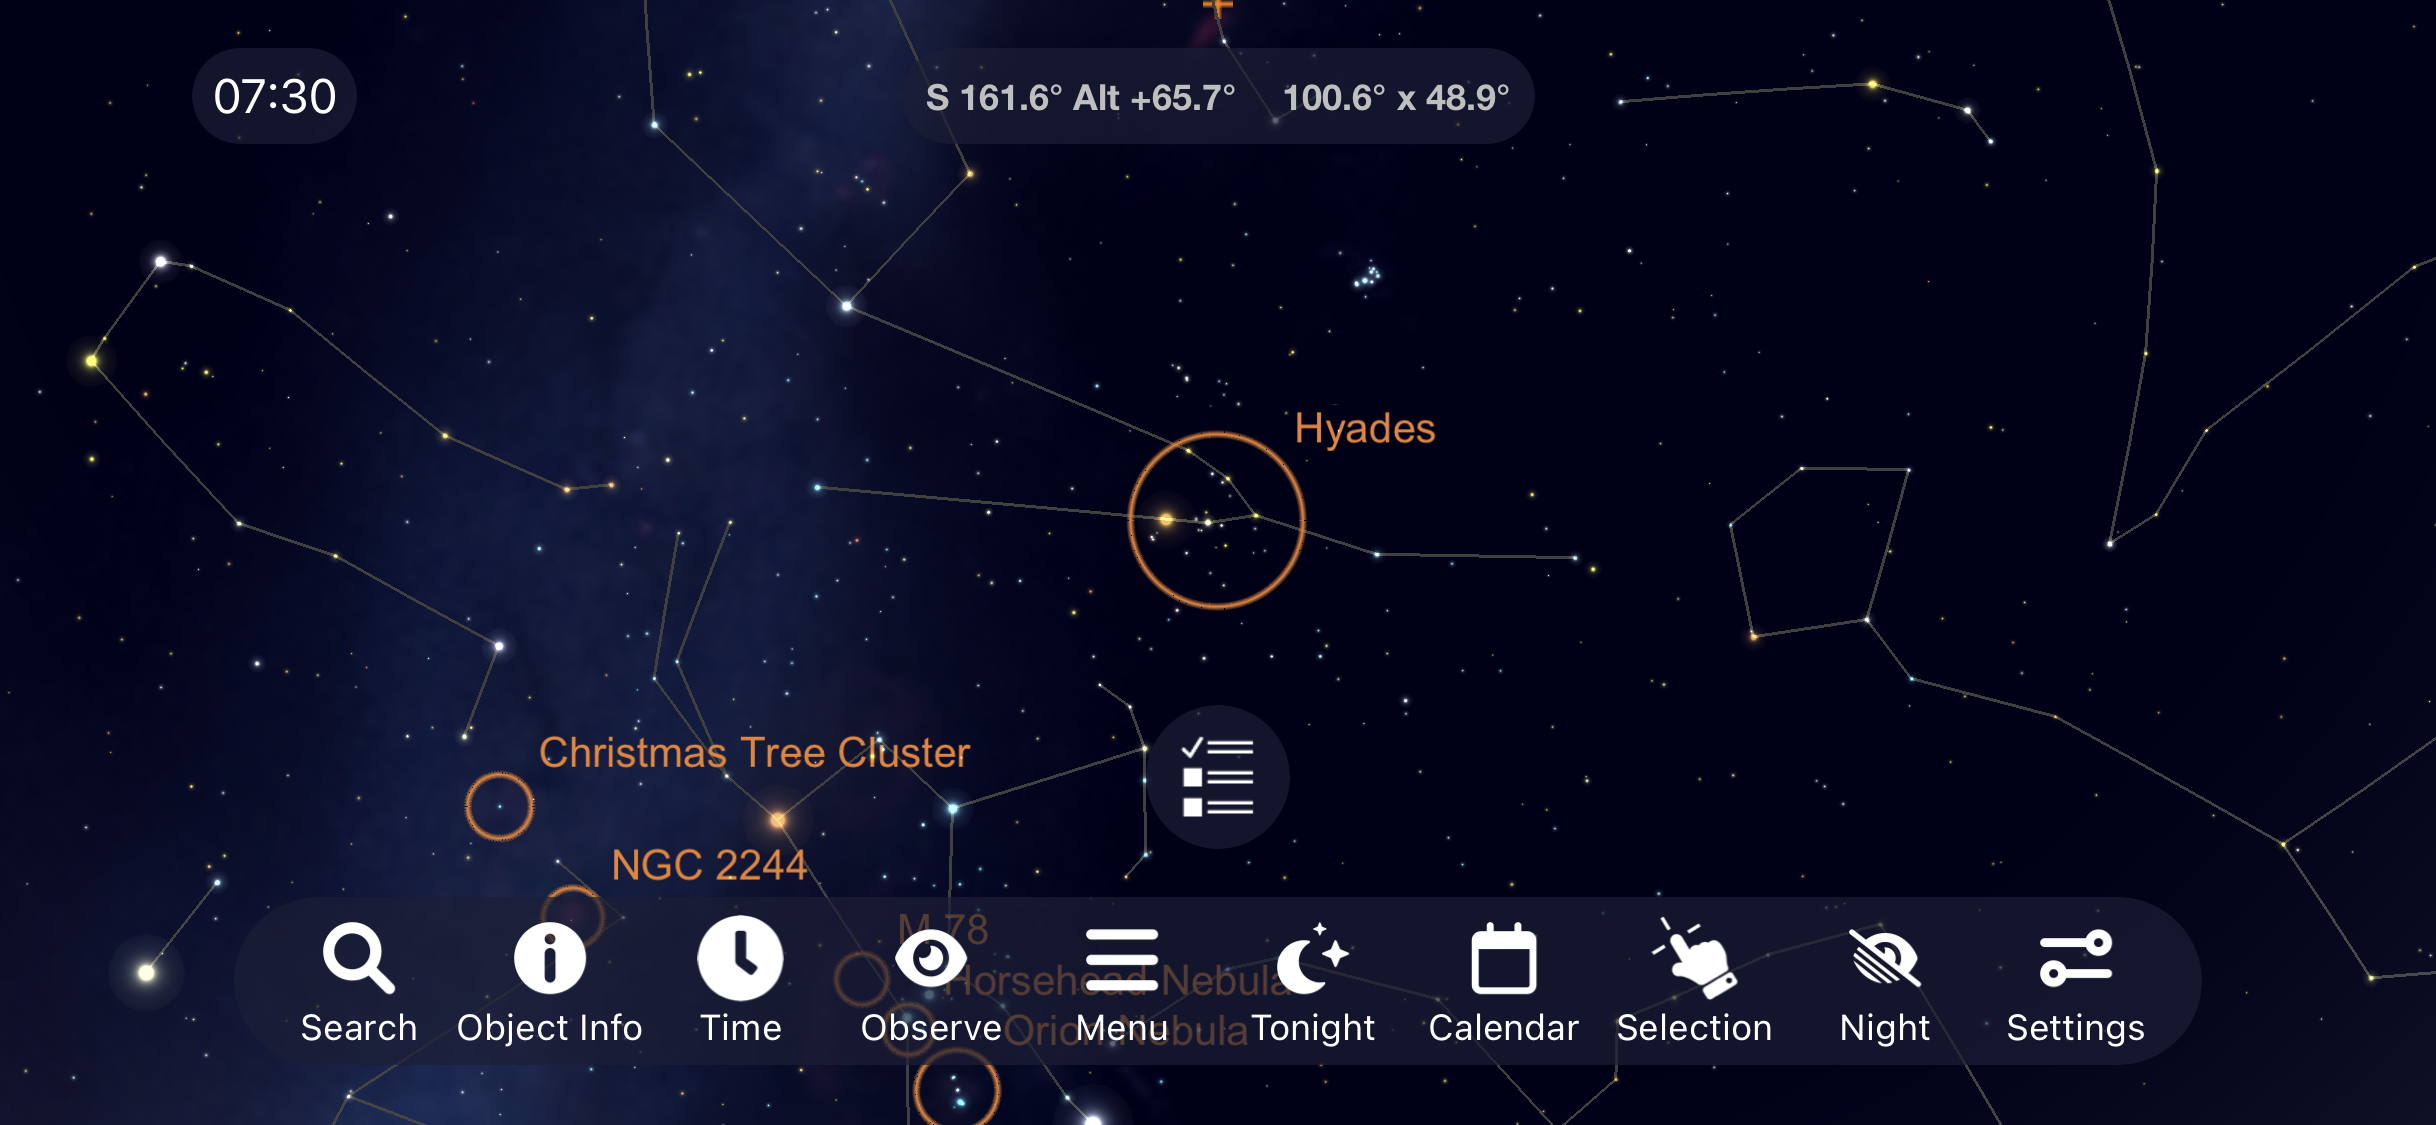
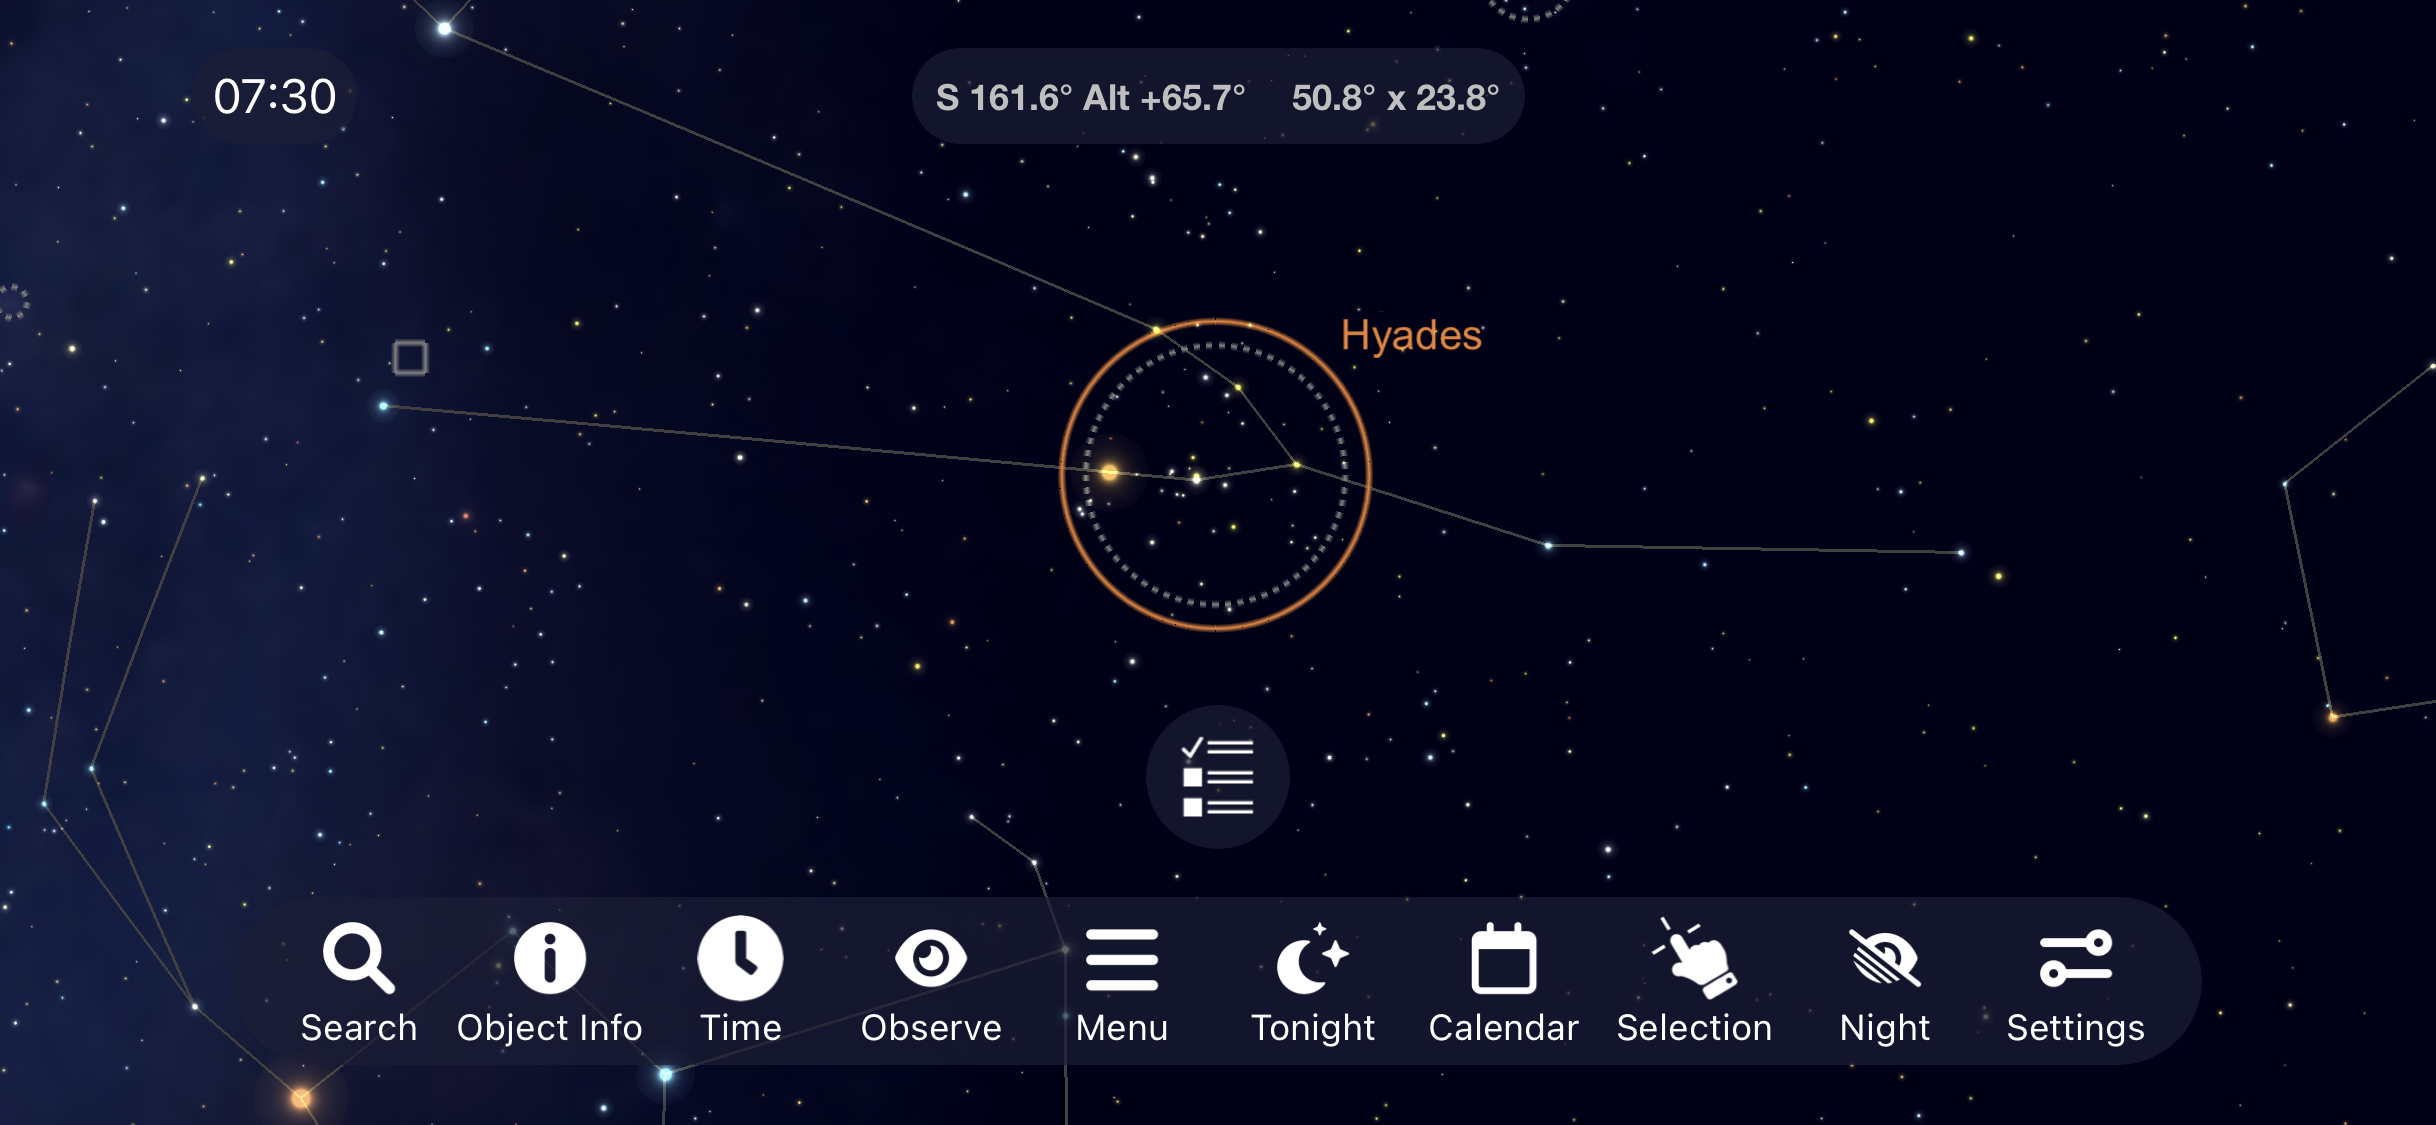
I was just able to fit the Hyades into the field of view of my 135mm lens while taking this image of it. Even without imaging equipment, the beauty and complexity of this region of space is enjoyable to see with just the naked eye and a pair of binoculars.
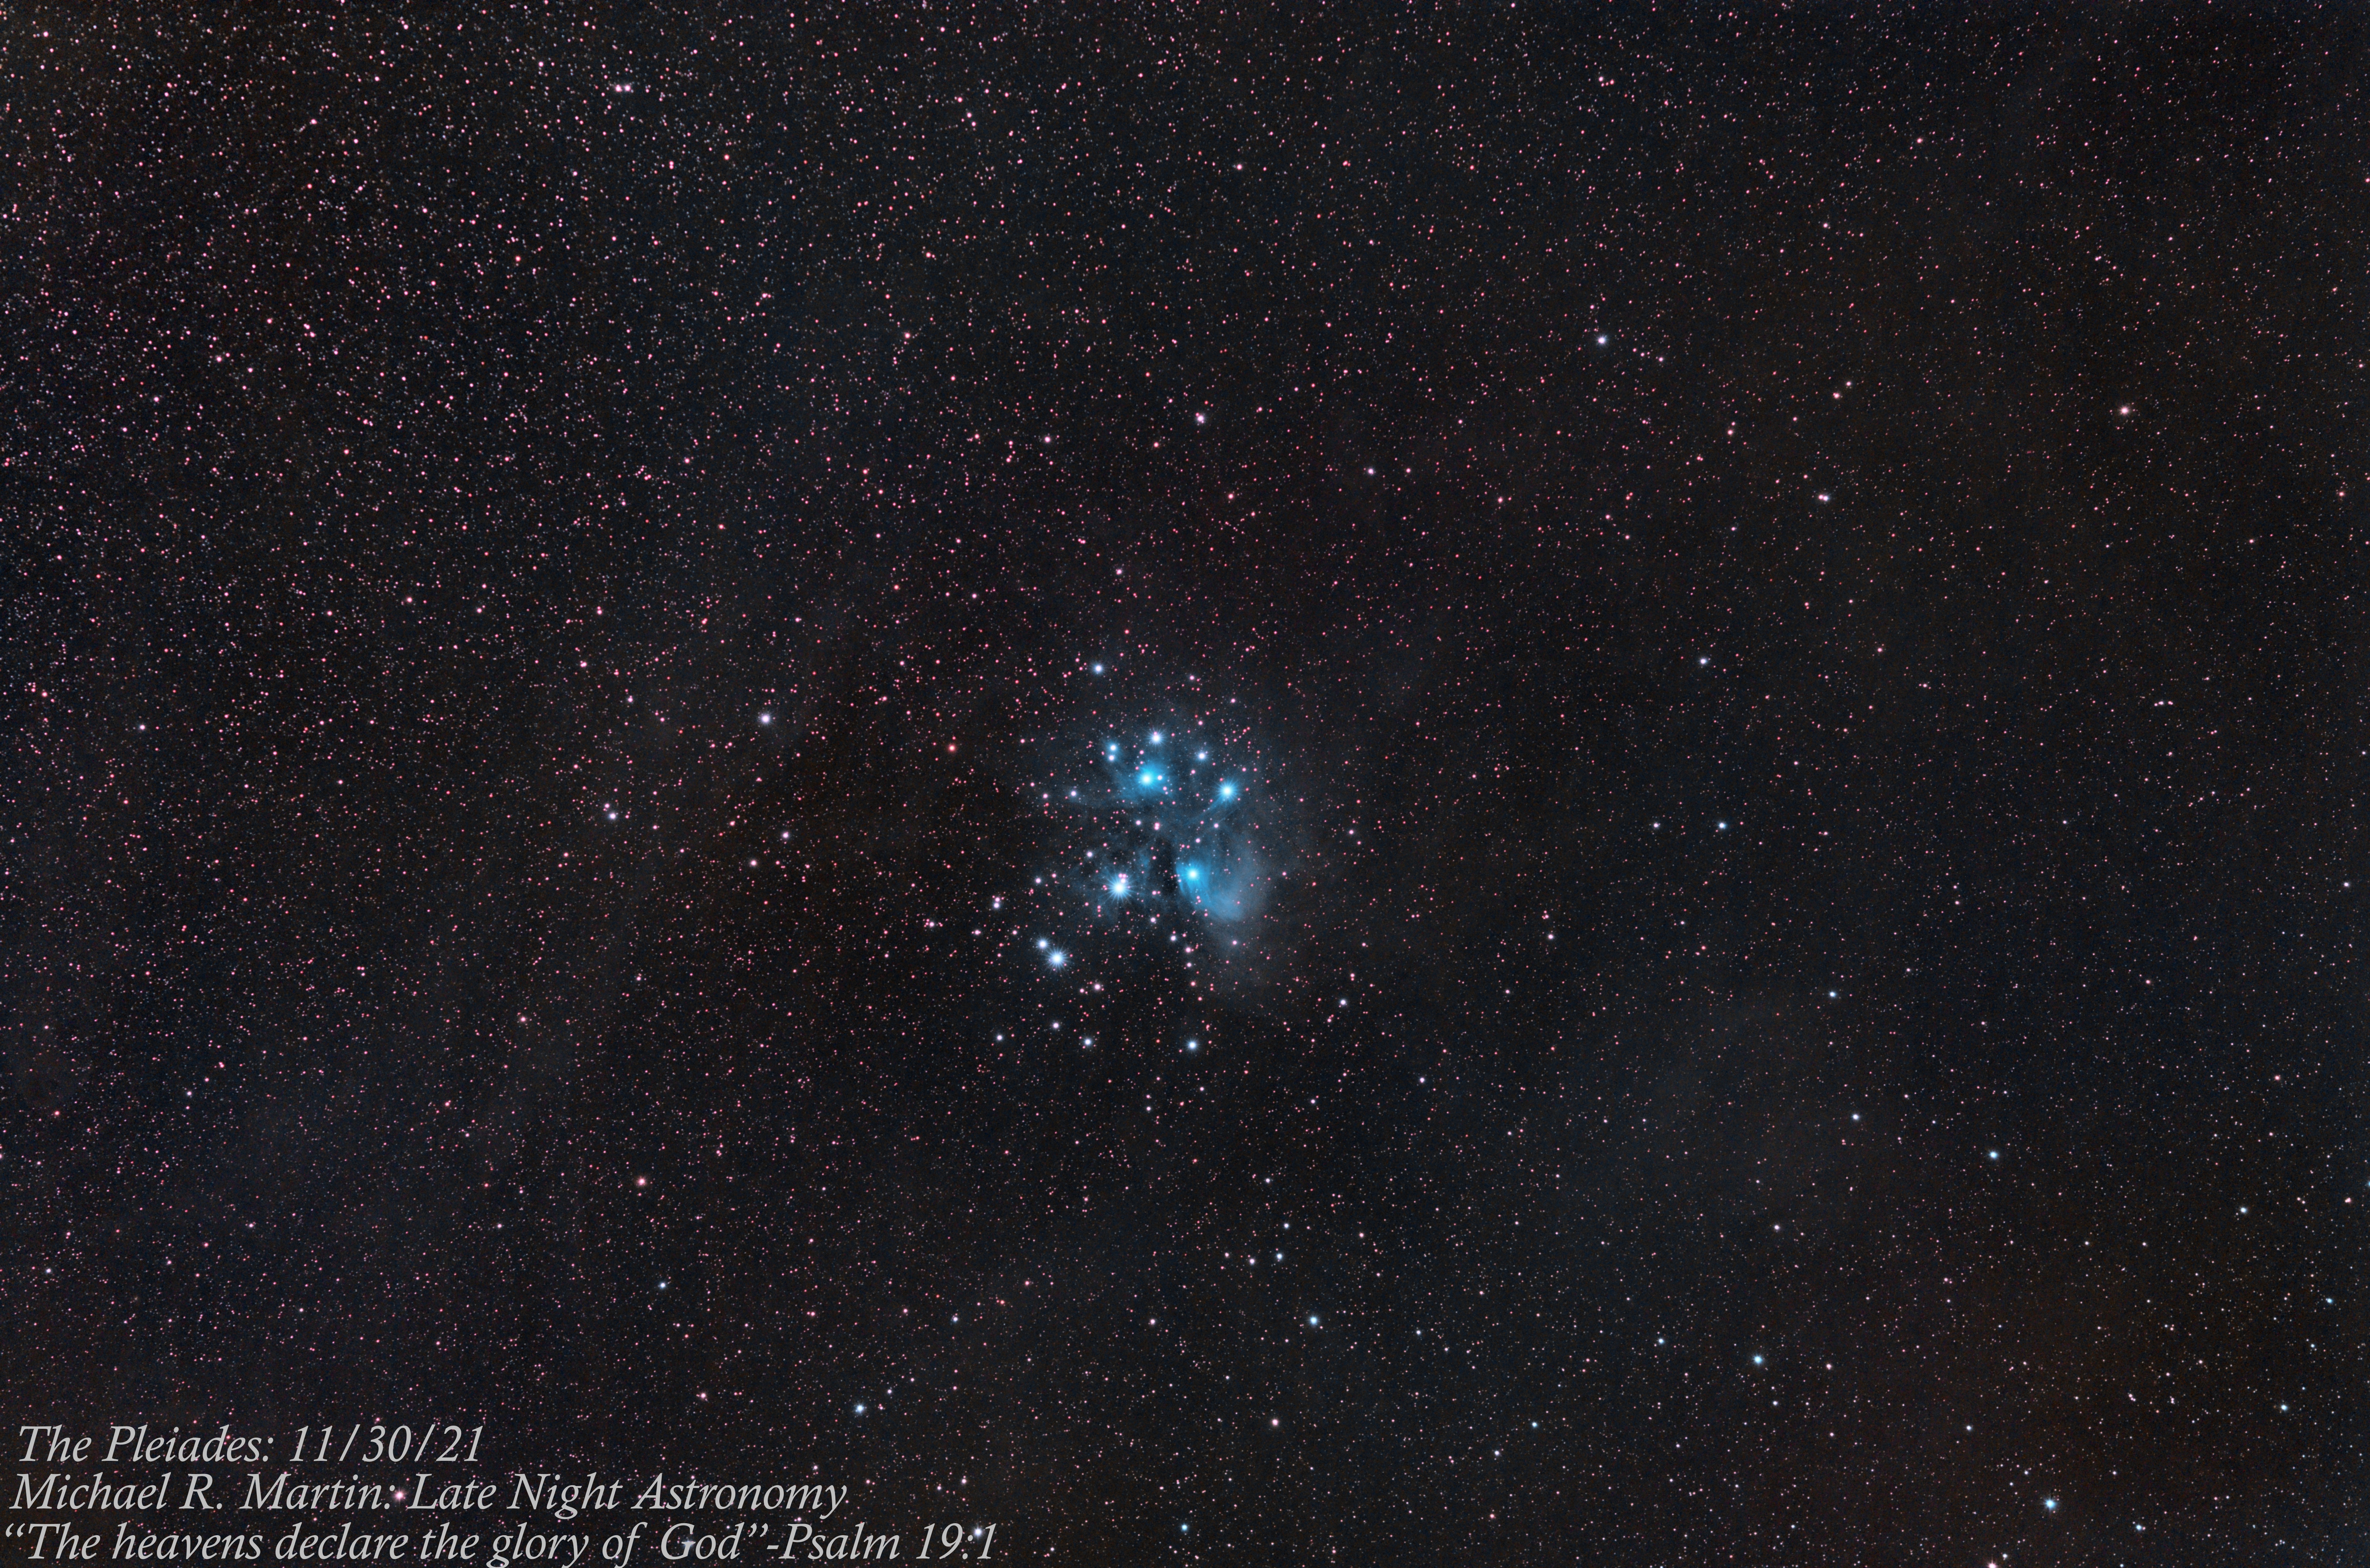
The Pleiades

Just above Hyades, you will find the Pleiades. The seven sisters are another great naked eye and binocular target that will reveal more and more stars as you move your way up to views through a telescope at low and medium magnifications.

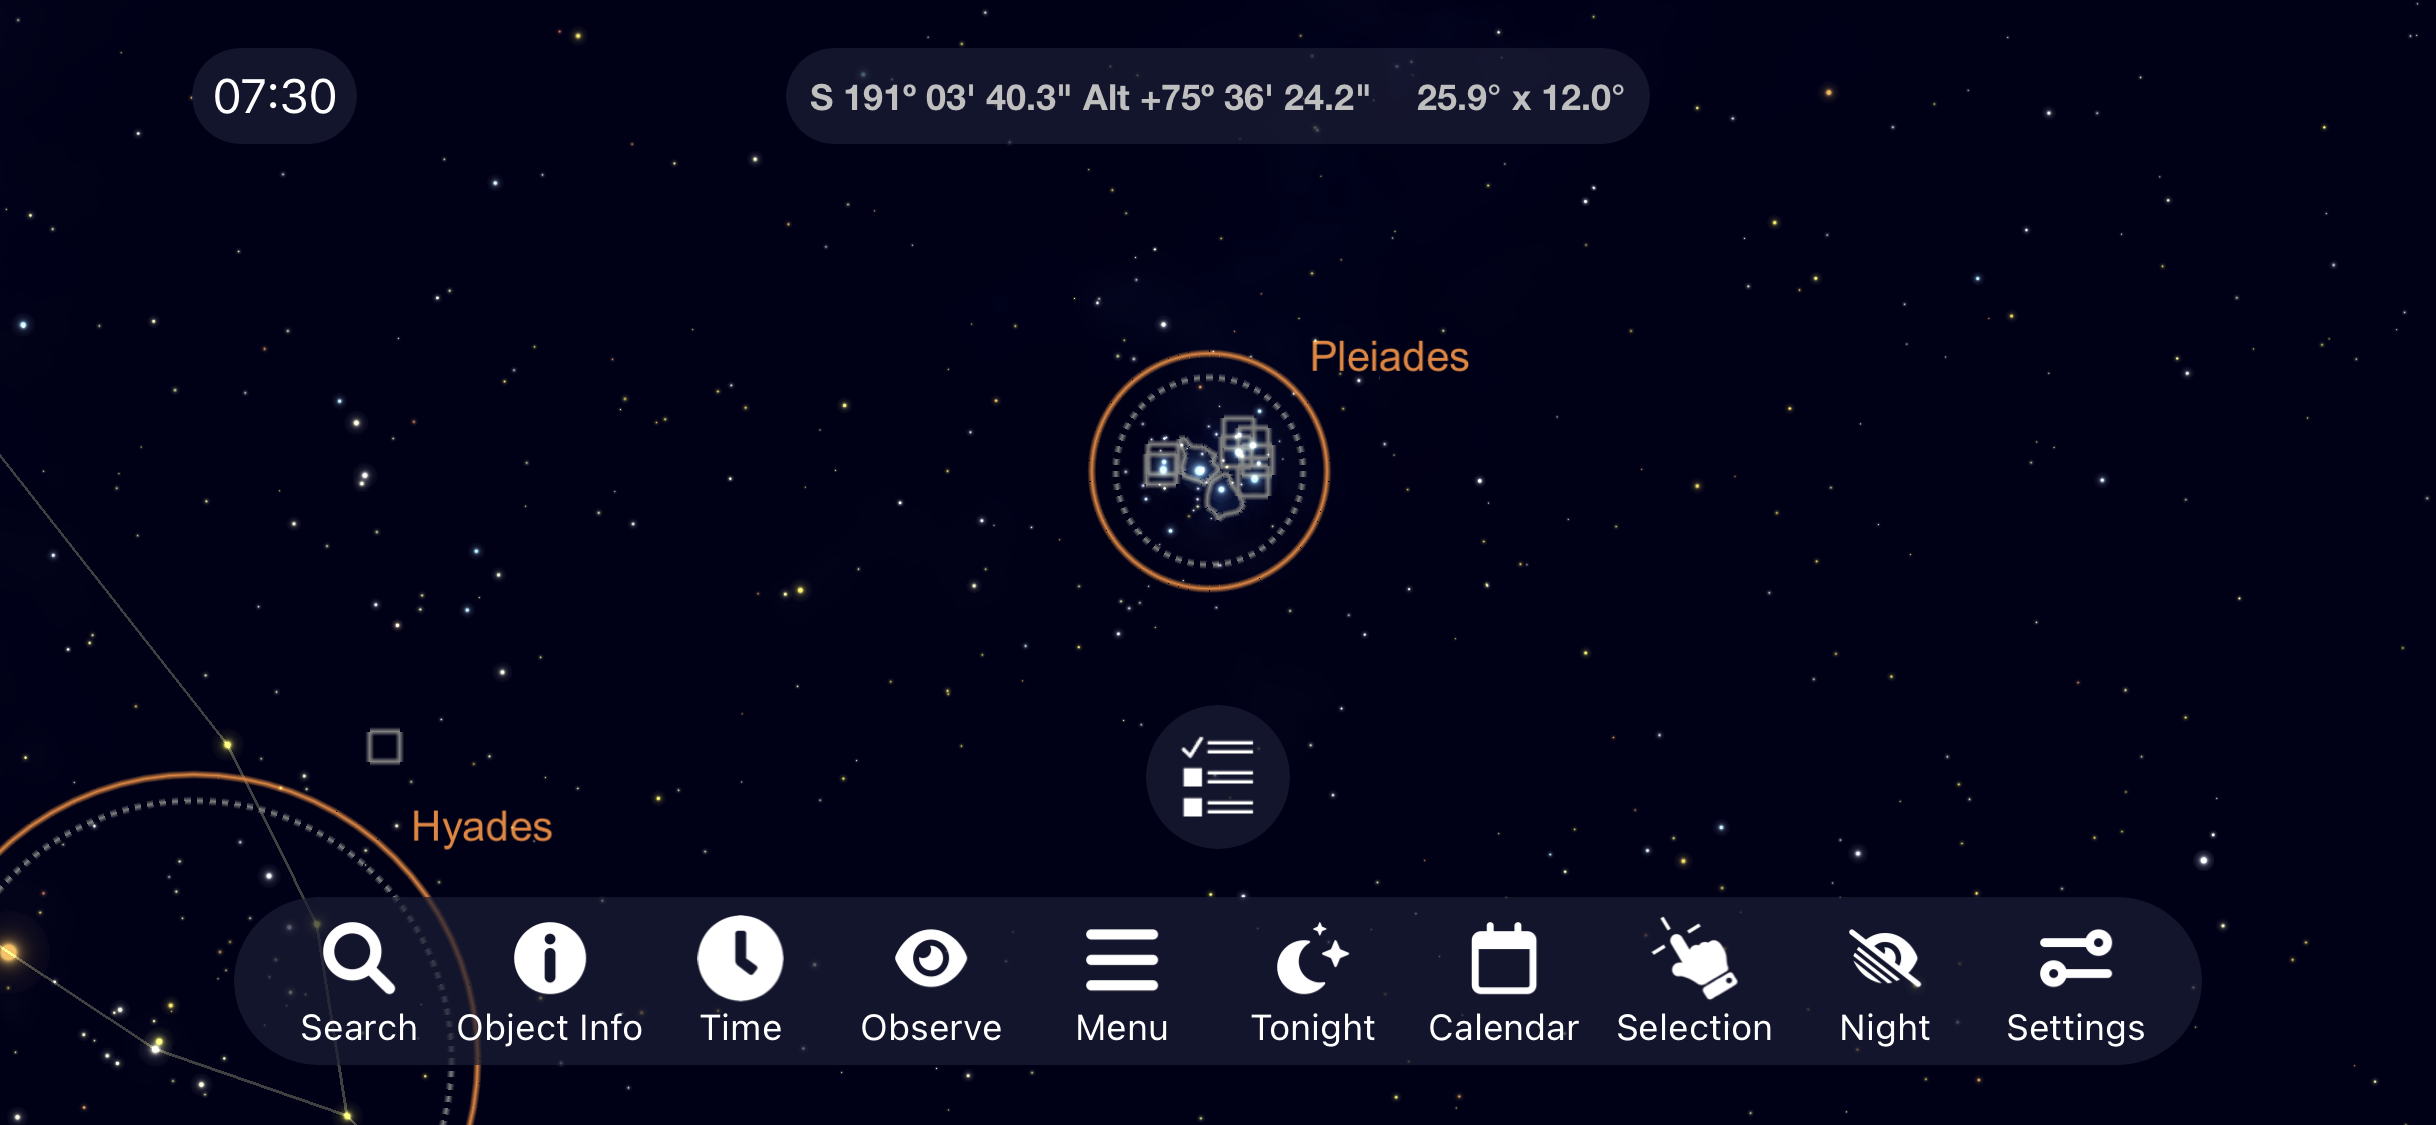
In long exposure photography the blue nebula appears with the seven sisters. I hope to one day image the Pleiades from a dark sky location to reveal even more of the faint nebula making up this object..

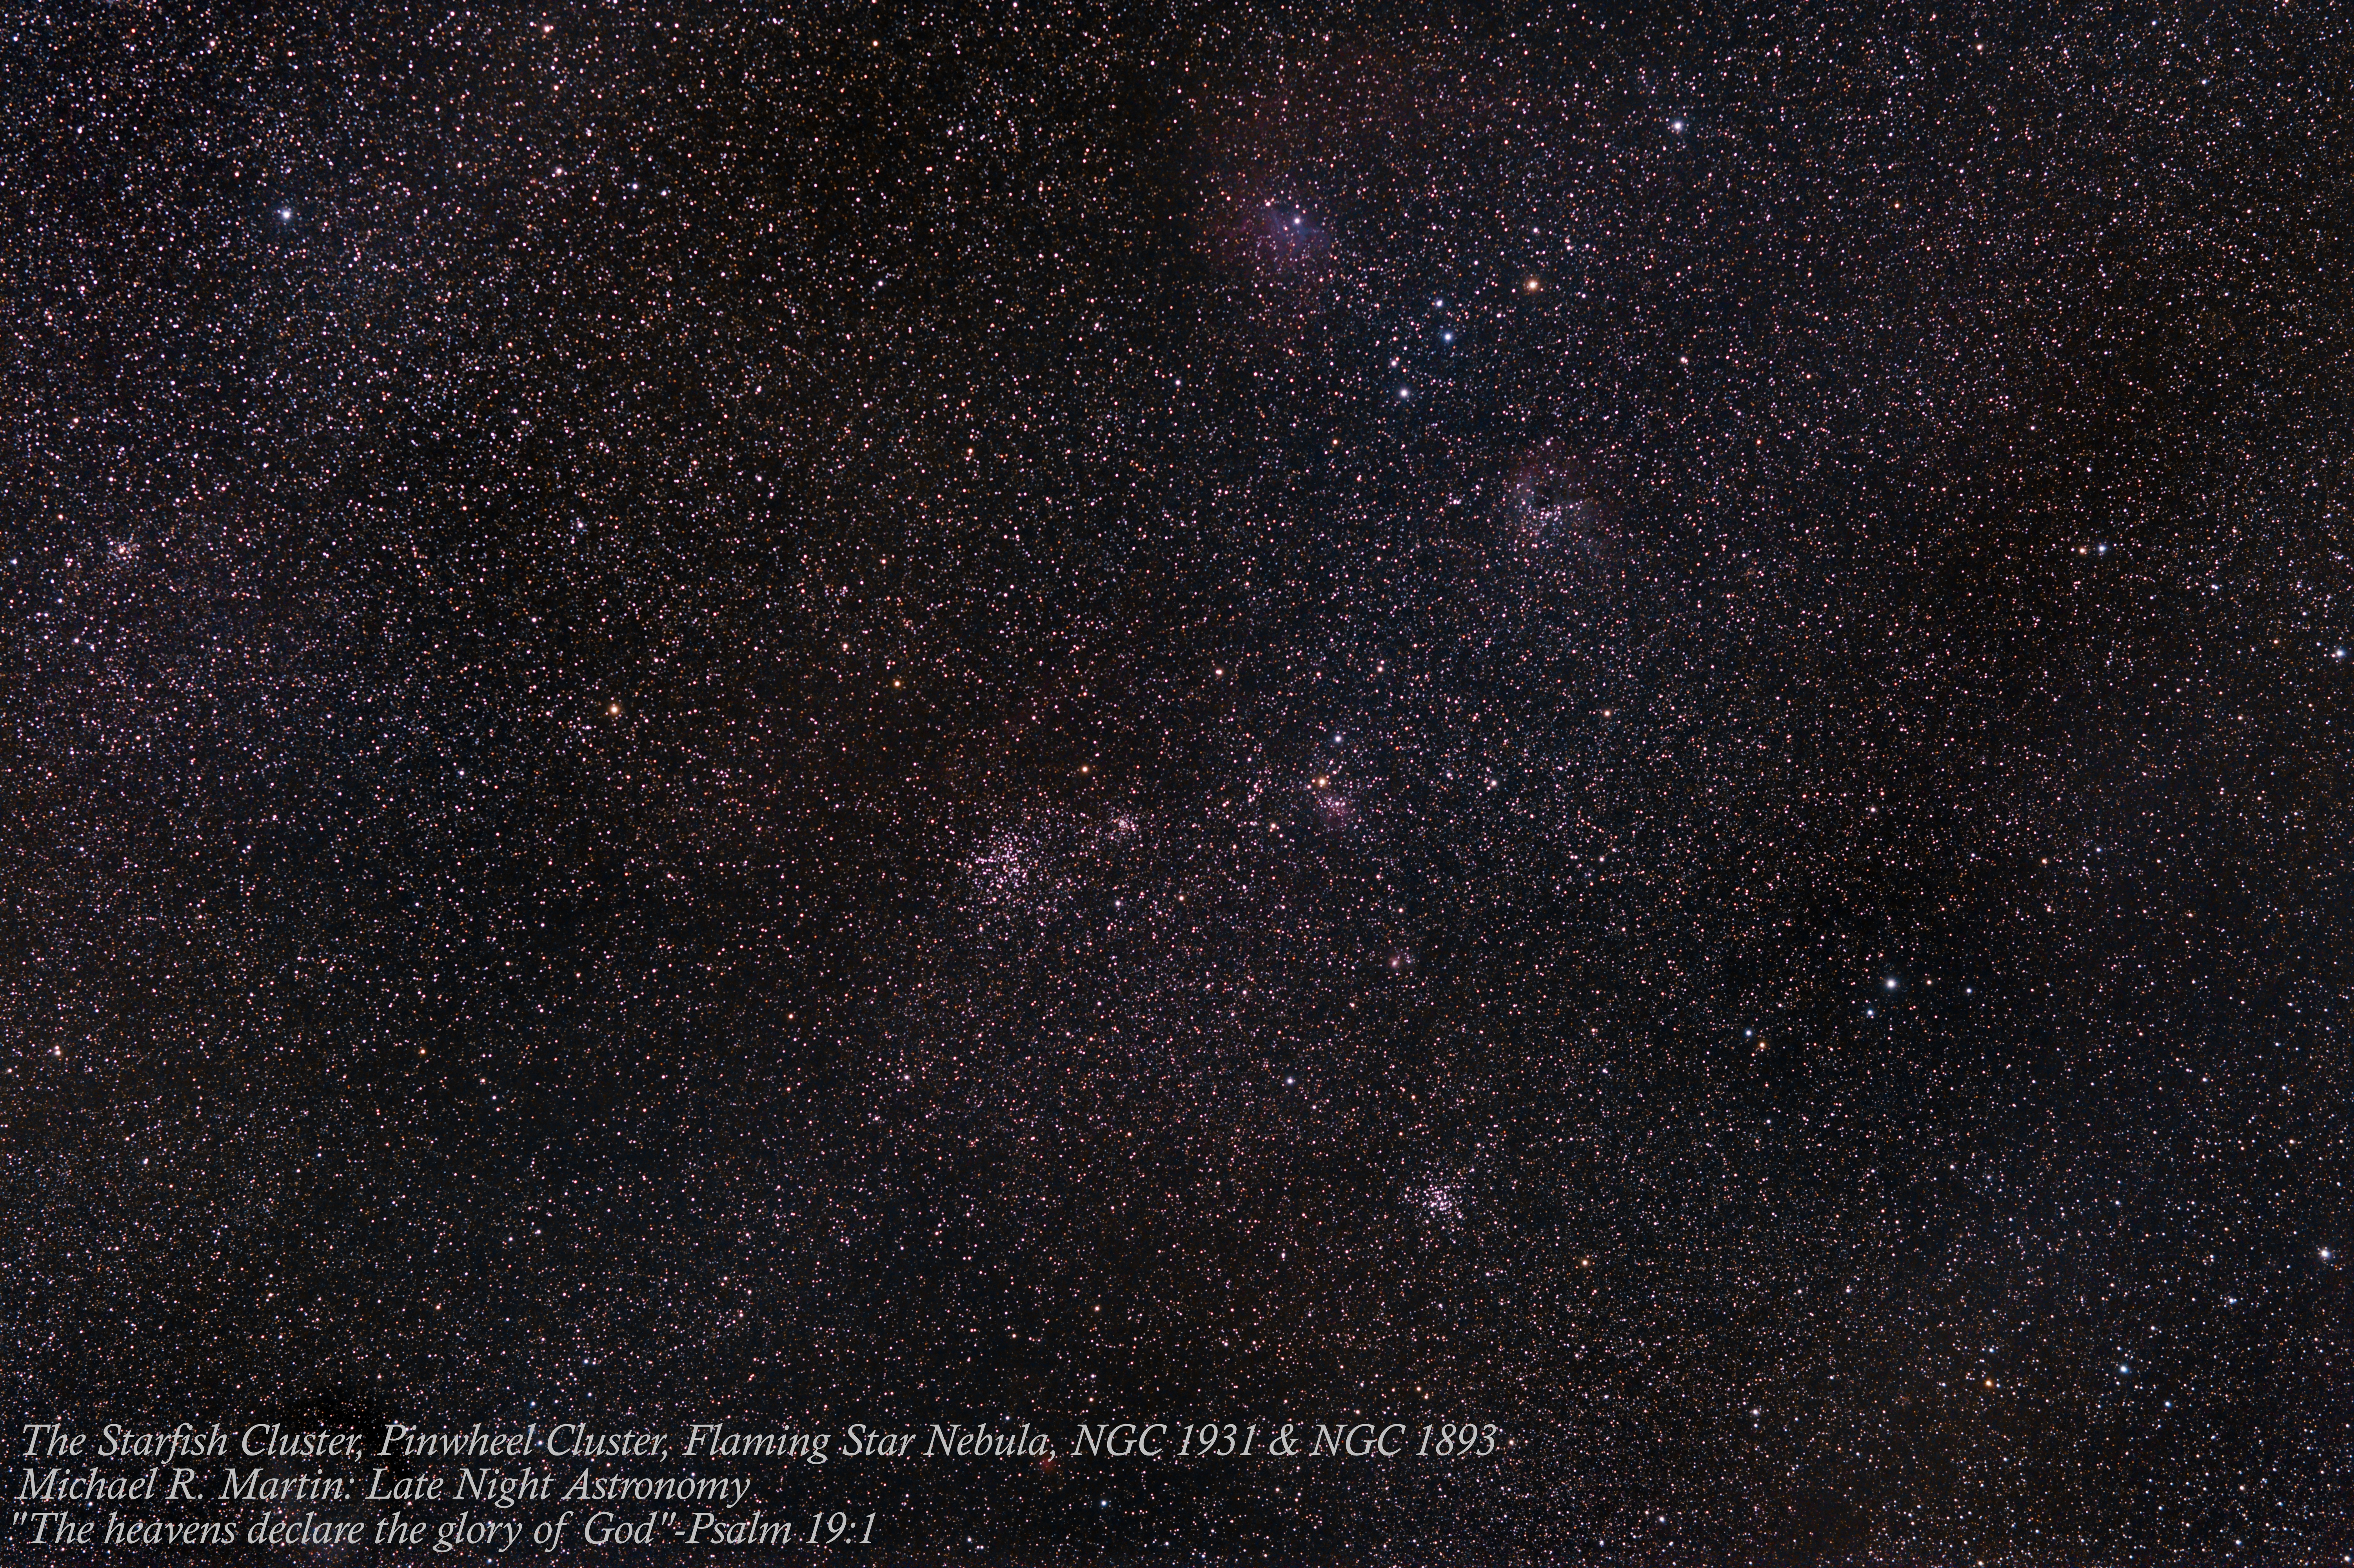
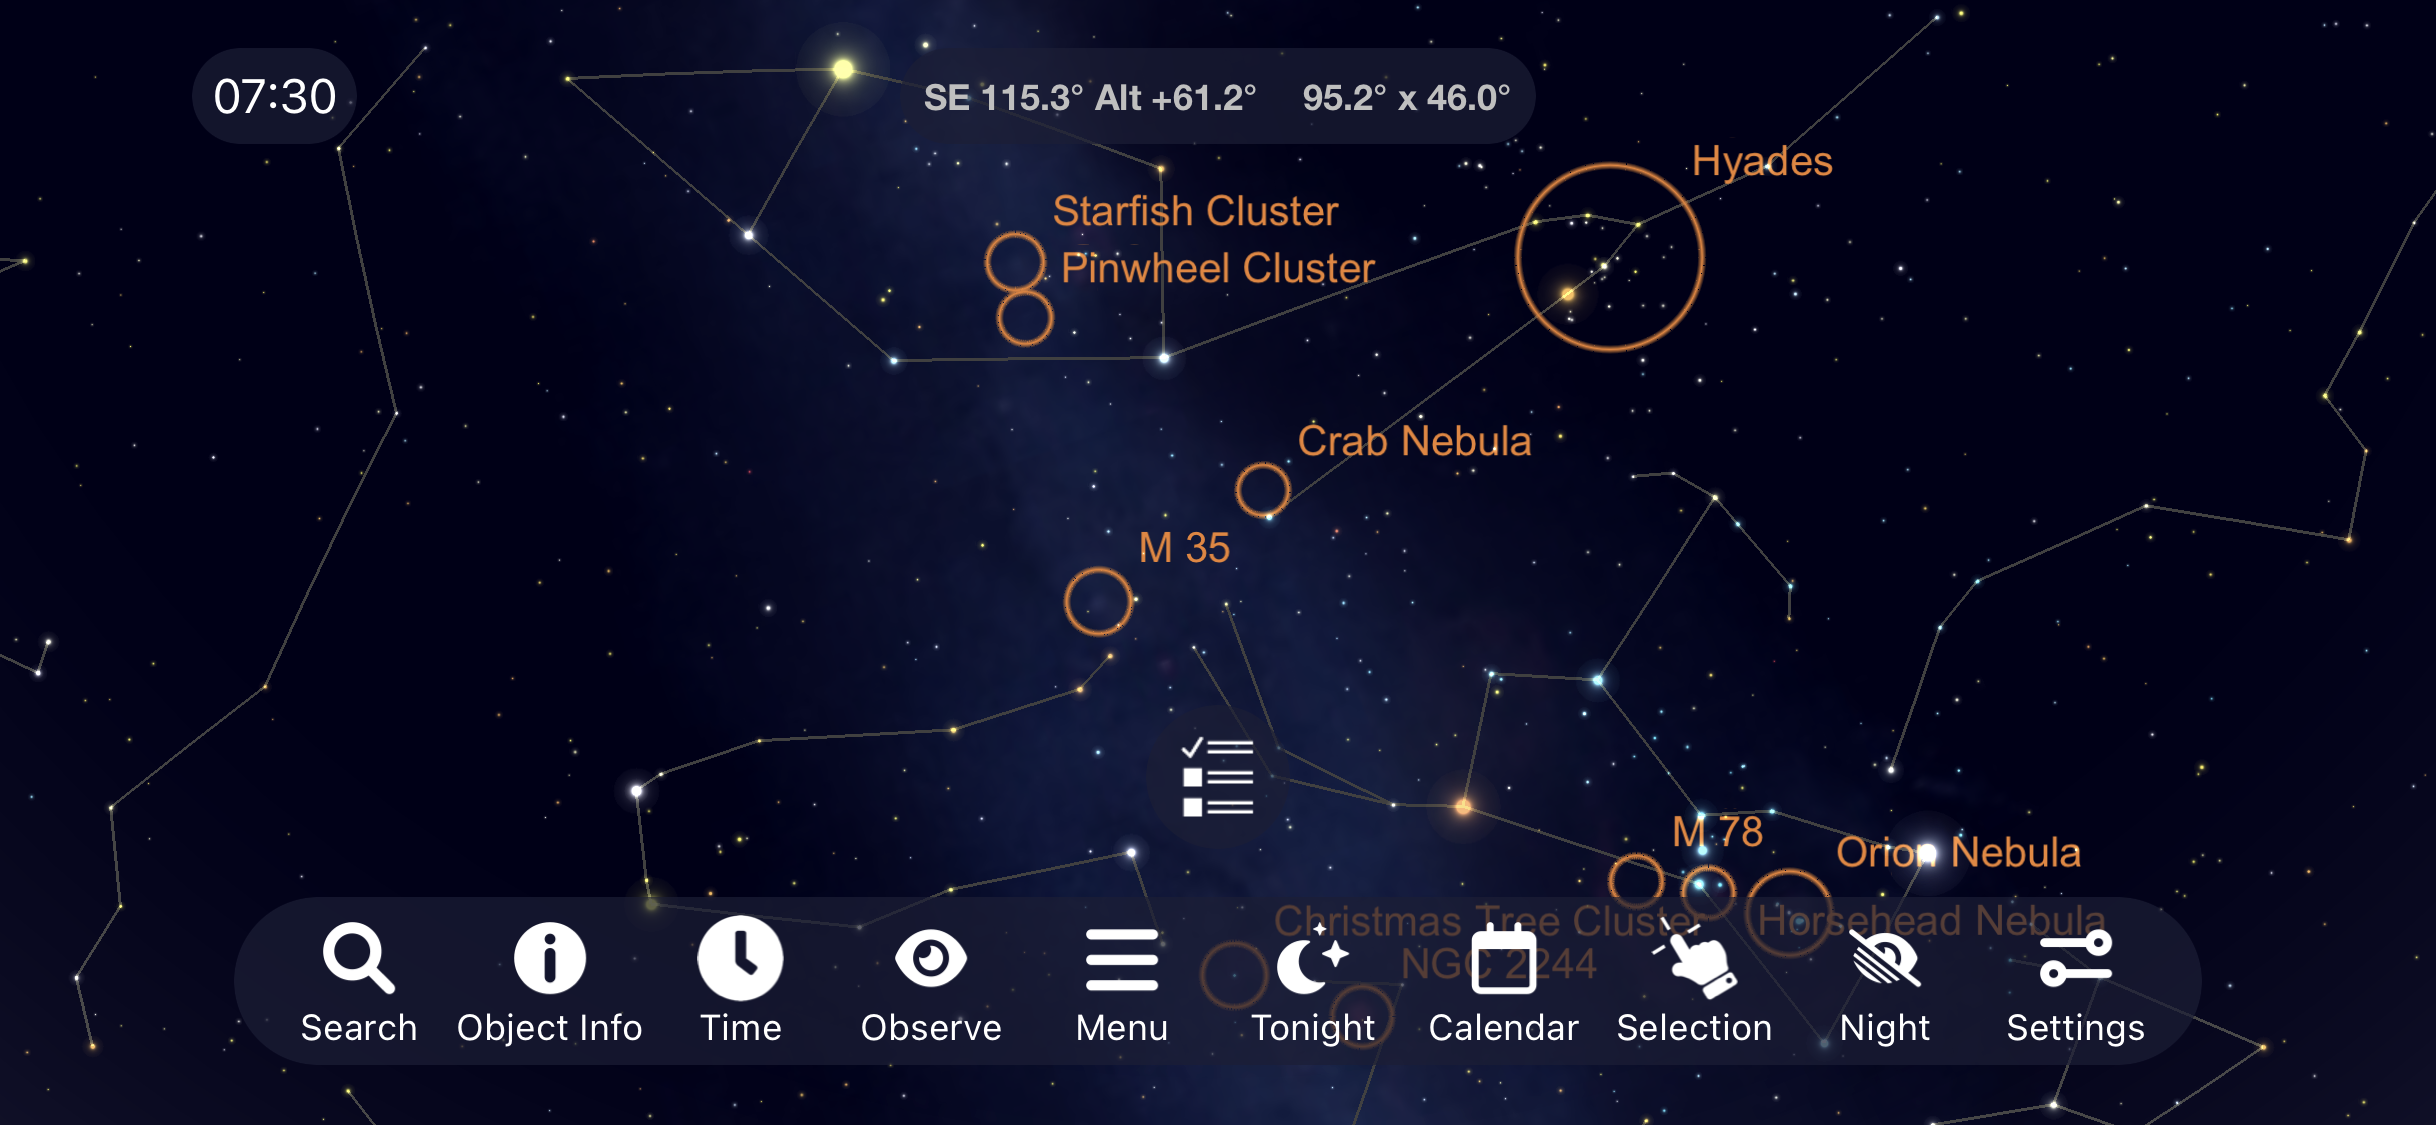
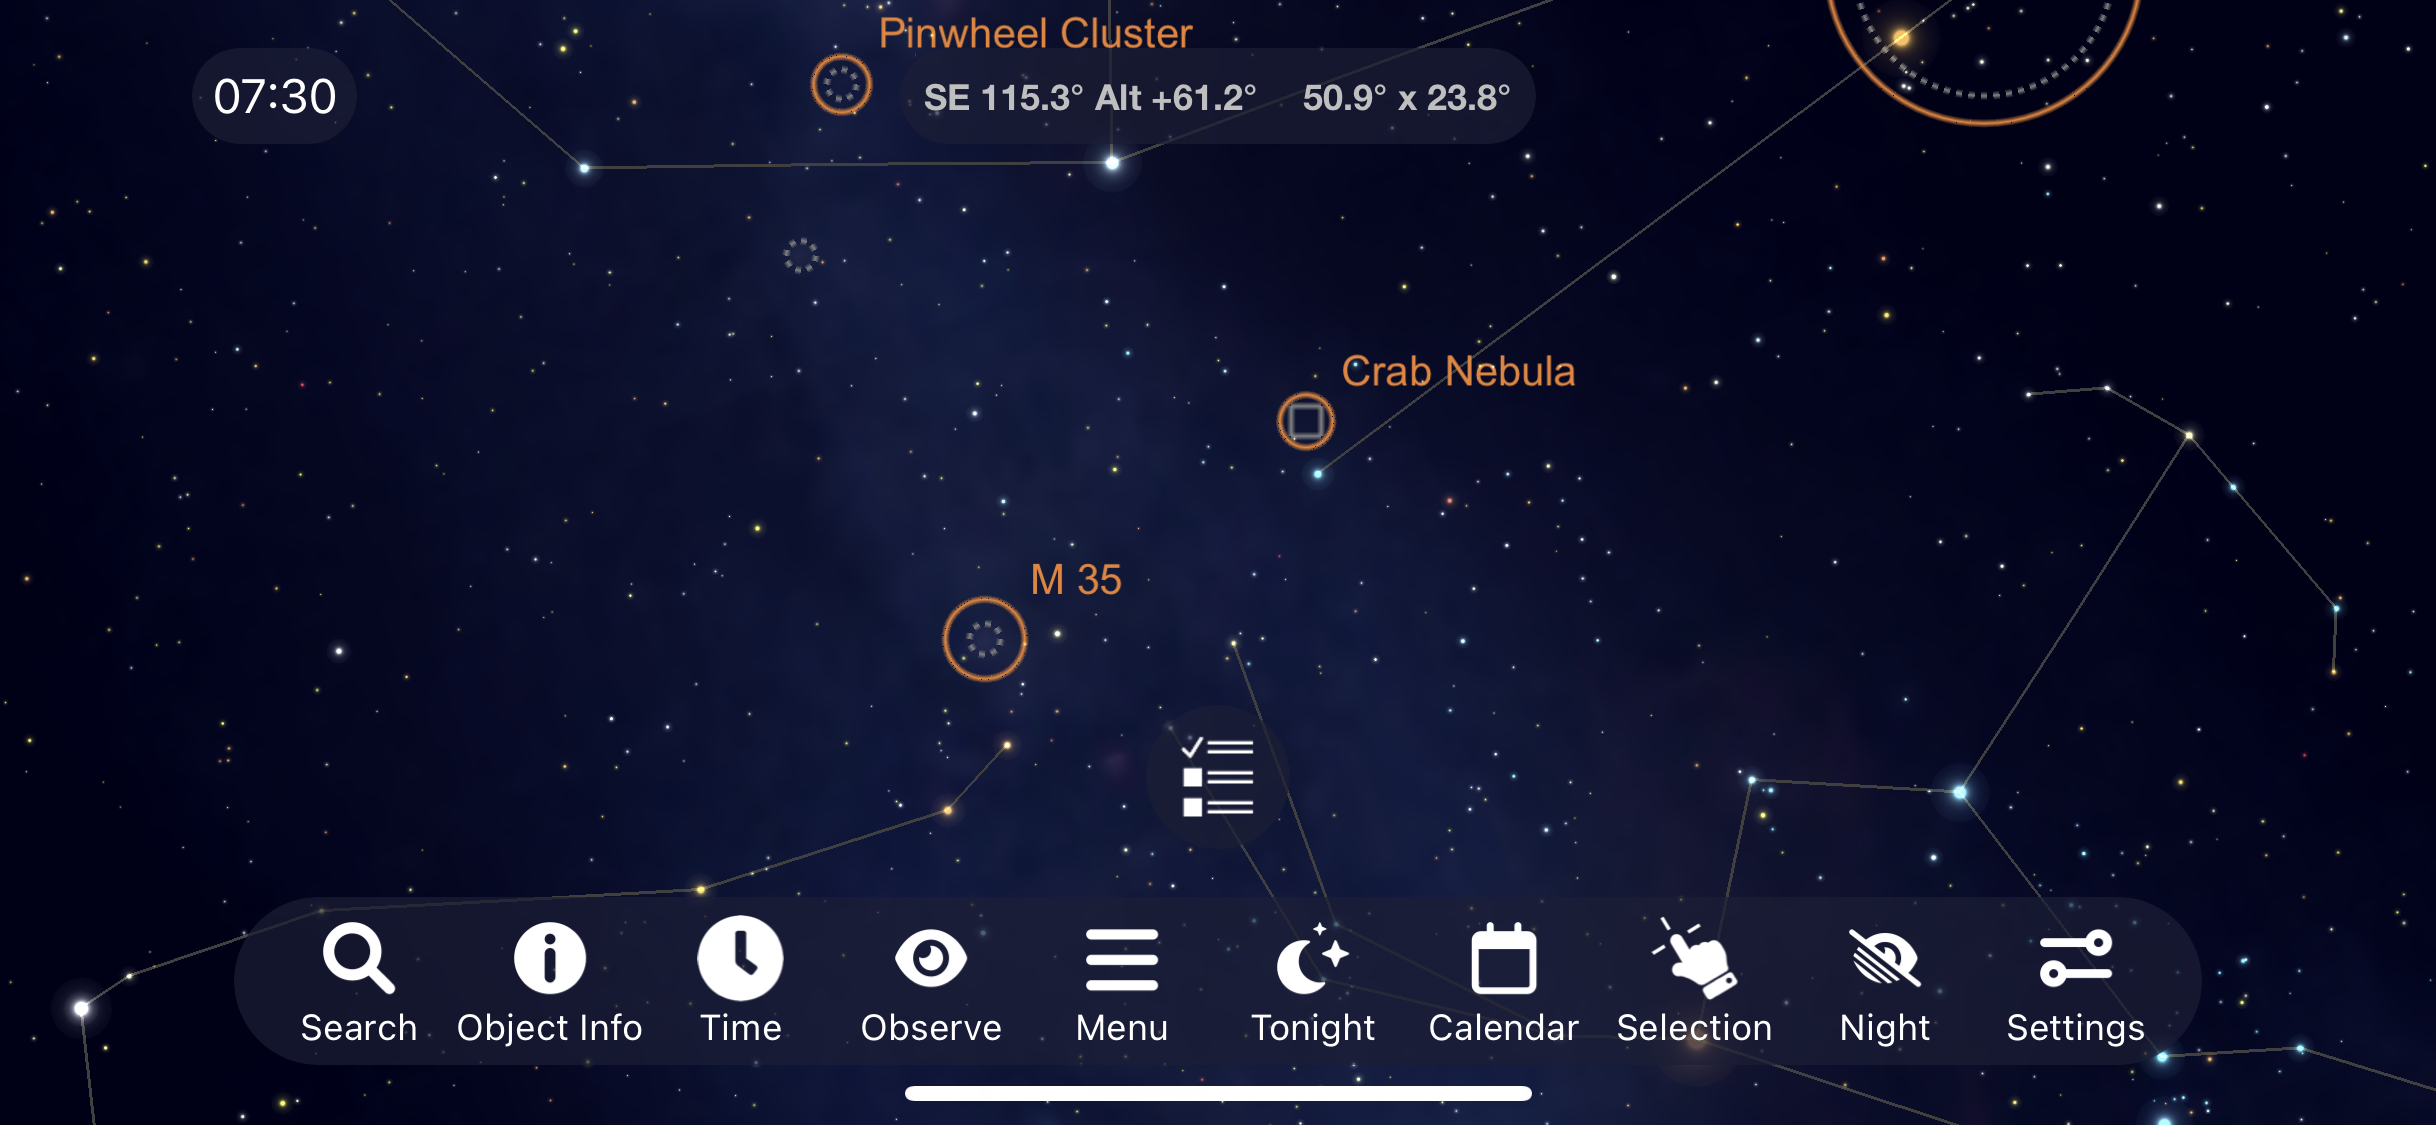
The Starfish Cluster & Pinwheel Cluster

Let’s make our way over to the Constellation Auriga. Here you will find amongst several objects the Starfish and Pinwheel clusters.

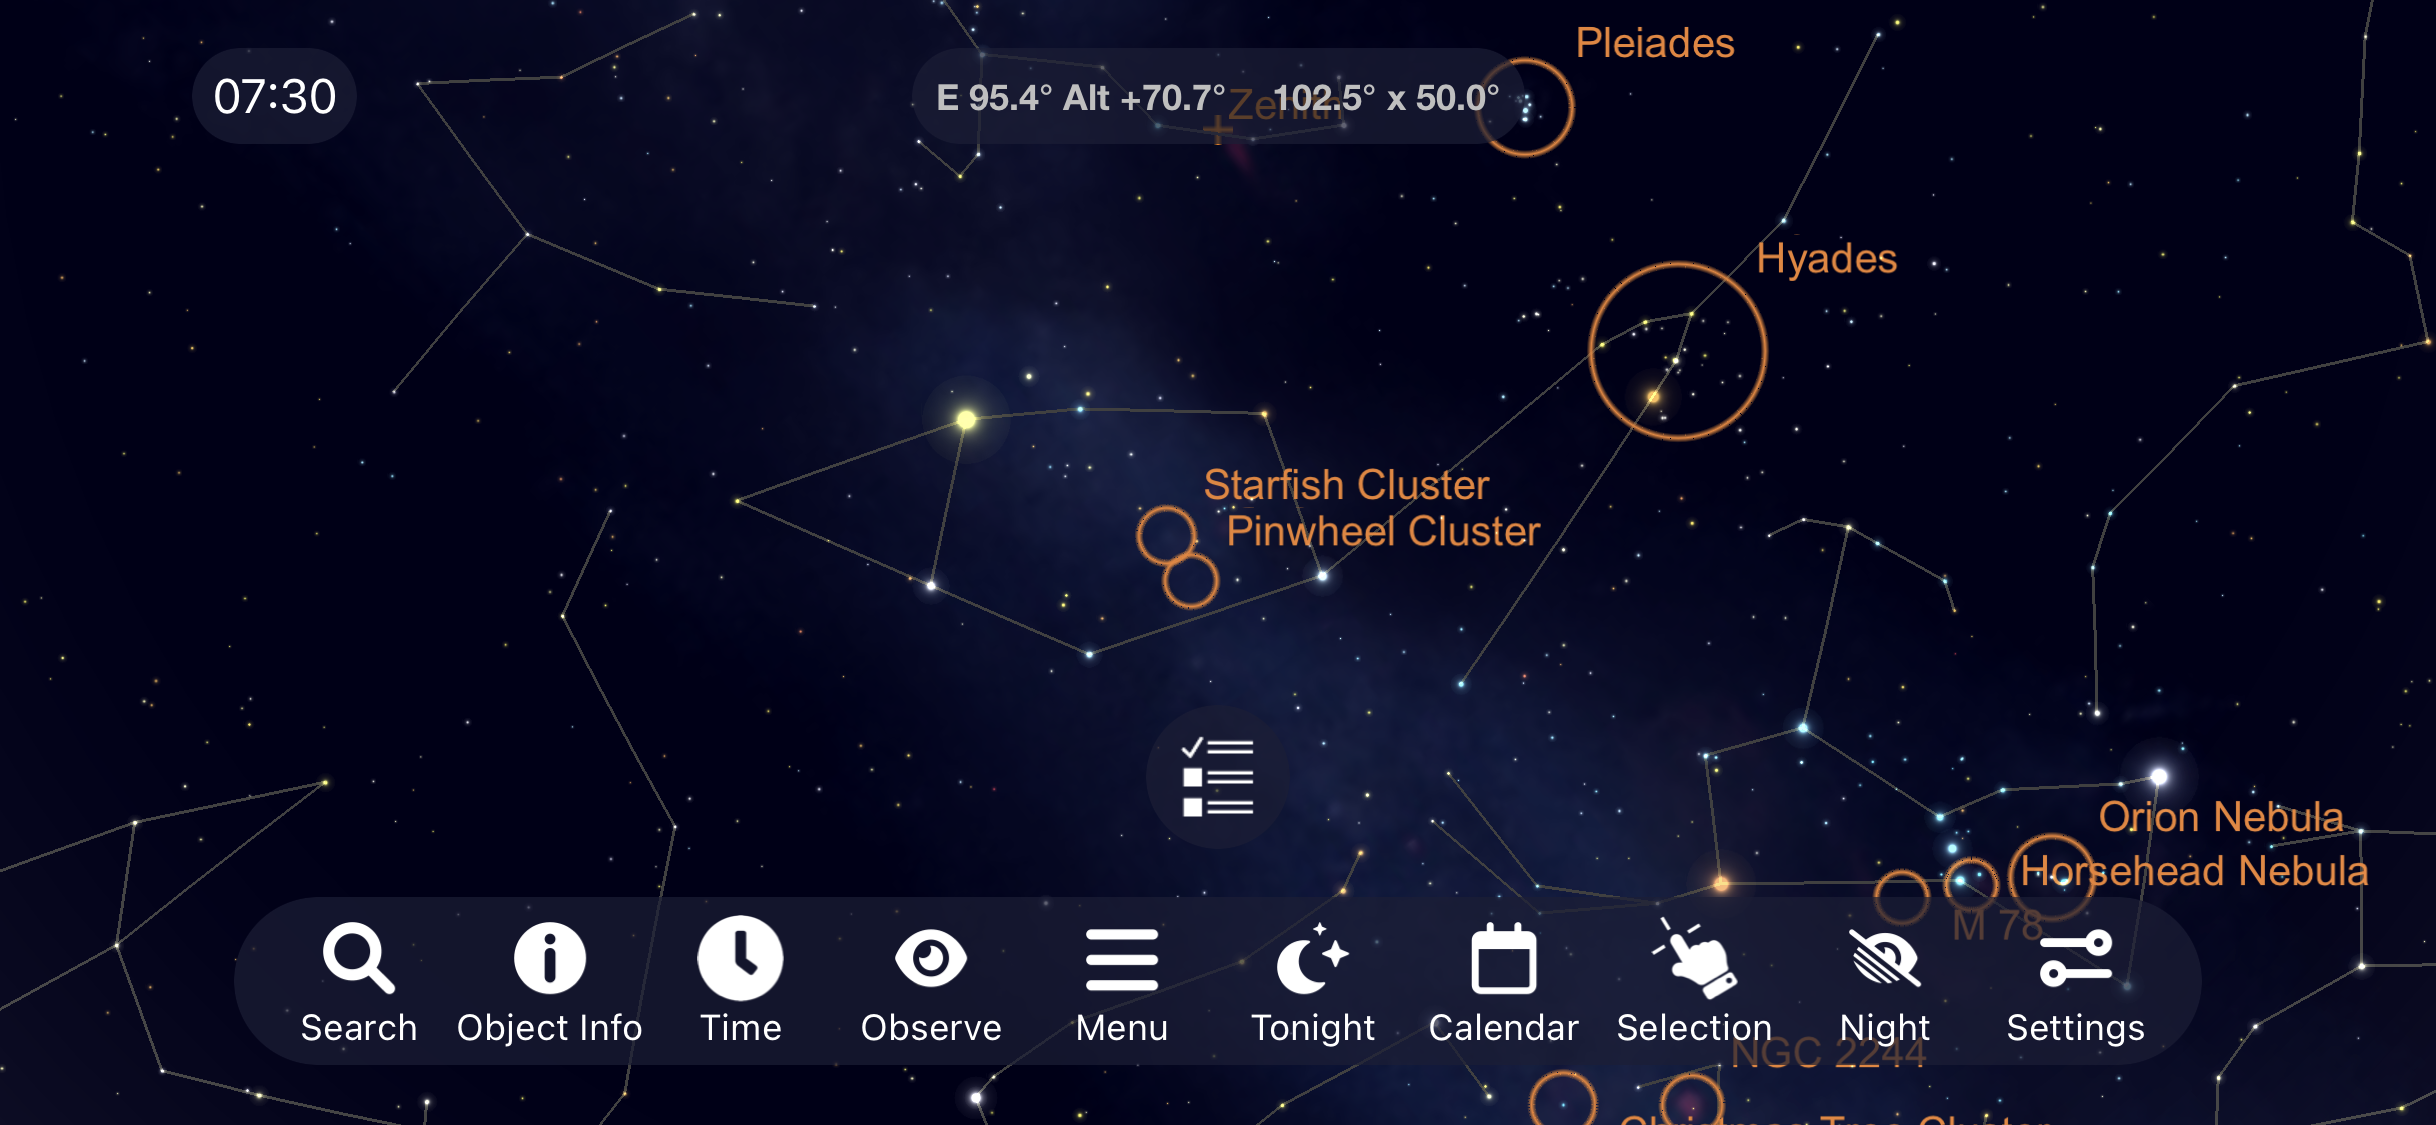
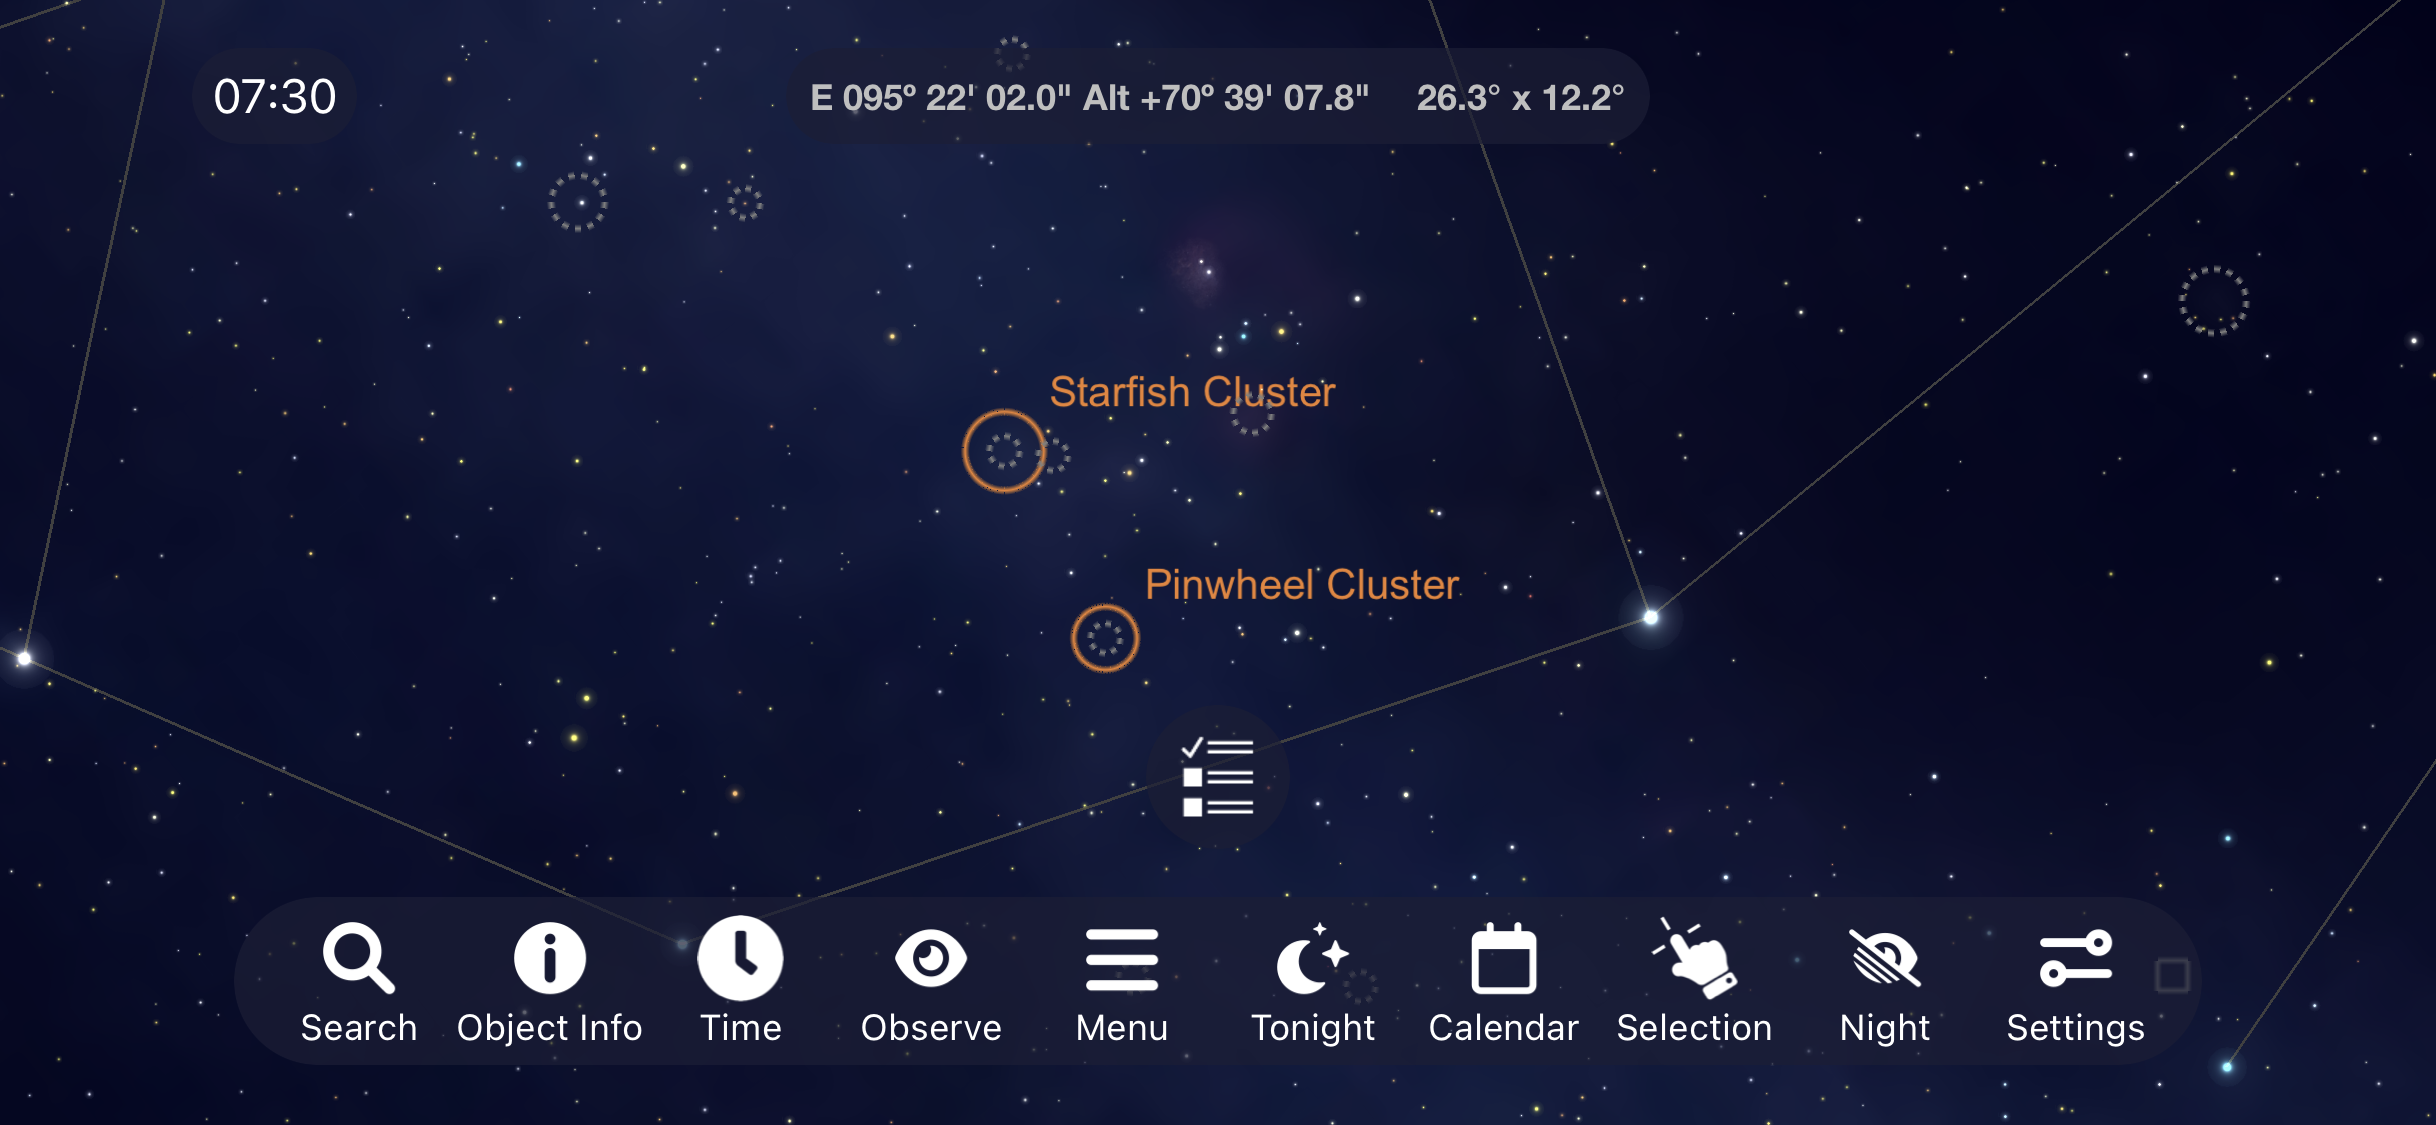
This region of space is a great view through binoculars and low magnification eyepieces in your telescope and it’s star density showed up well in astrophotography.

The Crab Nebula and a Bonus Object

In between Aurgia and Orion right at the edge of Taurus is the Crab Nebula. This object can be a difficult one to see under light polluted skies but it is worth your time to try and hunt down due to it being one of the most famous supernova remnants in the night sky. As a bonus object for the winter sky, since we’re already in this part of the sky you won’t want to miss one of the best open clusters in the Gemini Constellation, M35. This naked eye object can be enjoyed with no equipment whatsoever under a clear dark and steady sky.

Overview of the Best Winter Deep Sky Objects

Those are my top picks for the best deep sky objects to view or image in the winter sky. Let me know what you’ve been out to observe or imagine and if there is anything you’d add to this list in the comment section below! Thank you all so much for your support and clear skies from Late Night Astronomy.

Michael Martin
Late Night Astronomy

How to take Light Frames, Flat Frames, Bias Frames & Dark Frames for Astrophotography

Imaging the nighttime sky can be one of the most rewarding things to do in astronomy. When the light from deep sky objects that are thousands to millions of light years away hits the sensor of your imaging equipment it begins the wonderfully rewarding journey of imaging the heavens above. Today, I’m going to walk you through the techniques I use to properly image these objects and explain how to take Light, Dark, Flat and Bias Frames that can later be stacked and processed to bring out incredible details. To show each step of this process, we will be imaging one the best targets in the night sky, the Orion Nebula. If you have an interest in astronomy and astrophotography please subscribe and let me know about your questions and any techniques that you use to capture these images in the comment section below. Let’s begin with the most critical part that everything else depends upon, capturing the best light frames we can of our deep sky object.

How to Take Light Frames

Canon SL2, Samyang 135mm Lens, iOptron SkyGuider Pro

Light frames are the most important part of this entire process because they are the images of the actual object you are capturing. Nothing after this step matters unless you have solid usable data of the object you are imaging in the night sky. The more light frames you can capture the better your signal to noise ratio will be for your target once we stack these frames together using a program like DeepSkyStacker. For example, if I take 60 one minute exposures and stack them together to one hour of data it can nearly achieve the same signal to noise ratio as one long one-hour exposure would once we’re done with the whole process. This will lead to finer details showing up in the final image during post processing. A good resource that goes into incredible depth on these topics is “The Deep-Sky Imaging Primer” by Charles Bracken. I read this book a few years ago and it greatly improved my understanding of astrophotography and I’ll be sure to leave a link to it in the description below. I capture my light frames using a DSLR, Samyang 135mm lens and the iOptron SkyGuider Pro Tracking Mount. There are three main things we want to do to help us capture excellent light frames and those are making sure our camera is set to RAW, achieving sharp focus and choosing the proper exposure length. Without sharp, properly exposed light frames shot in RAW Quality with its incredible amounts of data there really is no use for what comes next in the process.

If you are interested in more info on DSLR Settings for Light Frames

To capture our light frames, let’s start by setting our camera to Manual Mode and RAW Quality. Next, let’s work on getting sharp focus for our light frames by focusing our equipment on the brightest star we can find. One thing that can help you with this is a Bahtinov Mask. After placing it over your camera lens, slowly adjust focus until the center spike is perfectly between the other two spikes. Now that we’ve set our camera to RAW and have adjusted focus, let’s turn our attention to getting a proper exposure of our target, for me tonight, that’s the beautiful Orion Nebula. For the DSLR I’m shooting with, I’ve set the ISO to 400 and my Samyang 135mm lens has its F-Number set to F/2.8. Now, we need to test out different exposure lengths to see which one will work best for our target. Let’s test out different exposures for our light frames by taking 15 second, 30 second, 45 second and 1 minute exposures. To determine what exposure works best, I’m going to press the info button to see the difference in the histogram for each image.

The histogram is your friend in astrohphotography!

The trick is to get a histogram that is about 3/4 of the way over to the left. Too far to left and you don’t have enough difference between your object and the background of space, too far to the right and you may lose some of the brightest details of your object from the data getting clipped off. Tonight, it looks like the best exposure for me will be somewhere around 20 seconds. This again will vary greatly depending upon what object you are imaging, the light pollution of your area and the capability of your tracking mount. Now that our camera is set to RAW, we’ve achieved sharp focus and determined the best exposure length it’s time to actually shooting our light frames. Remember, these are the most important part of the imaging process, the more light frames you capture and the higher their quality the better your signal to noise ratio will be thus revealing more detail in your final stacked and processed image. To assist you in capturing your light frames, use something like a remote shutter release trigger to set how many exposures you want and how long you want them to be. My goal tonight is to capture at least 200 separate 20 second light frames of the Orion Nebula before it lowers into the light pollution dome of a nearby city. Once I’ve double checked that the first few light frames are sharp and properly exposed, I head inside for about an hour until it has finished capturing them.

In Summary: Light Frames

How to Take Flat Frames

The White T-Shirt is your Friend for Flat Frames

Now, our attention turns to the process of taking different types of additional frames that will later be used to correct imperfections that can show up in our light frames. I’m going to begin this part of the process by capturing the flat frames. Flat Frames will improve the quality of our image by removing unwanted differences in brightness, such as vignetting and dust shadows on our sensor. To get rid of these imperfections, Flat frames need to be evenly illuminated throughout the field of view and to accomplish this I like to use a sophisticated scientific instrument known as the white t-shirt. Begin by making sure your imaging setup is in the exact same orientation as it was for the light frames and make sure you are still shooting in RAW quality with the same ISO and F-Number as before. The only thing you will want change on the camera is the mode from Manual to AV. Carefully stretch a white T-Shirt over the lens hood, making sure there are no wrinkles. Once that’s done you are going to need a light source to evenly illuminate it. I like to use a white background on my iPhone with the brightness turned up to 100 percent. With both of those things in place, press the shutter to take the Flat Frames. Since you are shooting in AV mode, the camera will make sure everything is properly exposed with the histogram peaking near the middle. As for all these frames, the more the merrier, but there is a point to which you get diminishing returns on how much they will improve things. I normally shoot between around 75 Flat Frames.

In Summary: Flat Frames

How to Take Bias Frames

No Light Needed

Our next type of frame is the quickest to shoot and simply requires you to place the cap on your lens so that no light whatsoever shows up in your frames. These will improve our image by removing the bias signal and read noise from our sensor. Switch your camera back to Manual Mode and be sure to keep the same RAW Quality and ISO you’ve used all night. Go into your settings and select the fastest shutter speed available for your camera. For this camera that’s 4,000. Press the shutter and easily capture your bias frames. I normally aim for around 75 of these as well. 

In Summary: Bias Frames

How to Take Dark Frames

No Light Needed

Finally, we have our Dark Frames. These will improve our image, by removing the thermal signal of our sensor and any hot or cold pixels. Like Bias Frames, they require you to keep the lens cap on to keep things dark, but the key difference for these is that you need to take them at the same exposure length as your light frames captured earlier in the night. For me tonight, that was 20 seconds. Make sure you are still shooting in RAW Quality with the same ISO as well. The exposure length and ISO are critical for Dark Frames because we want the camera’s sensor to be as close to the temperature as it was when it was taking the light frames a few minutes earlier. What I would suggest you do is keep your equipment setup just as it is outside and use your remote shutter release trigger like before to capture your Dark frames at the same length as your light frames earlier in the evening. Now, the temperature will change slightly throughout most nights, but this is a nice way to match the temperature of your sensor from earlier in the evening as best you can. I normally try to take between 75 and 150 Dark Frames depending on how long my exposure times are, changes in outdoor temperature and how early I’d like to get to bed.

In Summary: Dark Frames

I hope you’ve found this article helpful on how to capture the best Light, Dark, Flat and Bias Frames possible. Check back soon for my video on how to put each of these frames to use by stacking them in DeepSkyStacker. Once it’s released, I’ll tag it and place a link in the description of this video.  If you have any questions or suggestions on how improve these imaging techniques, please let me know in the comment section below. Thank you all so much for your support and clear skies for Late Night Astronomy.

#astrophotography #astronomy #lightframes #flatframes #biasframes #darkframes #calibrationframes