I’ll show you where the Ring of Fire Solar Eclipse will occur and how to safely view it on June 10, 2021. Get out your solar glasses and kick off your day as the Moon slowly moves between the Earth and the Sun. As always, please let me know about your questions and experiences with this event in the comment section below.
I’ll walk you through the most powerful software in astrophotography, PixInsight! Join me as we work on the Orion Nebula showing off the impressive features of this program. Please like this video and join our growing community of amateur astronomers by subscribing to this channel. Let me know what you like about PixInsight and any other software you enjoy using for astrophotography.
Don’t miss the return of the Blood Moon as I show you how to see the 2021 Total Lunar Eclipse from around the world! You will not want to miss this incredible event. Be sure to let me know what your thoughts and experiences are with this Total Lunar Eclipse in the comment section below.
Let’s Unbox, Build & Review the incredible Space Shuttle Discovery & Hubble Space Telescope! Then we’ll compare them to the Saturn V Rocket & Lunar Lander. If you enjoy this video, please like it, subscribe to this channel and let me know what space things you collect in the comment section below.
It was one of the strangest things I’ve ever viewed in the night sky! As they slowly rose above the horizon, these two simultaneous Starlink flyovers showed the odd beauty and potential threat of these satellites on astronomy. What are your thoughts on the starlink satellites? Are they the future of information technology or destroying what’s left of the nighttime sky?
Date: 5/8/21, 9:29-9:36 PM EST Location: Flying near Capella traveling from NW to SE Equipment: Canon SL2, 50mm EF, 60FPS
How well do Zoom Eyepieces work? Can they replace individual lenses for your telescope? Let’s test the design and performance of this Zoom Eyepiece by observing the surface of the Moon. If you own or are interested in buying a Zoom Eyepiece please let me know about your experiences and questions in the comment section below.
I appreciate SVBONY sending me this Zoom Eyepiece to review at a reduced price. Please visit the following links if you are interested in buying this product! US buyers can enter code “MICHAELMARTIN” to receive an additional discount!!!
In this video, I’ll show you how to see the Eta Aquarids depending on where you live and we’ll go over some tips for viewing meteor showers. Be sure to let me know about your questions and experience with the Eta Aquarid Meteor Shower in the comment section below.
Don’t miss the first big meteor shower of 2021! I’ll show you when and where to look to see the Lyrids and give some tips on ways to increase the number of meteors you can see! Be sure to let me know about your questions and experience with the Lyrid Meteor Shower in the comment section below. Clear skies everyone!
I’ll take you through a step by step guide on how to use DeepSkyStacker to greatly improve your astrophotography by stacking Light Frames, Flat Frames, Bias Frames & Dark Frames. If you find this video helpful, please like it and subscribe to this channel, but most importantly, let me know of the programs, settings and techniques that work best for you in the comment section below.
Imaging the nighttime sky can be one of the most rewarding things to do in astronomy. When the light from deep sky objects that are thousands to millions of light years away hits the sensor of your imaging equipment it begins the wonderfully rewarding journey of imaging the heavens above. Today, I’m going to walk you through the techniques I use to properly image these objects and explain how to take Light, Dark, Flat and Bias Frames that can later be stacked and processed to bring out incredible details. To show each step of this process, we will be imaging one the best targets in the night sky, the Orion Nebula. If you have an interest in astronomy and astrophotography please subscribe and let me know about your questions and any techniques that you use to capture these images in the comment section below. Let’s begin with the most critical part that everything else depends upon, capturing the best light frames we can of our deep sky object.
How to Take Light Frames
Canon SL2, Samyang 135mm Lens, iOptron SkyGuider Pro
Light frames are the most important part of this entire process because they are the images of the actual object you are capturing. Nothing after this step matters unless you have solid usable data of the object you are imaging in the night sky. The more light frames you can capture the better your signal to noise ratio will be for your target once we stack these frames together using a program like DeepSkyStacker. For example, if I take 60 one minute exposures and stack them together to one hour of data it can nearly achieve the same signal to noise ratio as one long one-hour exposure would once we’re done with the whole process. This will lead to finer details showing up in the final image during post processing. A good resource that goes into incredible depth on these topics is “The Deep-Sky Imaging Primer” by Charles Bracken. I read this book a few years ago and it greatly improved my understanding of astrophotography and I’ll be sure to leave a link to it in the description below. I capture my light frames using a DSLR, Samyang 135mm lens and the iOptron SkyGuider Pro Tracking Mount. There are three main things we want to do to help us capture excellent light frames and those are making sure our camera is set to RAW, achieving sharp focus and choosing the proper exposure length. Without sharp, properly exposed light frames shot in RAW Quality with its incredible amounts of data there really is no use for what comes next in the process.
If you are interested in more info on DSLR Settings for Light Frames
To capture our light frames, let’s start by setting our camera to Manual Mode and RAW Quality. Next, let’s work on getting sharp focus for our light frames by focusing our equipment on the brightest star we can find. One thing that can help you with this is a Bahtinov Mask. After placing it over your camera lens, slowly adjust focus until the center spike is perfectly between the other two spikes. Now that we’ve set our camera to RAW and have adjusted focus, let’s turn our attention to getting a proper exposure of our target, for me tonight, that’s the beautiful Orion Nebula. For the DSLR I’m shooting with, I’ve set the ISO to 400 and my Samyang 135mm lens has its F-Number set to F/2.8. Now, we need to test out different exposure lengths to see which one will work best for our target. Let’s test out different exposures for our light frames by taking 15 second, 30 second, 45 second and 1 minute exposures. To determine what exposure works best, I’m going to press the info button to see the difference in the histogram for each image.
The histogram is your friend in astrohphotography!
The trick is to get a histogram that is about 3/4 of the way over to the left. Too far to left and you don’t have enough difference between your object and the background of space, too far to the right and you may lose some of the brightest details of your object from the data getting clipped off. Tonight, it looks like the best exposure for me will be somewhere around 20 seconds. This again will vary greatly depending upon what object you are imaging, the light pollution of your area and the capability of your tracking mount. Now that our camera is set to RAW, we’ve achieved sharp focus and determined the best exposure length it’s time to actually shooting our light frames. Remember, these are the most important part of the imaging process, the more light frames you capture and the higher their quality the better your signal to noise ratio will be thus revealing more detail in your final stacked and processed image. To assist you in capturing your light frames, use something like a remote shutter release trigger to set how many exposures you want and how long you want them to be. My goal tonight is to capture at least 200 separate 20 second light frames of the Orion Nebula before it lowers into the light pollution dome of a nearby city. Once I’ve double checked that the first few light frames are sharp and properly exposed, I head inside for about an hour until it has finished capturing them.
In Summary: Light Frames
How to Take Flat Frames
The White T-Shirt is your Friend for Flat Frames
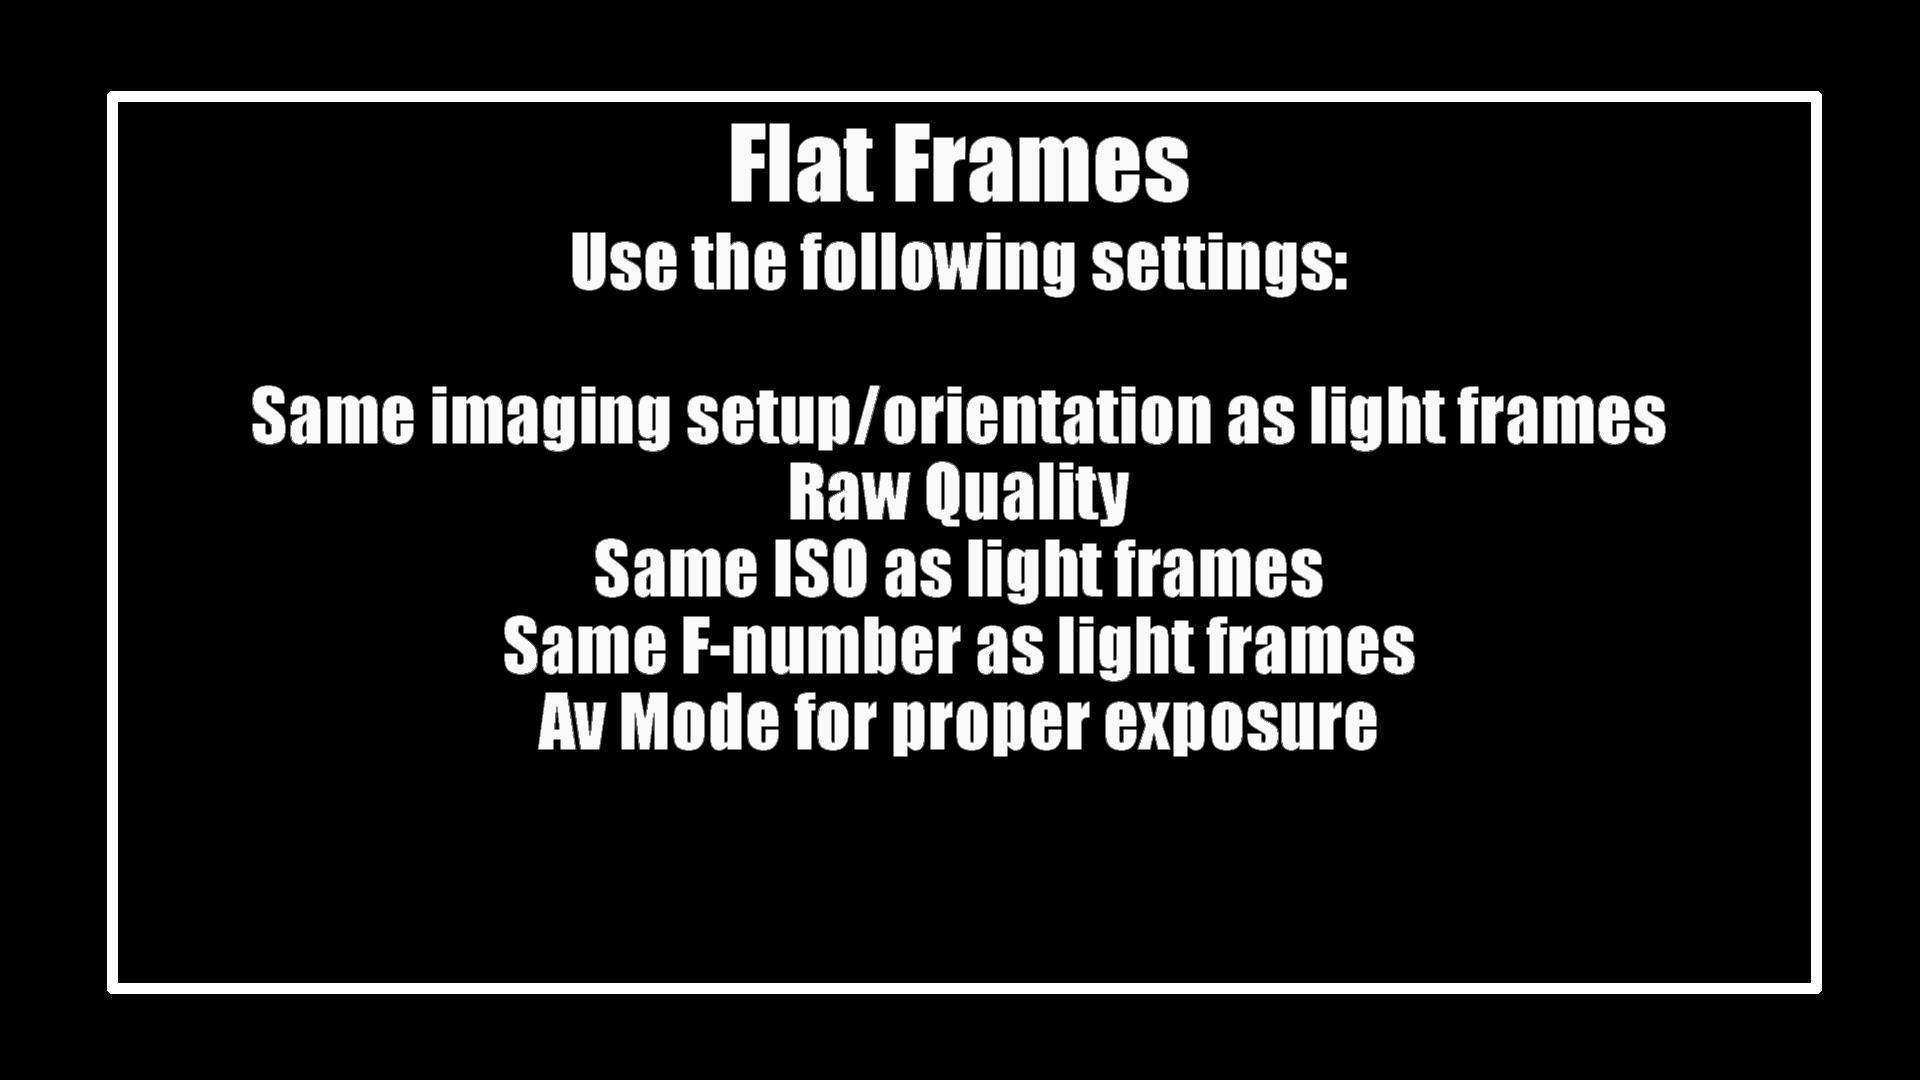
Now, our attention turns to the process of taking different types of additional frames that will later be used to correct imperfections that can show up in our light frames. I’m going to begin this part of the process by capturing the flat frames. Flat Frames will improve the quality of our image by removing unwanted differences in brightness, such as vignetting and dust shadows on our sensor. To get rid of these imperfections, Flat frames need to be evenly illuminated throughout the field of view and to accomplish this I like to use a sophisticated scientific instrument known as the white t-shirt. Begin by making sure your imaging setup is in the exact same orientation as it was for the light frames and make sure you are still shooting in RAW quality with the same ISO and F-Number as before. The only thing you will want change on the camera is the mode from Manual to AV. Carefully stretch a white T-Shirt over the lens hood, making sure there are no wrinkles. Once that’s done you are going to need a light source to evenly illuminate it. I like to use a white background on my iPhone with the brightness turned up to 100 percent. With both of those things in place, press the shutter to take the Flat Frames. Since you are shooting in AV mode, the camera will make sure everything is properly exposed with the histogram peaking near the middle. As for all these frames, the more the merrier, but there is a point to which you get diminishing returns on how much they will improve things. I normally shoot between around 75 Flat Frames.
In Summary: Flat Frames
How to Take Bias Frames
No Light Needed
Our next type of frame is the quickest to shoot and simply requires you to place the cap on your lens so that no light whatsoever shows up in your frames. These will improve our image by removing the bias signal and read noise from our sensor. Switch your camera back to Manual Mode and be sure to keep the same RAW Quality and ISO you’ve used all night. Go into your settings and select the fastest shutter speed available for your camera. For this camera that’s 4,000. Press the shutter and easily capture your bias frames. I normally aim for around 75 of these as well.
In Summary: Bias Frames
How to Take Dark Frames
No Light Needed
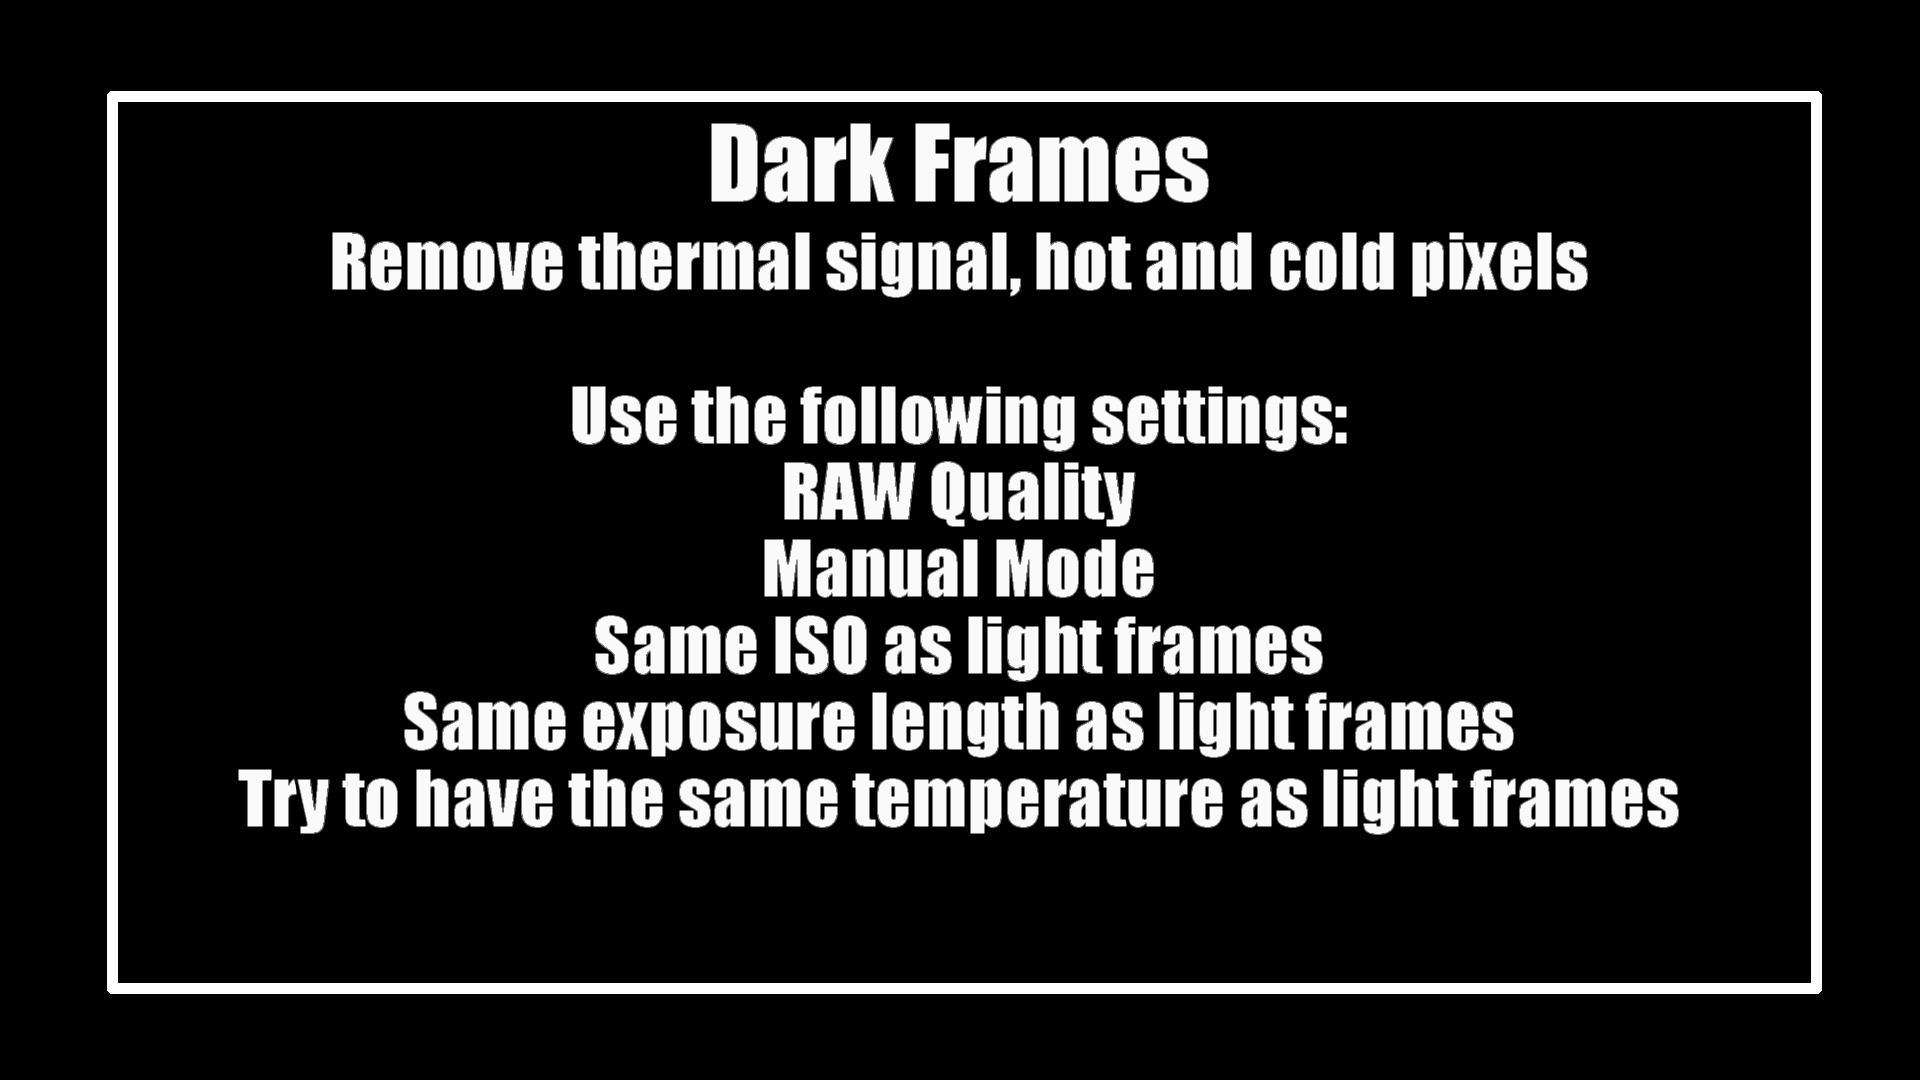
Finally, we have our Dark Frames. These will improve our image, by removing the thermal signal of our sensor and any hot or cold pixels. Like Bias Frames, they require you to keep the lens cap on to keep things dark, but the key difference for these is that you need to take them at the same exposure length as your light frames captured earlier in the night. For me tonight, that was 20 seconds. Make sure you are still shooting in RAW Quality with the same ISO as well. The exposure length and ISO are critical for Dark Frames because we want the camera’s sensor to be as close to the temperature as it was when it was taking the light frames a few minutes earlier. What I would suggest you do is keep your equipment setup just as it is outside and use your remote shutter release trigger like before to capture your Dark frames at the same length as your light frames earlier in the evening. Now, the temperature will change slightly throughout most nights, but this is a nice way to match the temperature of your sensor from earlier in the evening as best you can. I normally try to take between 75 and 150 Dark Frames depending on how long my exposure times are, changes in outdoor temperature and how early I’d like to get to bed.
In Summary: Dark Frames
I hope you’ve found this article helpful on how to capture the best Light, Dark, Flat and Bias Frames possible. Check back soon for my video on how to put each of these frames to use by stacking them in DeepSkyStacker. Once it’s released, I’ll tag it and place a link in the description of this video. If you have any questions or suggestions on how improve these imaging techniques, please let me know in the comment section below. Thank you all so much for your support and clear skies for Late Night Astronomy.